Perspectives – A Photographer’s Guide to Bryce Canyon National Park
Bryce Canyon is like more National Parks in the US, a photogenic gem. Epic landscapes offering such diverse scenes, you could spend years visiting and photographing them all across the country then, once finished, you’d have to visit them all again and experience a different season!
Bryce Canyon is spectacular, winter sees snow sprinkles contrast with the earthy tones on the hoodoos while warmer months provide the chance to hike amongst these towering formations and explore the park a little closer.
On a road trip through Arizona and Utah in 2019, my best friend Sarah and I mapped out a rough plan of places to visit based on suggestions from others and a bit of online research. We had been told to spend more time in Zion over Bryce Canyon and while we were really impressed with the dramatic cliffs of Zion, sunrise at Bryce Canyon had us developing heart eyes.
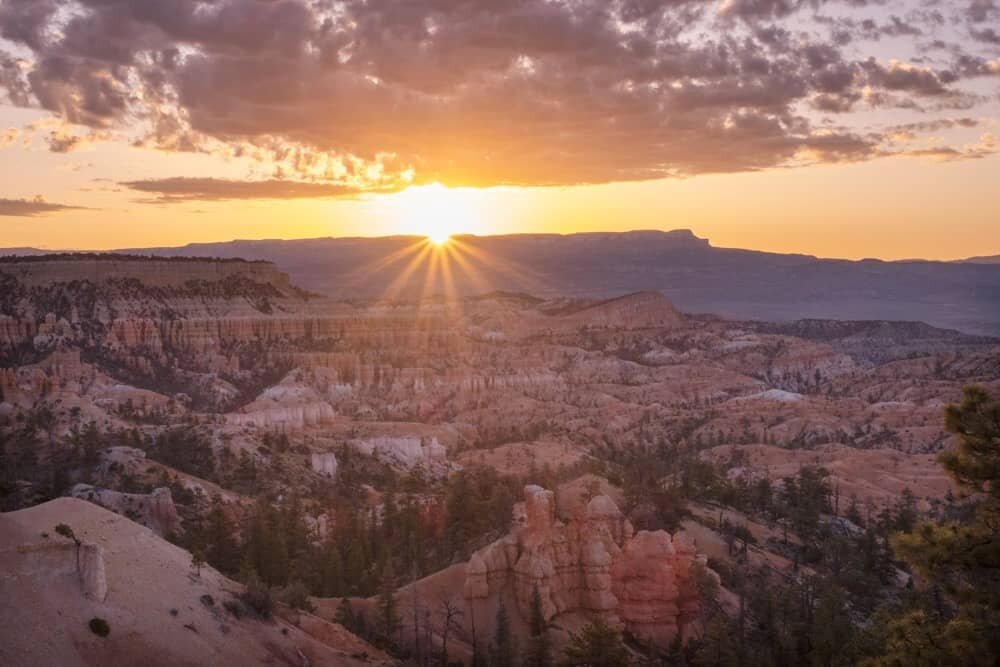
The ochre coloured formations, scattered like a maze across the canyon provide a seemingly endless subject to photograph. We had only allocated enough time to photograph sunrise here but I wanted to write this article to make sure if you’re visiting, you know where to go and how much time to allocate while exploring the scenic Rim Trail!
If we could’ve stayed 4 days I’m still not sure it would’ve been enough. Or maybe I just would’ve had far too many orange toned photos on my hard drive 🙂
Where is Bryce Canyon National Park?
Located in Utah, Bryce Canyon is roughly 1hr 20mins drive north-east from Zion National Park in Arizona. If you’re visiting one, you definitely need to visit the other.
You can spend the night in Bryce at either the Best Western PLUS or Bryce View Lodge, or if you’re a group why not rent a luxury lodge. Staying in Bryce gives you the ability to be up before the sun and experience the magic of a sunrise seeping through the hoodoos. There are also campgrounds, Sunset Campground close to Sunset Point and the North Campground which is closer to the village of Bryce.
I’d strongly suggest having your own car while photographing in Utah and/or Arizona, it just give you the flexibility of stopping when you want and getting up at crazy hours to capture the best light. For some US National Parks you’ll need to park your car and then take a shuttle (like the Grand Canyon), but for Bryce Canyon, you can actually take the 18mile scenic route and self-drive to each of the scenic spots.
In the busier summer months, it can work out better to plan an entire day and take the shuttle to avoid waiting for car parks at each location. Perhaps take the shuttle to one point then walk to the next.
Please check the Bryce Canyon NPS website for updates and closures. Most locations, campground and driving routes are closed or restricted during the winter months.
A map of the Bryce Canyon viewpoints mentioned in this guide –
What makes Bryce Canyon Photogenic?
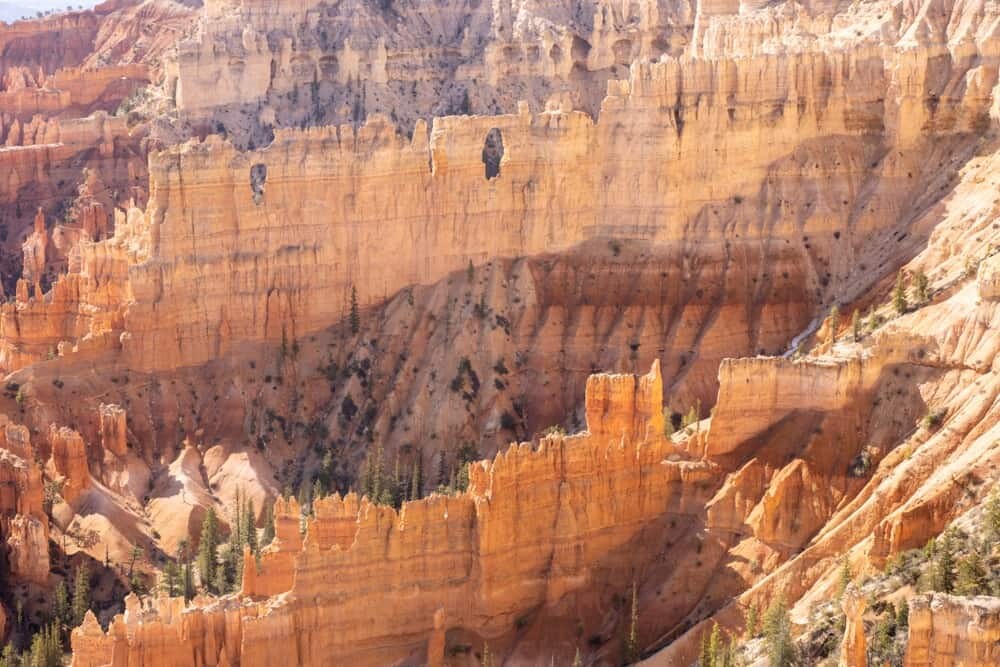
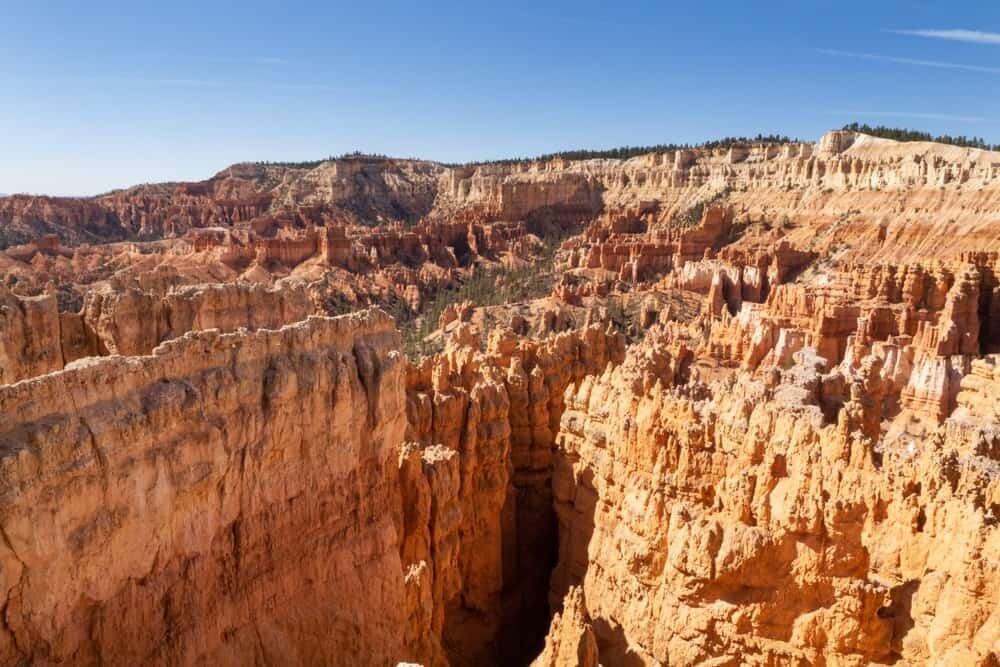
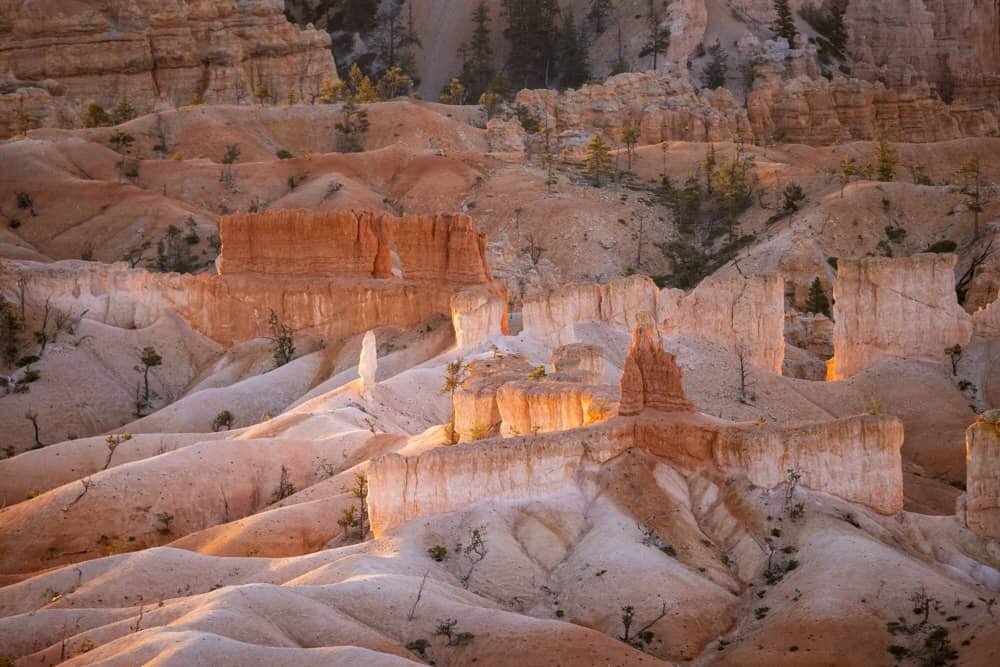
Bryce Canyon is not just a single canyon but multiple natural amphitheaters carved into a plateau. There are thousands of spire-like rock towers called hoodoos and it’s these marvels that bring the wow factor. As the sunlight changes throughout the day, they produce shadows and their colours change from deep to light orange then back to darker tones again.
You can explore the canyon from the scenic lookouts above, or venture deep into the canyon and get up close to these incredible natural formations.
A Few Photo Tips for Bryce Canyon
- If you’re taking a tripod, just know that the ground can be uneven and at key times like sunrise and sunset, there can be a lot of people. I was photographing sunrise hand-held with the Olympus E-M1X so I didn’t have to set up a tripod and could instead rely on the camera’s amazing internal stability.
- Having a variety of lenses at your disposal will allow you to capture various compositions of the landscapes. Hopefully you’re as in awe as I was and can’t stop taking photos! I used a collection of the M.Zuiko Pro Lenses; 12-40mm f2.8, 7-14mm f2.8 (wide-angle) and the 40-150mm f2.8.
- If possible, give yourself the time to capture sunrise from at least two vantage points (my pick would be Sunrise Point one day, Bryce or Inspiration Point another).
- It can get really chilly in the early morning then heat up quickly once the sun rises, be prepared with some gloves when photographing or your hands will get cold fast!
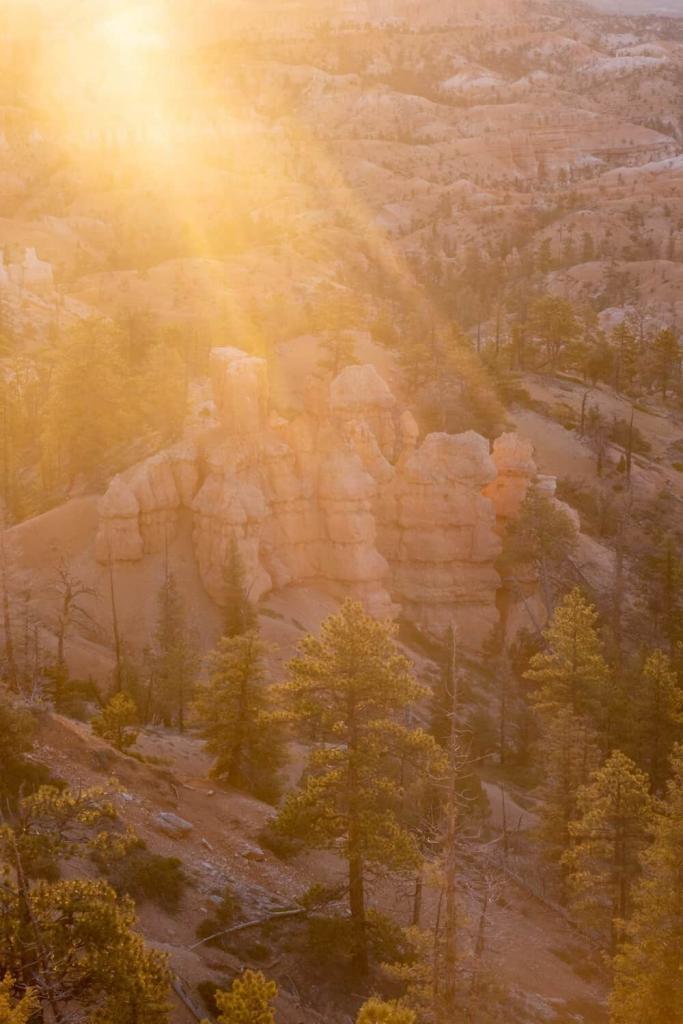
- Sunrise is better than sunset at Bryce Canyon as the hoodoos are in shadows in the late afternoon. Sunrise however provides that gorgeous glow across the amphitheatres and hoodoos.
- Oh and you can’t fly your drone within the National Park.
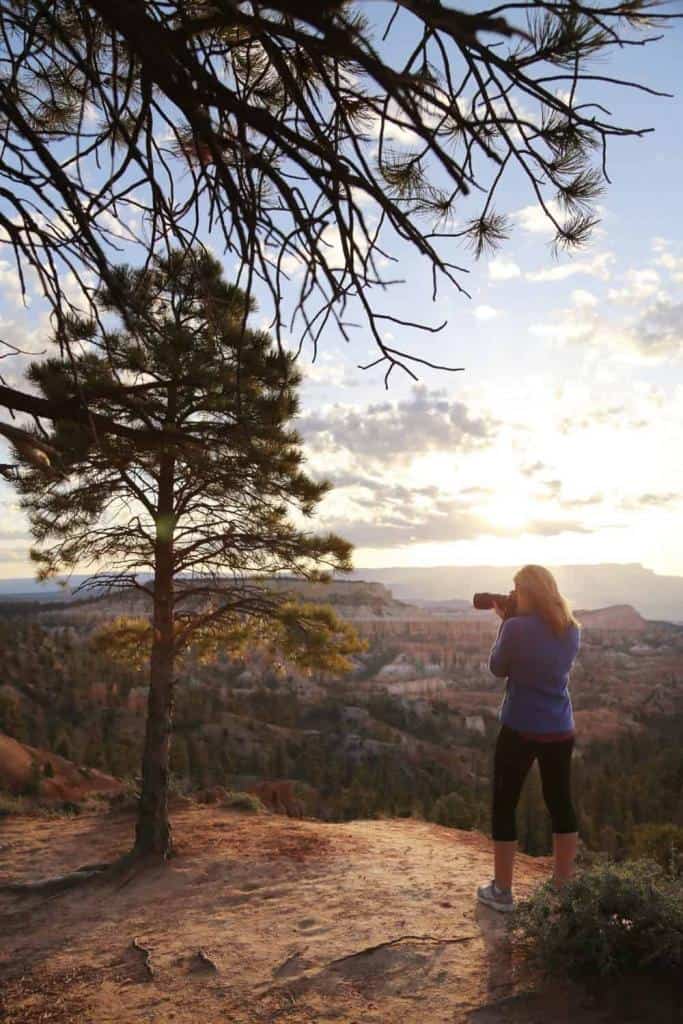
Photography Locations at Bryce Canyon
Depending on how long you’re staying in Bryce Canyon, there are numerous hiking trails and adventures to have within the canyon, or you can cruise along the scenic route and stop off at each of the viewpoints.
With limited time, we opted for the scenic route and I can tell you from that experience alone, I know I’ll be back to visit Bryce Canyon again. I couldn’t stop taking photos! Some spots I’ve heard are worth a visit but require a hike include the Natural Bridge and Agua Canyon then further down the road past Bryce Point you’ll find Rainbow Point and Yovimpa Point.
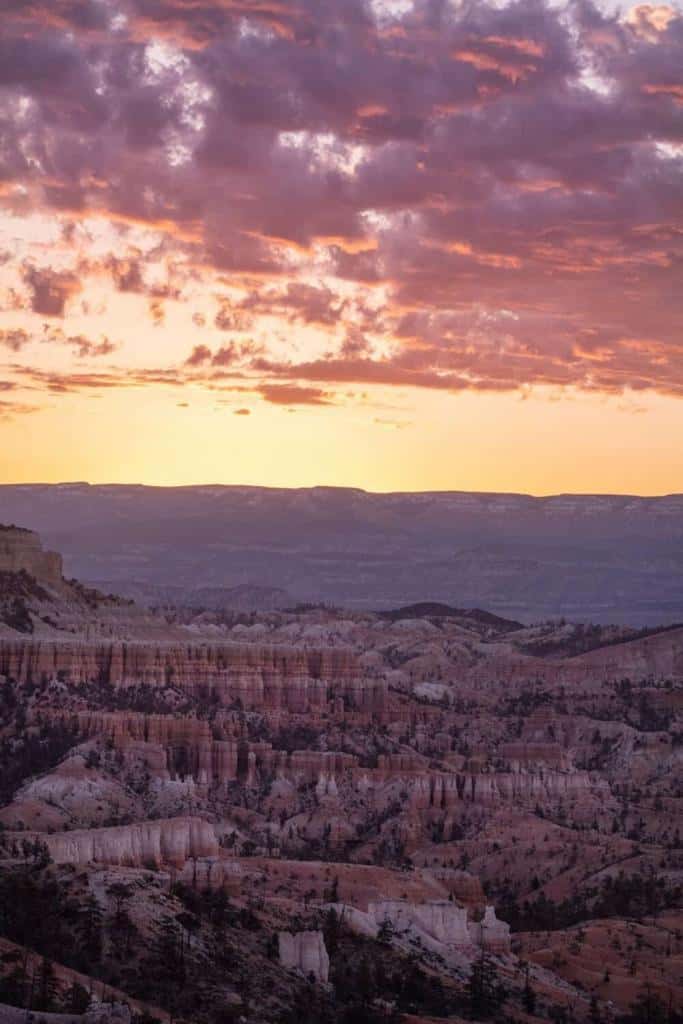
Sunrise Point
Rushing to find a good vantage point before the sun rose (I’m not a morning person!), we assumed Sunrise Point would be the spot to go. I mean, it’s sitting right there in the name. Nabbing a car park close to the trail, we threw our camera bags on our backs and ran (okay, fast walked) to see what we were in for.
Immediately blown away by the canyon, we tried to find a good vantage point to capture the scene once the sun appeared above the horizon. Of course, being Sunrise Point at sunrise meant that there were already quite a few people in position and the official viewpoint was filled.
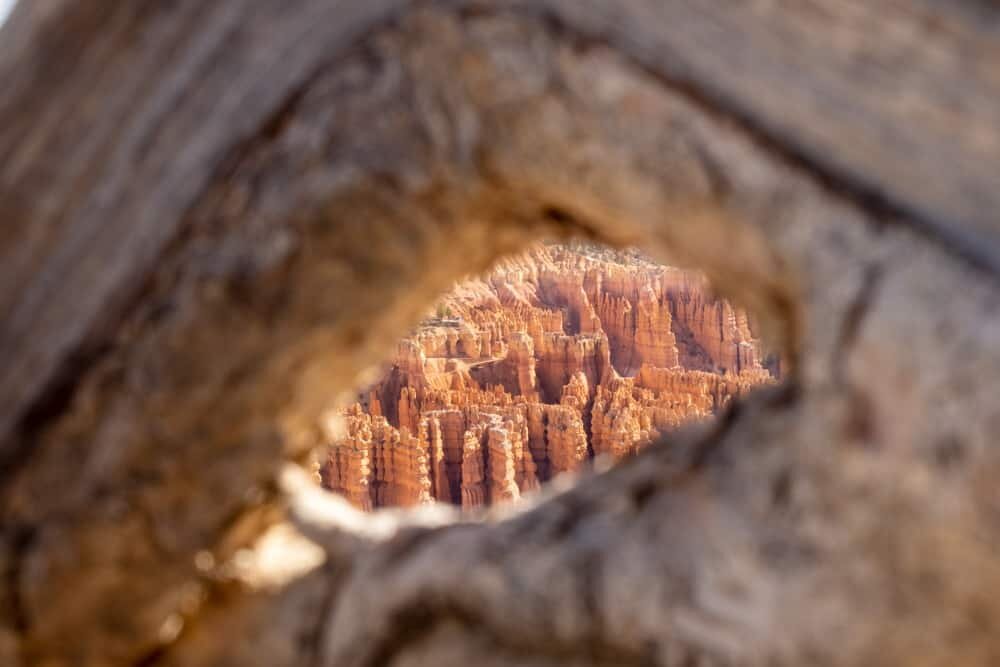
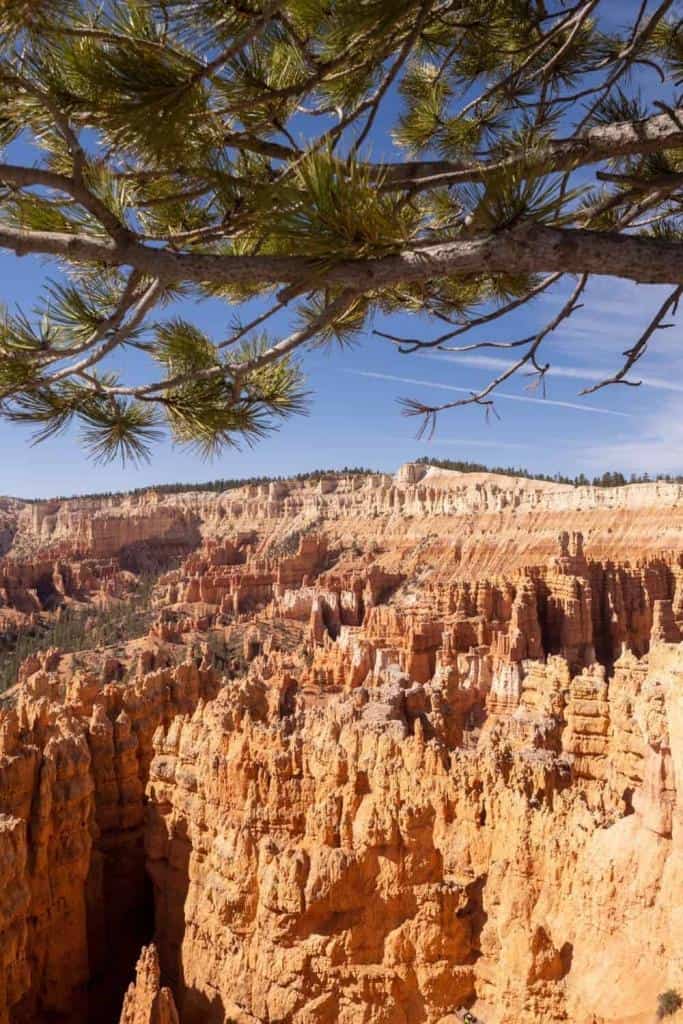
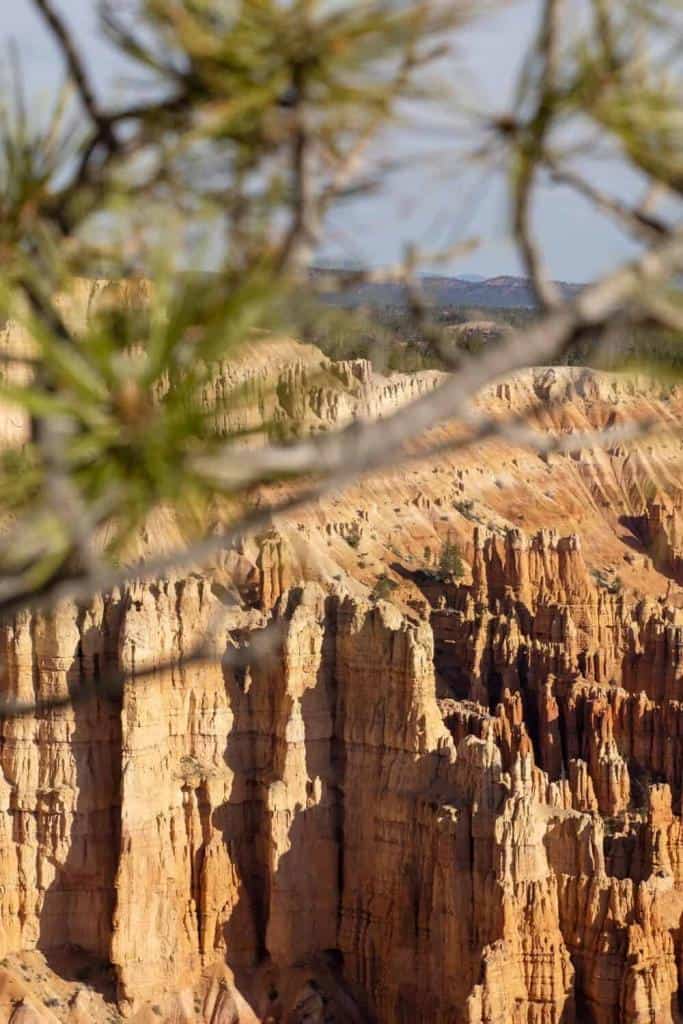
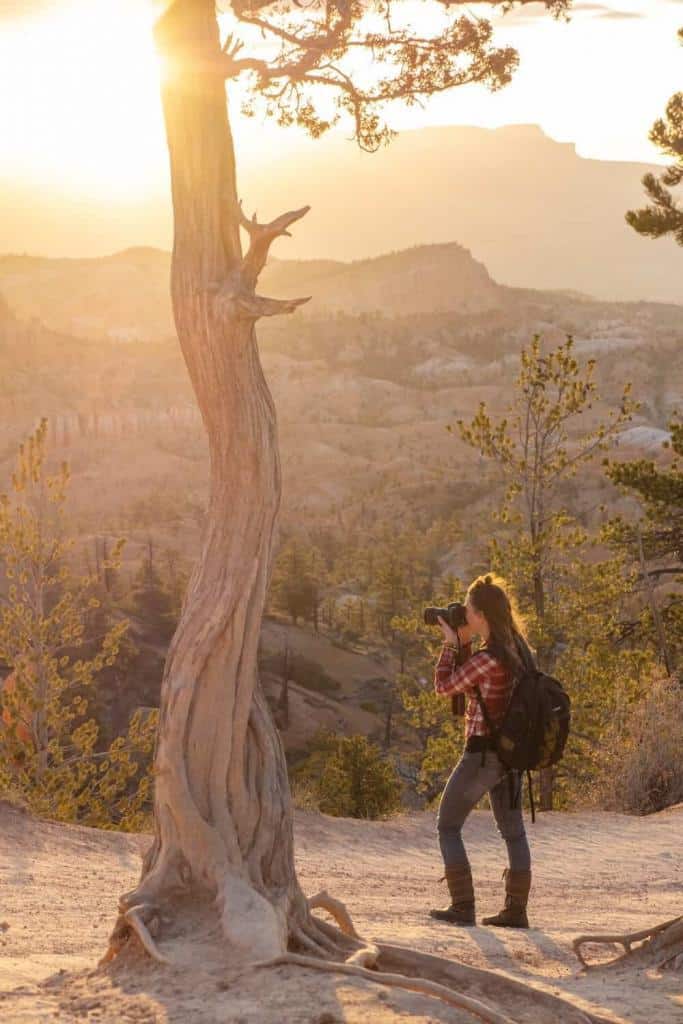
Along the Rim Trail you’ll find plenty of vantage points where you can frame the scene using trees that are clinging to the cliff or to get a good angle to zoom down into the canyon below.
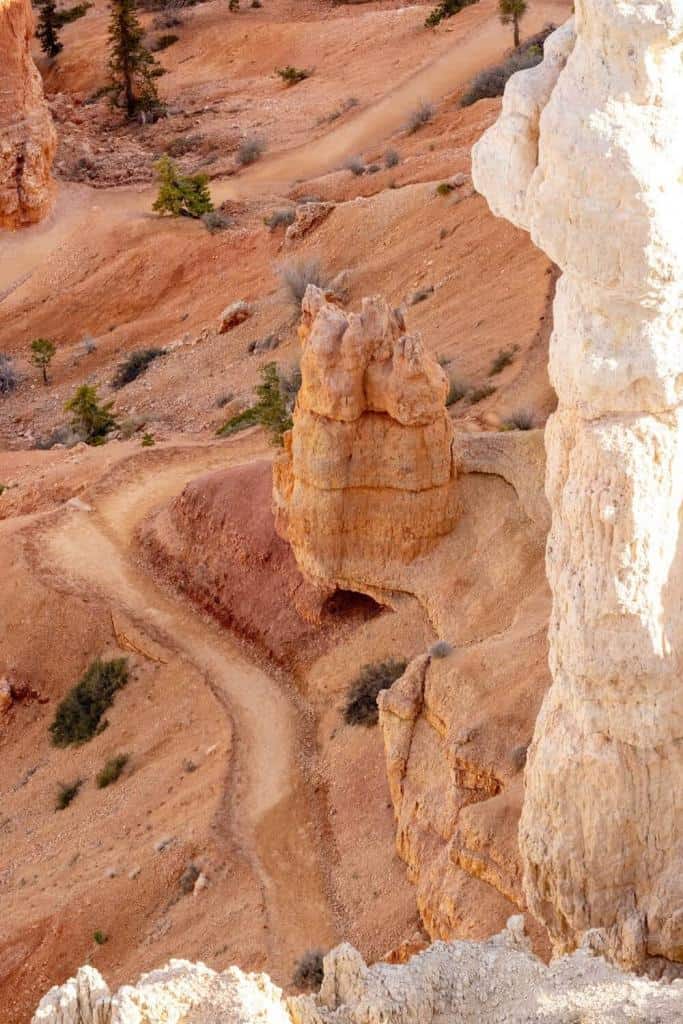
My favourite spot was on a path that veered into the canyon just below the scenic lookout. It’s quite steep but provided access to so many great compositions and really inspired us once the sun started to sparkle across Bryce Canyon.
You can read my tips about the best camera settings for sunrise here but at Bryce Canyon, you’ll need to get ready for the moment when the sun peeks above the distance ridge. It offers a great opportunity to photograph sun stars and really capture the shadows as they dance across the landscape.
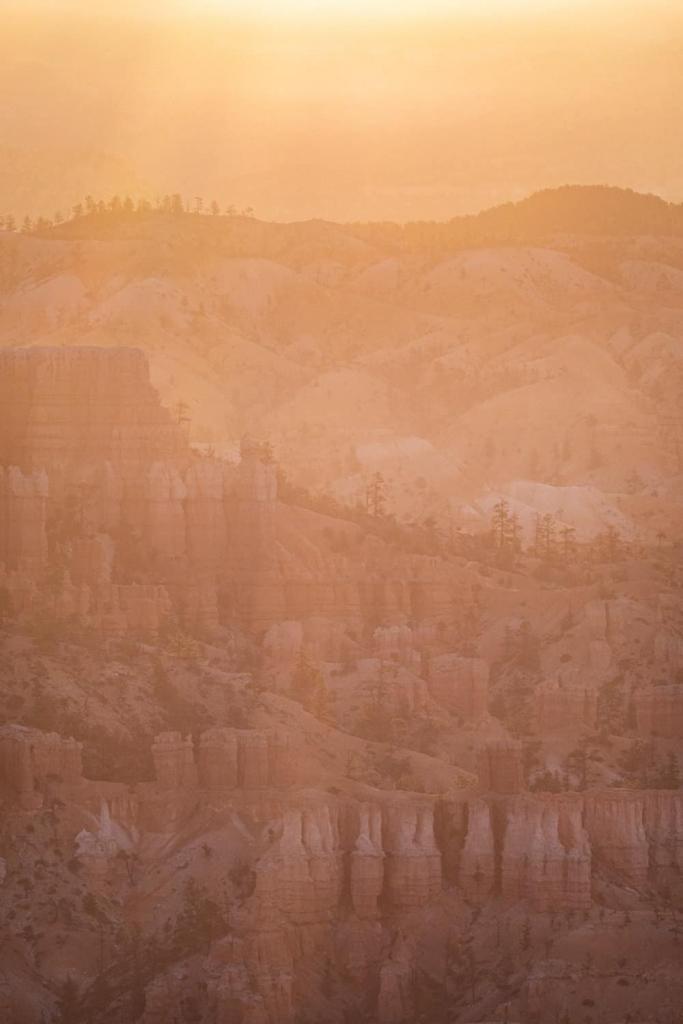
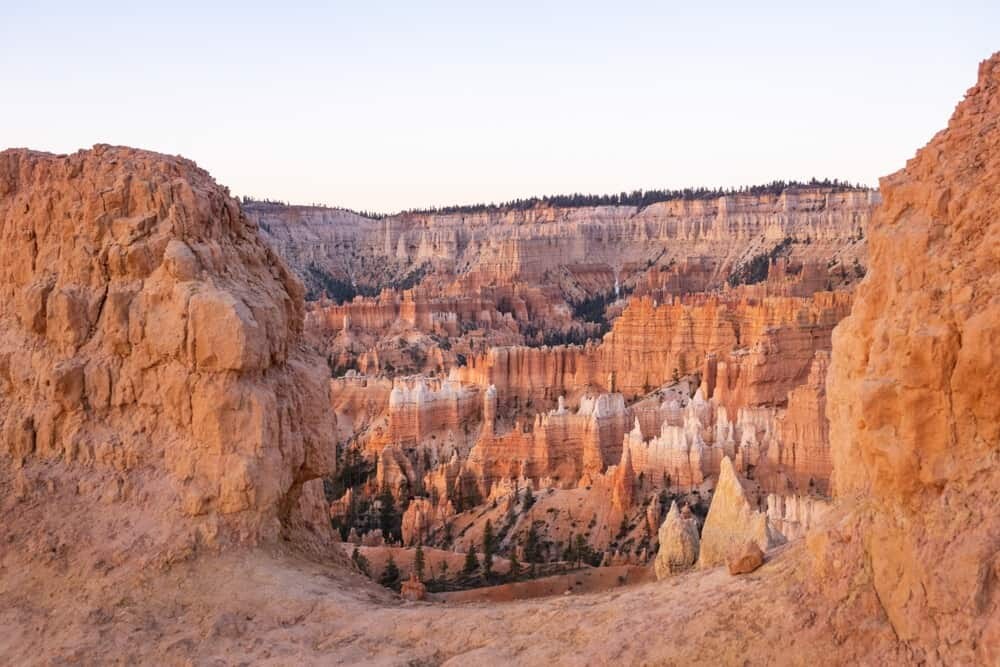
Bryce Point
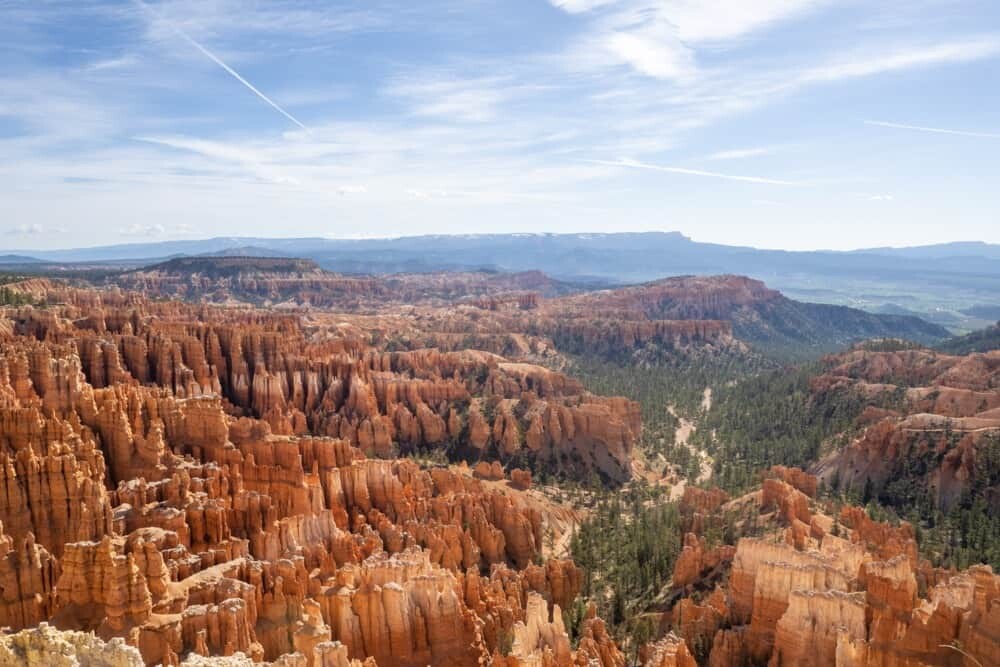
The highest (8296ft) viewing point over Bryce Canyon, there is easy access to a substantial viewing platform with expansive views over the landscape. I would suggest spending a bit of time here to give yourself the opportunity of capturing the many visible details within the landscape. Shuttle buses come and go so if you wait it out long enough, you’ll get some time to yourself – especially earlier in the morning.
You can photograph from this point at any time of the day, if you’re spending a few days in the area definitely try sunrise here as there’s a great view across the canyon toward the east. Alternatively, during the day there are plenty of features to focus on in the canyon below.
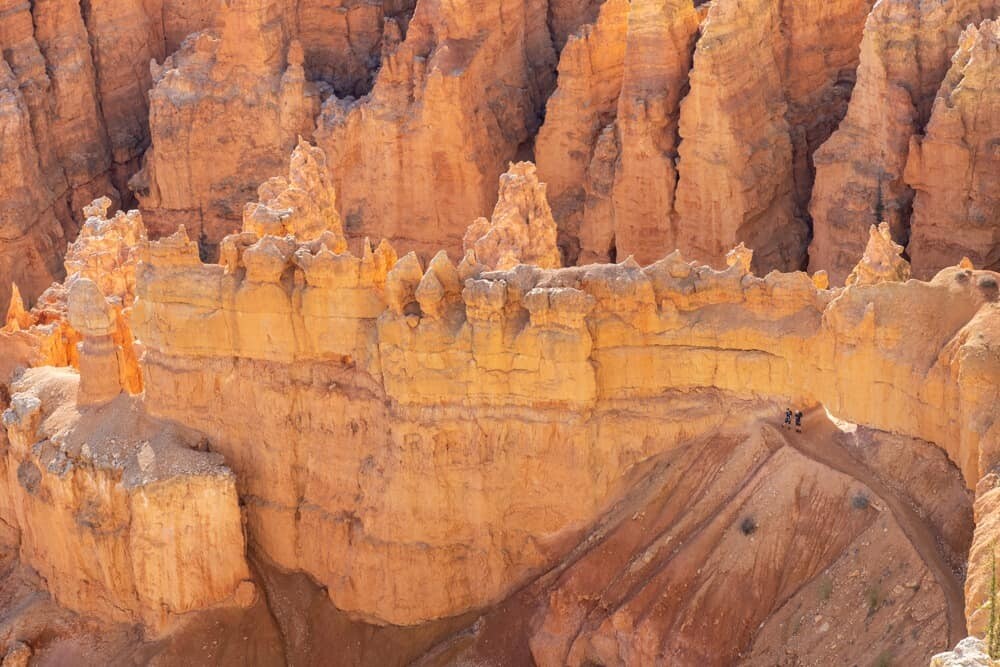
Keep your eye out for hikers on the Peekaboo Loop Trail below, they’re great to compose within your image to showcase just how truly immense the scenery and hoodoo formations are. From the viewpoint there is a great view over to the Wall of Windows, a subject worth photographing from Inspiration Point also for the opposite vantage point.
Nearby there’s also Paria View which is worth stopping at when heading to or from Bryce Point. It provides an angle facing south and some actually prefer this to the main amphitheatre, it also has less crowds!
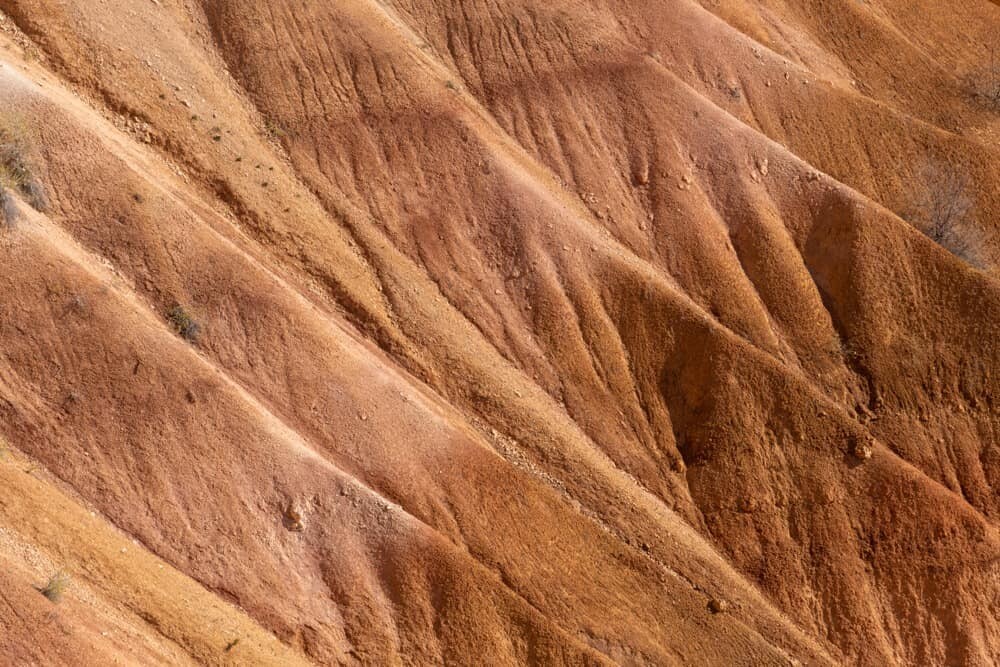
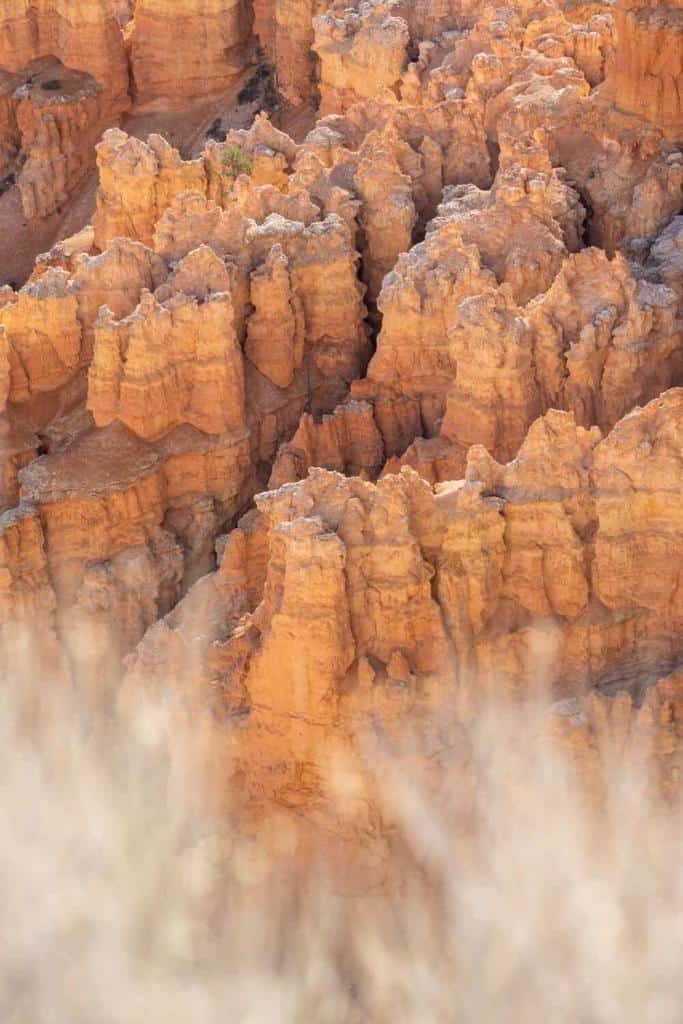
If you’re interested in tips about using a zoom lens while travelling I’ve written an article about it here, I used my Olympus 40-150mm while photographing from Bryce Point and loved getting in nice and close to the patterns and textures of the canyon.
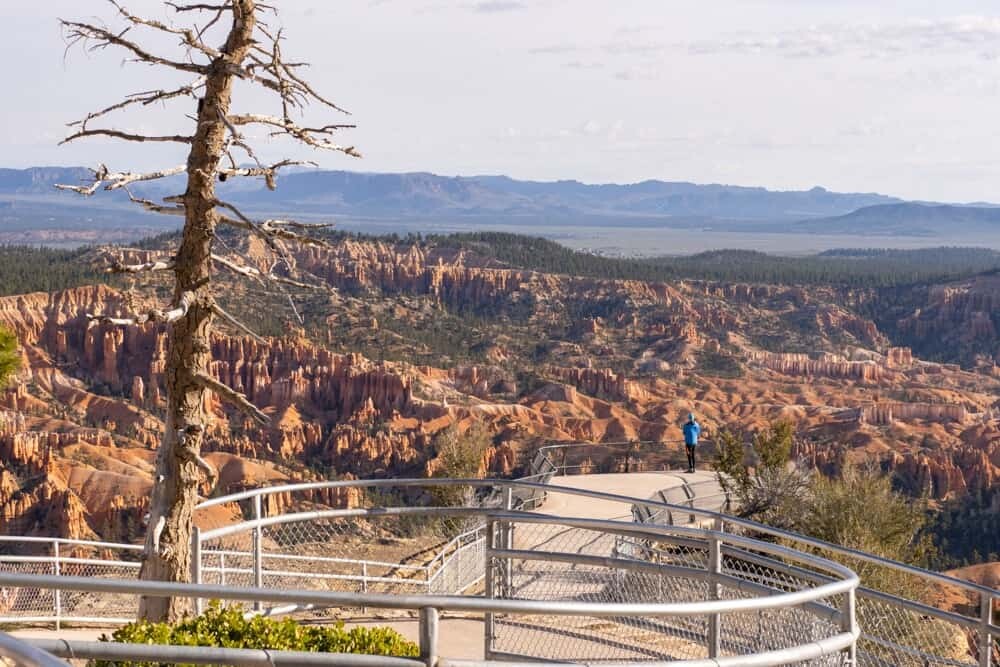
Inspiration Point
This was an unexpected favourite of mine with a path leading right along the edge of a steep drop into the canyon below. From the car park there is a steep path uphill to one of the best viewpoints of Bryce Canyon.
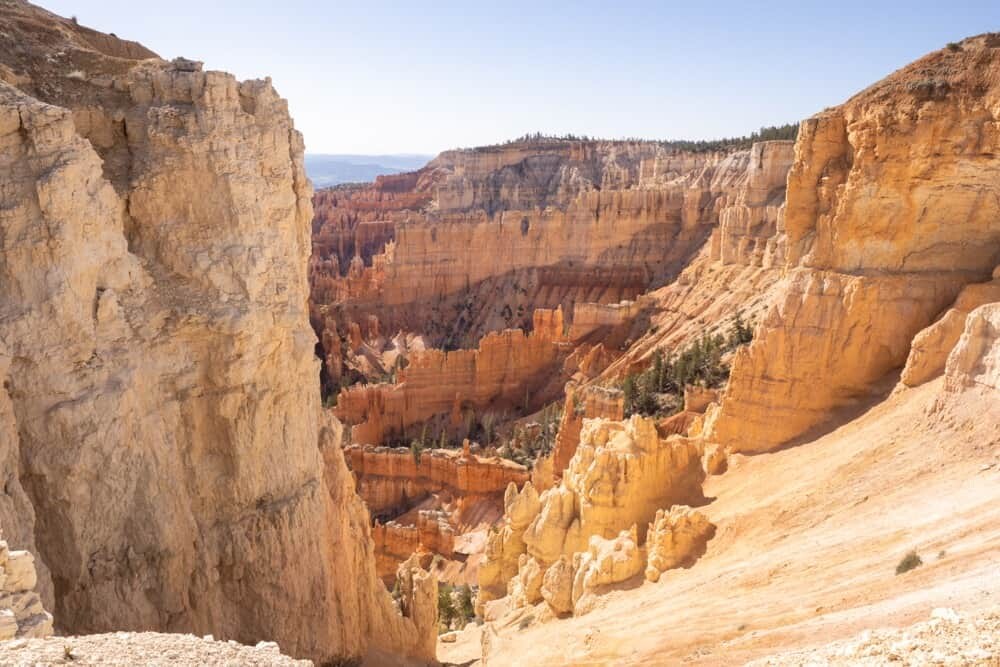
Peer down into the canyon below where rock has slid directly downhill, creating what looks like a funnel into the warm, earthy funnel below. From Inspiration Point you can compose your shots using things like tree roots found along the path and also overhanging trees since it’s a more of a natural trail and viewing platform.
There’s the chance to photograph beautiful contrasting tones throughout the hoodoos below and also photograph across to the Wall of Windows. This striking feature held my attention for a long time as I tried to compose the scene using the white tones in the foreground against the vibrant rouge tones in the back.
Sunset Point
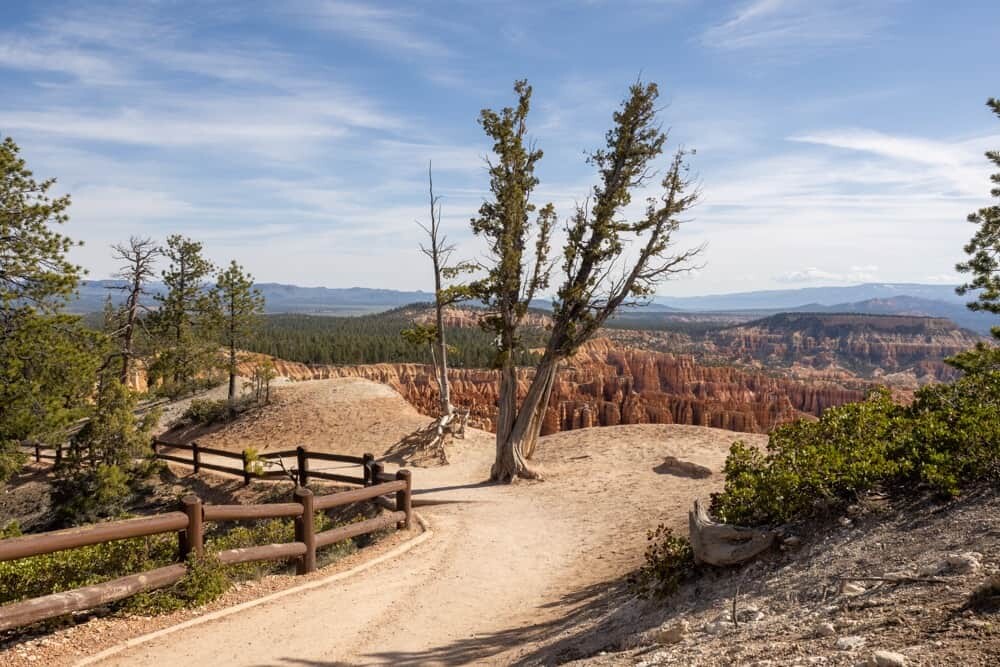
As one of the major car parks, Sunset Point can get busy, but it is for good reason. From this lookout you’re able to peer into the canyon below (I know I’ve said this for every location but each is so different!) and it feels much closer than the others.
The Navajo Loop Trail starts here so it gives you the opportunity to either venture out on the entire hike or to just get down into the canyon for a little adventure. The ridge lines and view down into the canyon make this viewpoint worth a stop.
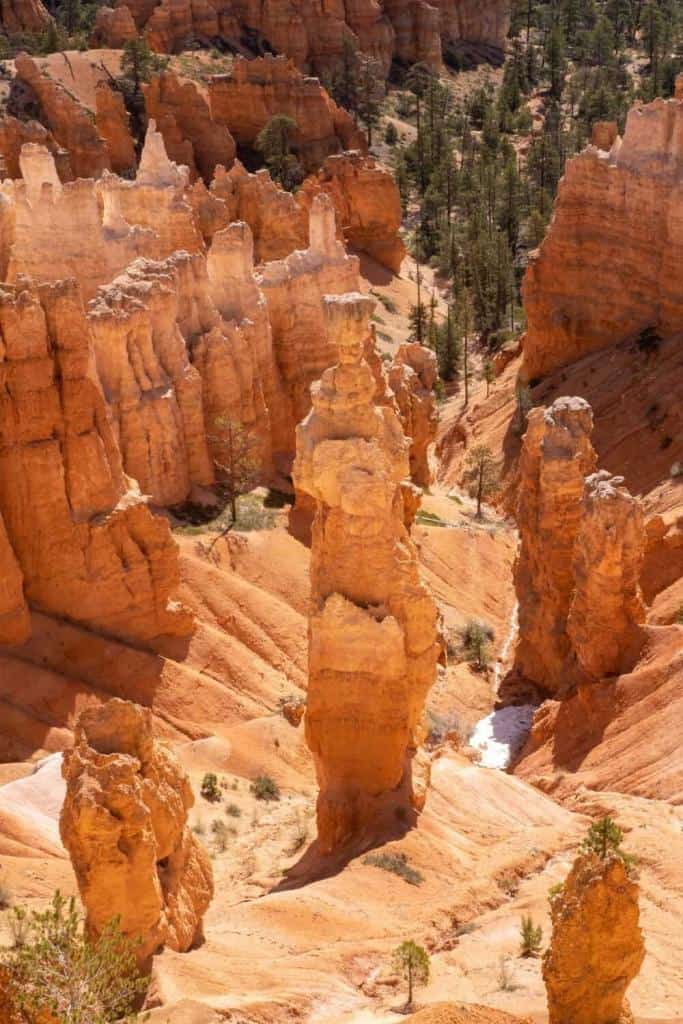
One of the highlights of Sunset Point is the ability to compose the hoodoos with the textures and shadows of the nearby ridgelines. There’s the mighty Thor’s Hammer and so many fascinating structure to use within your images.
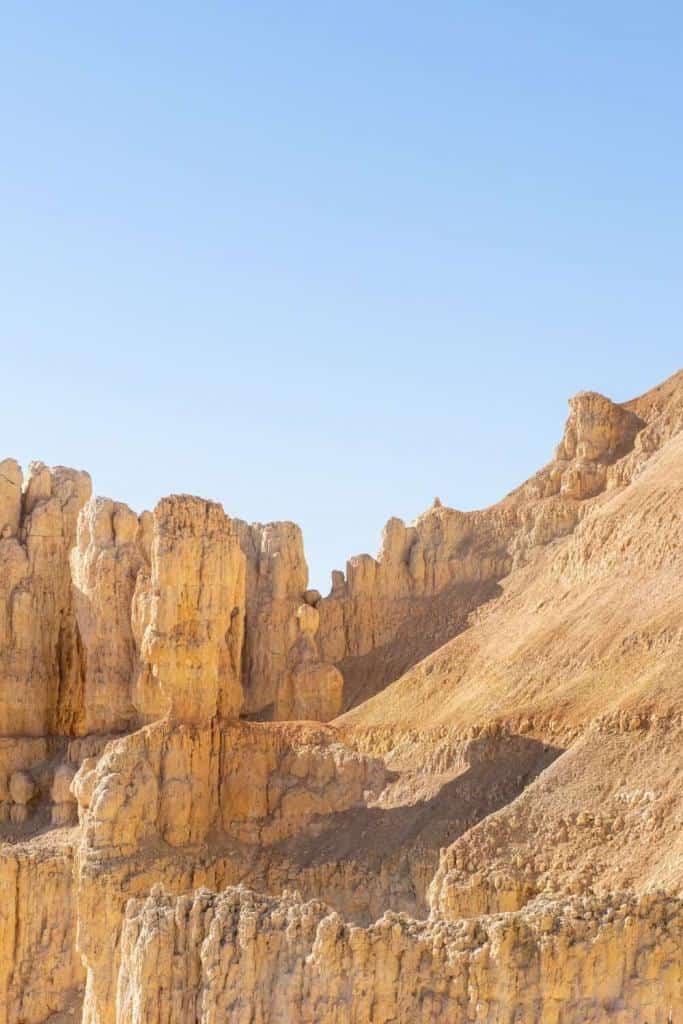
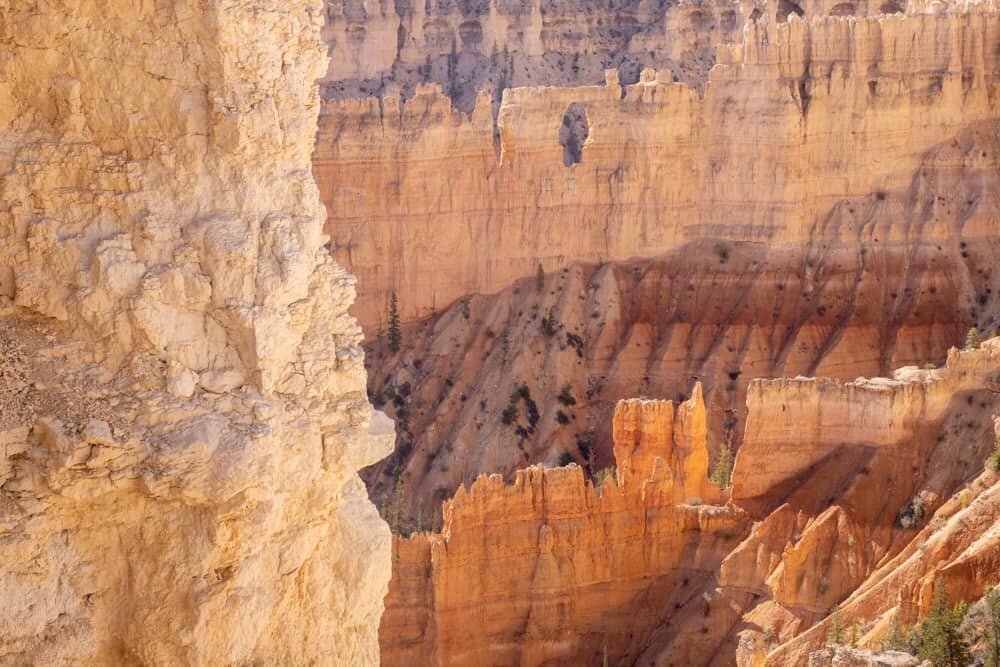
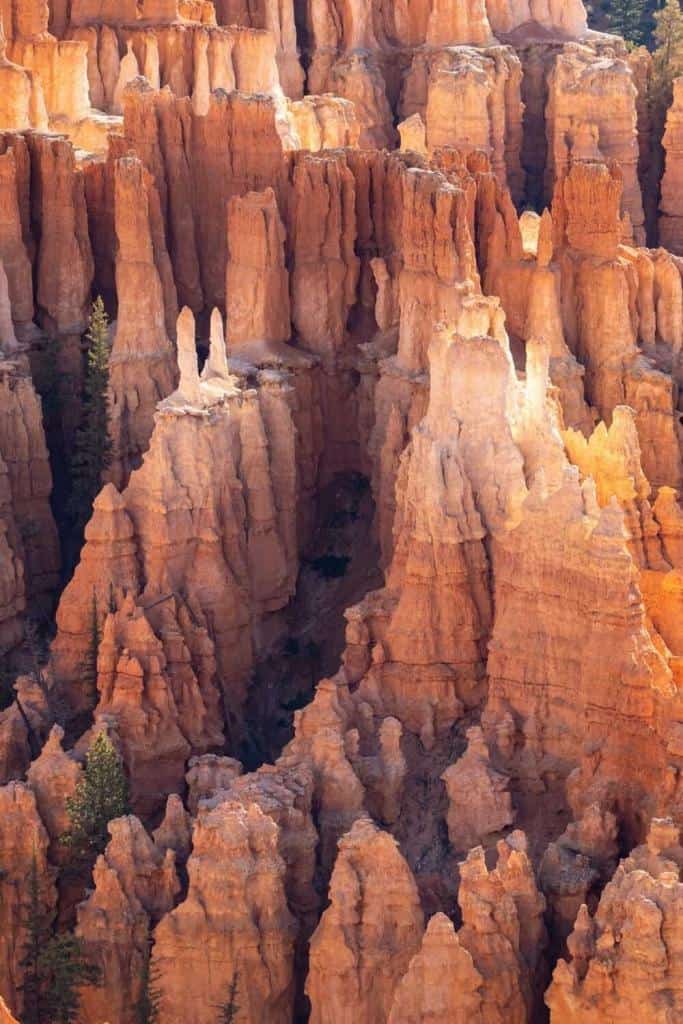
Take a peek at some shots from my visit…
Hello! I’m the founder and photographer behind The Wandering Lens.
With 19+yrs experience as a professional travel and landscape photographer, all advice found on this site is from my personal experience, or that of contributors, on the road. I hope it’s useful for your own travels and would love to hear in the comments about your trips and experiences around the world.

Blog Comments
Russell Nash
January 28, 2021 at 4:43 pm
Beautiful photos! Great info regarding Bryce Canyon! I went there once but only had time to drive through there quickly. Going again in April 2021 for two days. Will keep all your info regarding the park in mind.
Also great to see another Olympus user! Don’t have the EM1X, but have all three of the EM1 (I, II, and III) as well as the E620 4/3. Keep your fingers crossed JIP keeps the Olympus tradition going.