Behind the Lens – Two Days at Perito Moreno Glacier
Location: Perito Moreno Glacier, Patagonia – Argentina
Gear: OM-1, OM-1 MKII, 7-14mm f2.8 pro lens, 12-40mm f2.8 pro lens + 40-150mm f2.8 pro lens with the MC-20 2 x teleconverter and LS-P5 audio recorder.
Date: April 18-20th, 2024. Autumn in Patagonia
Rising early to collect the hire car and head out to the glacier, I was eager to see the ice, it was actually the part of Patagonia I was looking forward to most. The towers of Torres del Paine and Mount Fitz Roy were right up there on the wish list too of course, but glaciers have been a subject I’ve love researching and photographing since I was bewildered by the landscapes and ice sheet of Greenland.
Layers of glacial ice disappearing toward ridge lines and valleys are a sight I could happily stare at forever. The sounds, thunderous roar of crashing ice, glistening sparkles, centuries of weather conditions, snow and glacial streams combined to present a scene so rugged yet intricately delicate. They fascinate me and every time I photograph a glacier, I leave with hundreds (jokes, thousands) of photos that usually, let’s be honest, look pretty similar.
I just can’t stop taking photos of them.
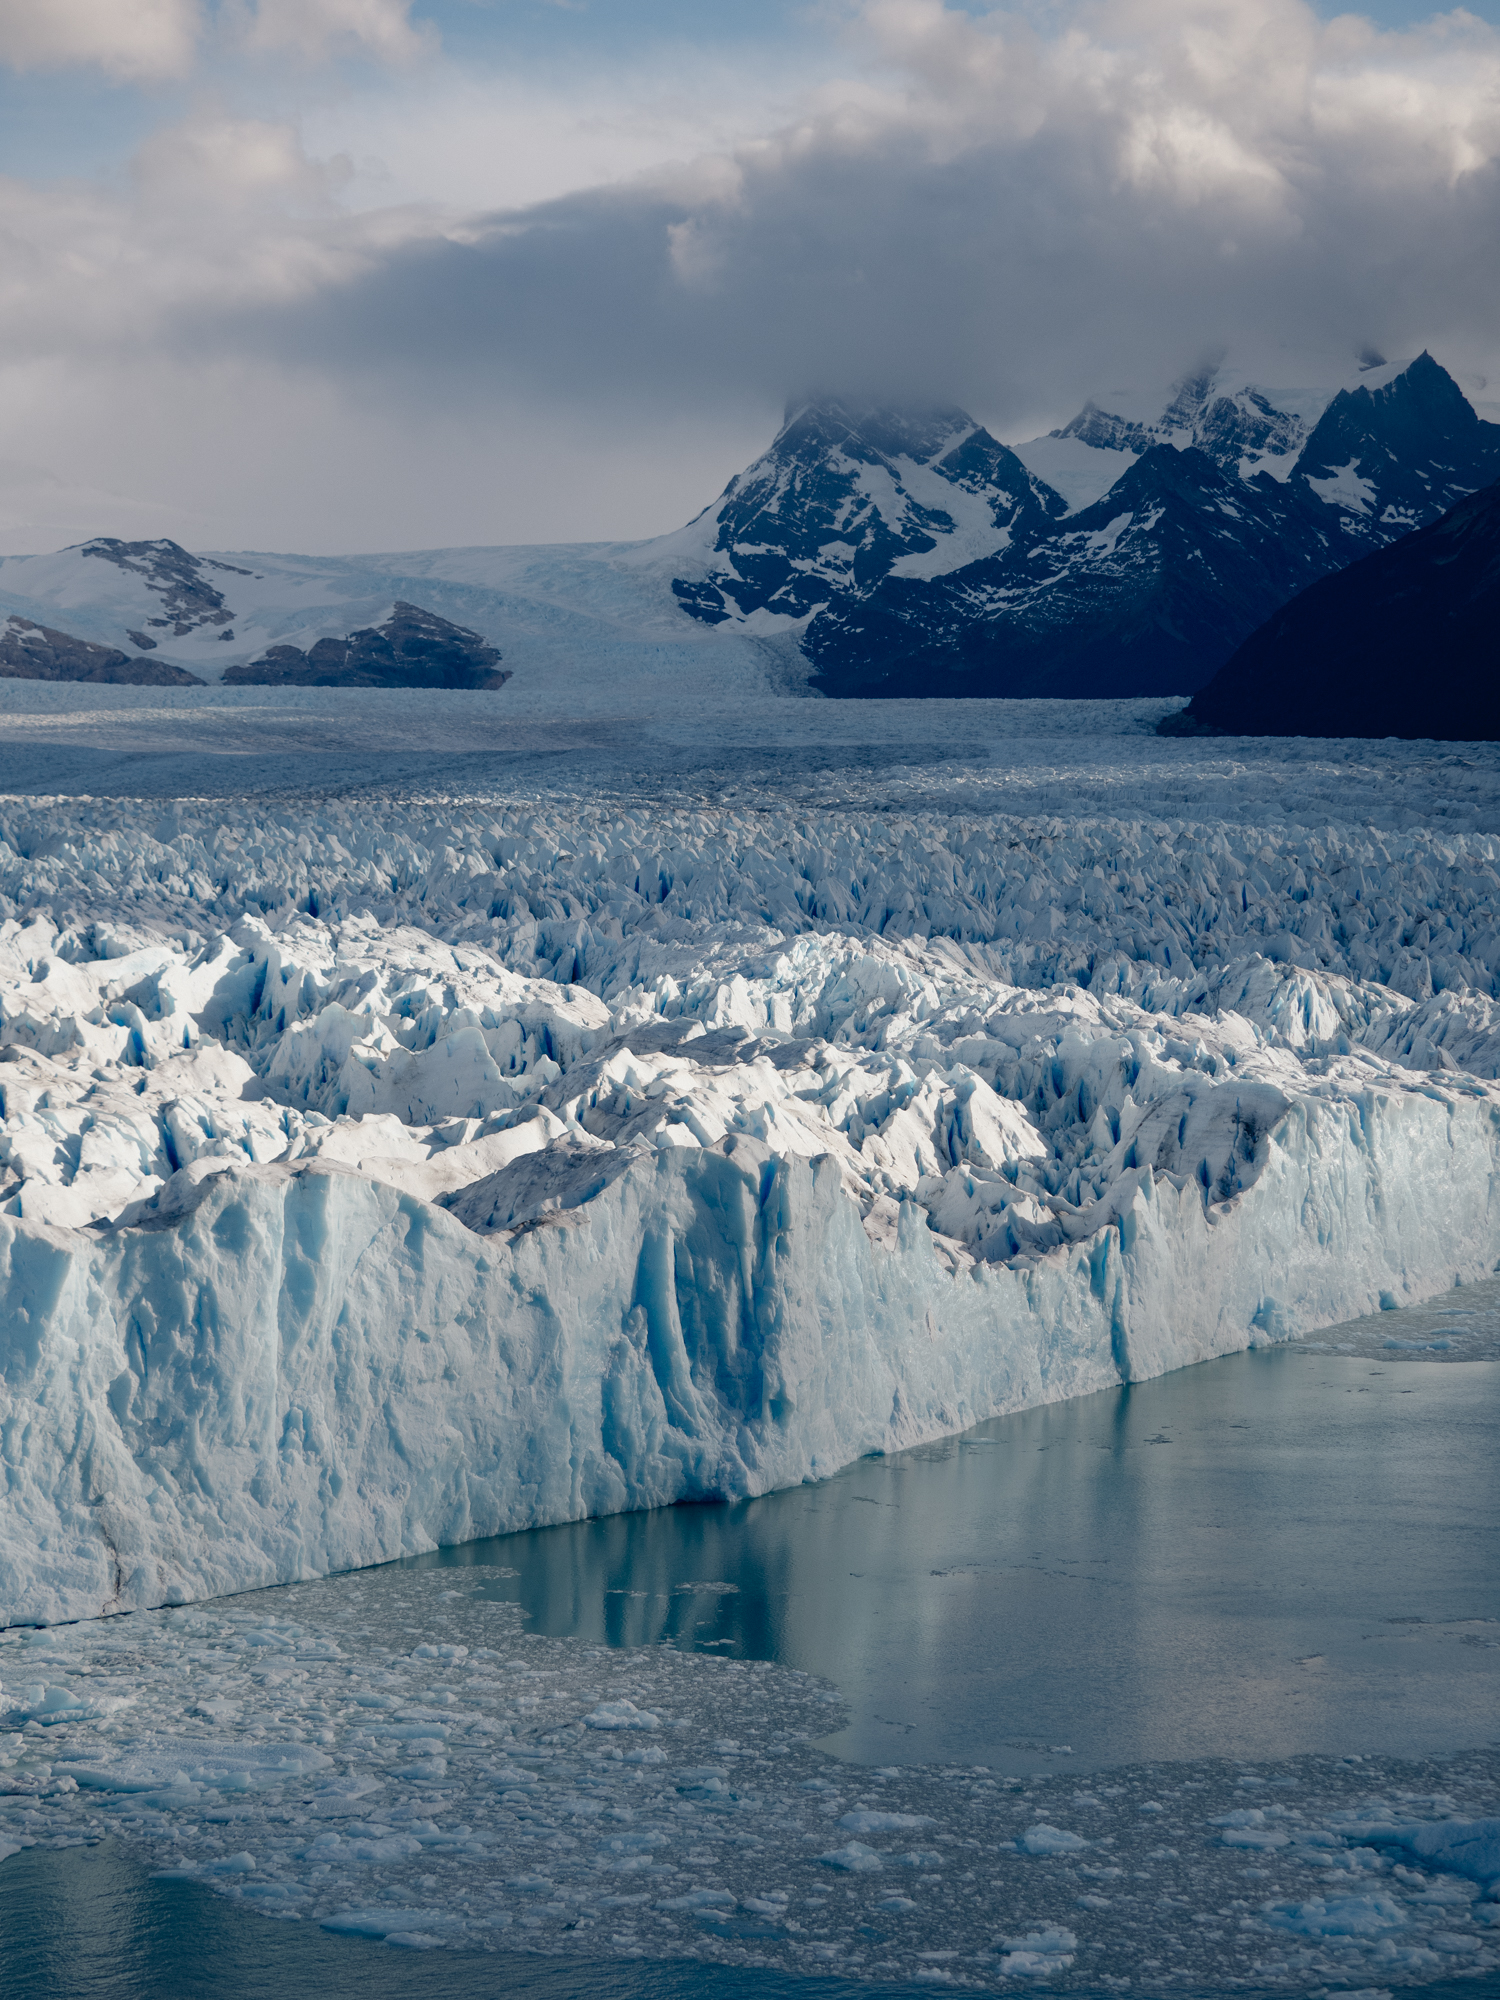
With the walkways of Los Glaciares National Park providing easy access to Perito Moreno Glacier, I was hoping this time might result in a different collection of images. I wanted to challenge myself to capture imagery that isn’t just ice patterns, blues and whites, but to incorporate the autumn foliage and vibrant contrasting colours.
Working with pops of colour and bokeh is a style I enjoy incorporating within my landscape photography. It’s not just the final image I enjoy, but the process of scouting locations, looking for the perfect leaf, branch, flower or tree to assist in framing the scene. Some people may look at this style and think the tree got in the way, but it’s intentional, and I’m all for it!

Day One at Perito Moreno Glacier
To take you behind the scenes a little, I want to share a glimpse of each day and how I approached the varied conditions.
My mood was high arriving on day one, as I left El Calafate the sun was shining and skies were clear. The drive itself out to the national park is stunning, a low speed limit encourages you to look around and take in the forests filled with reds, oranges and yellows. Side note, visit in April, it’s glorious!
Rounding each corner as I got closer to the glacier I could see the clouds growing, and pulling into the car park revealed a lot of low cloud tucked in the valley, a sight I couldn’t see from town. Regardless, I was ready and damn excited to finally be seeing this natural wonder I’d heard so much about.
After parking the car, without thinking I jumped on the shuttle bus and crammed in alongside all the other tourists arriving at the opening time. The short ride took us to the main starting point where there’s a souvenir store, café and the start of the white accessible walkway which leads down to the red and yellow walkways. Instantly, I wasn’t a fan.
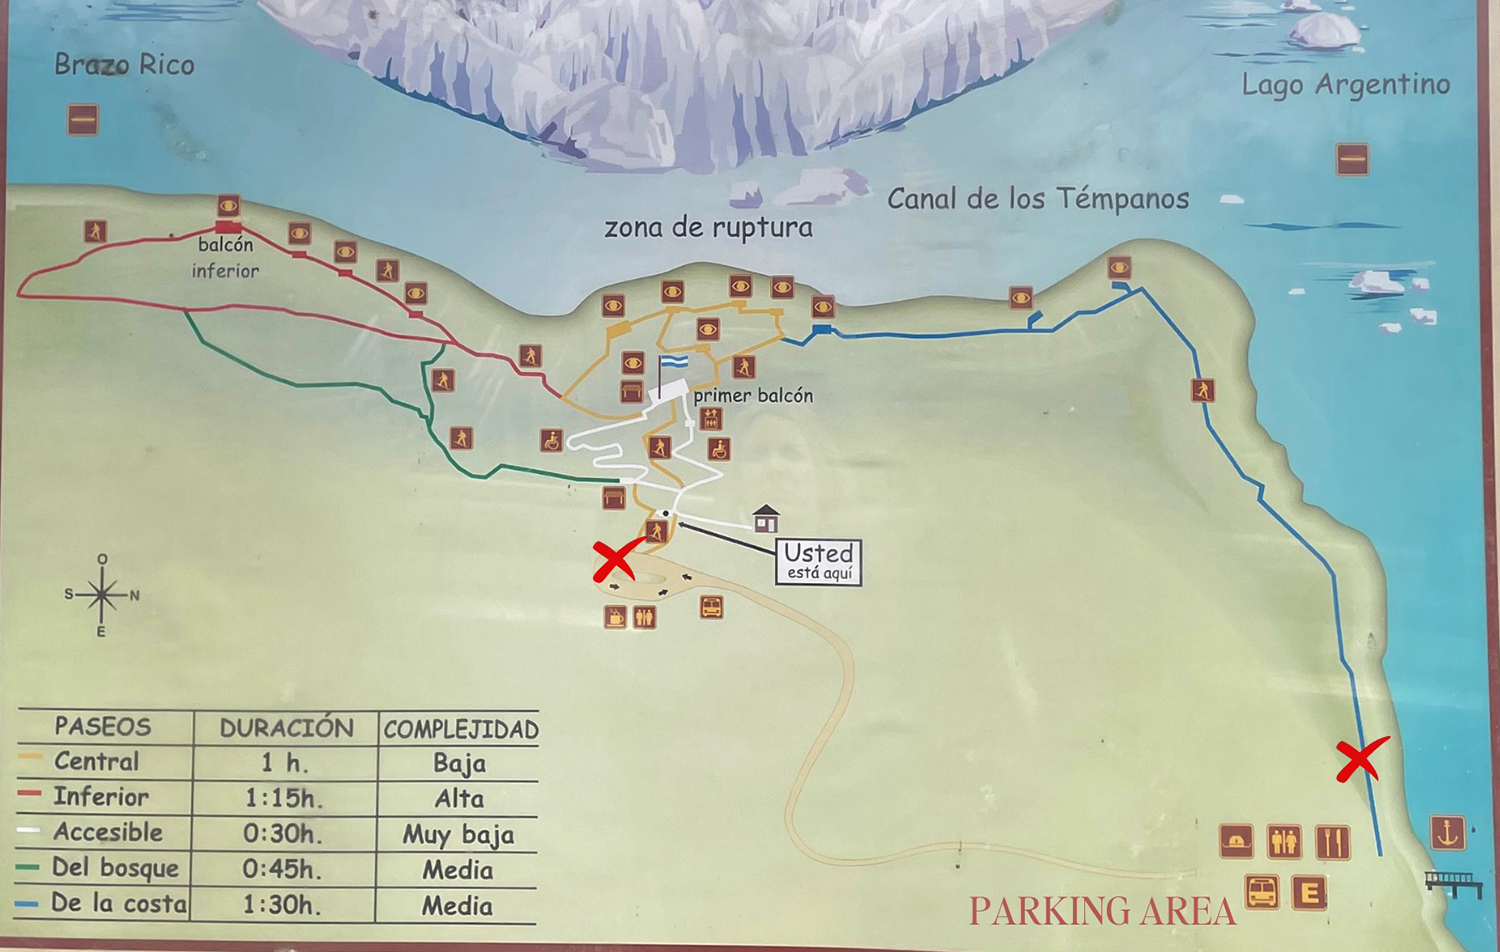
Crowds and creativity don’t mix well for me, and my brain hits overwhelm very quickly when there’s a lot of noise and people about. To say I ran out of there is an understatement. If you can imagine walkways filled with smiling, happy visitors taking photos, selfies and standing in awe of the view…then me, on a mission to get as far away from the main viewing deck as possible, weaving and ducking my way through selfie sticks. That said, it’s wonderful that somewhere this beautiful and rugged is also so accessible for everyone, particularly those requiring wheelchairs as the majority of walkways have a lot of stairs. See the accessible route in white below, and I’ve also marked the X where the shuttle arrived, and the blue route X where I walked back to avoid the shuttle on the way out.
I’m probably exaggerating, or maybe I get overwhelmed too easily, but when I’m in nature, I want to feel inspired, to hear the birdsong, wind, and to also hear nothing at all. It’s one part of social media that I worry has changed beautiful destinations at least for now, I always witness people arriving to take a few quick shots, barely even looking at the view without a camera in front and then leaving. It makes me a little sad to see which is one reason I scurry away and find somewhere quieter.
So, that aside, I ran down to the red track, where you could get amongst the trees and where I thought I could frame the glacier nicely. While there were a few ok angles, nothing was grabbing me, so I decided then and there that the first day was going to be a day for scouting without the pressure of capturing too many photos.
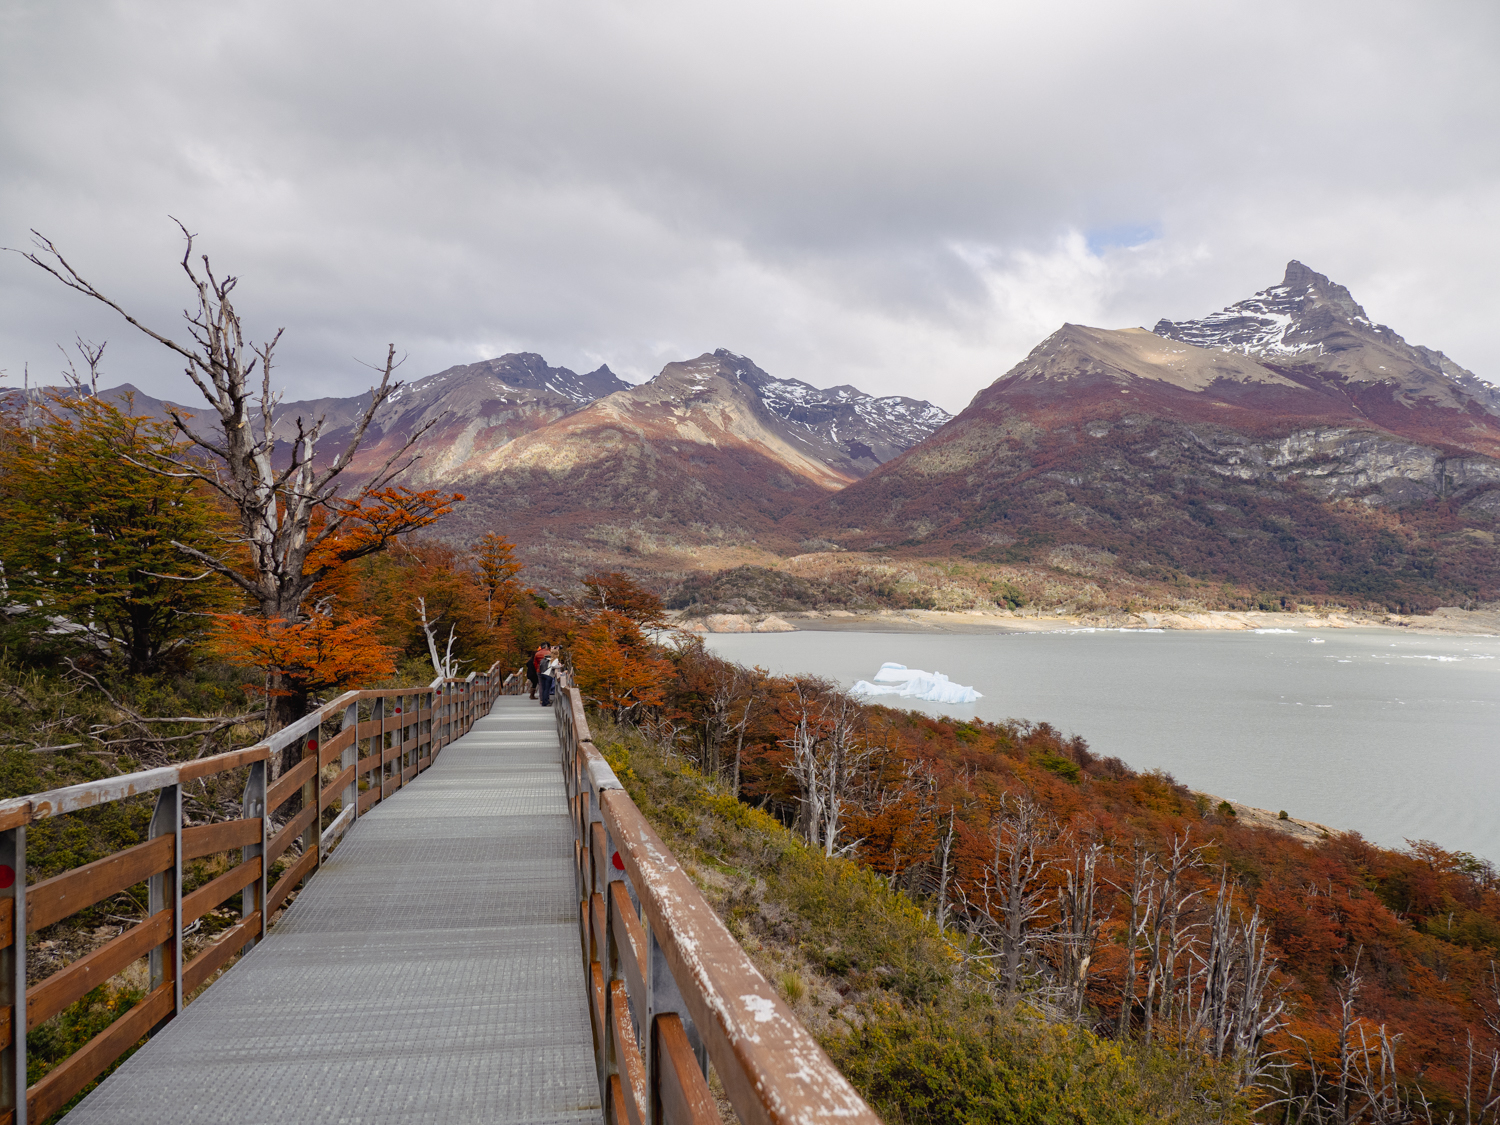
Making it my goal to cover every inch of the walkways while the weather was a bit iffy, I wandered slowly along in search of autumn trees and waiting to hear the roar of a calving. I’ll skip the boring parts and share that it was about four hours in that I stumbled upon a tree that instantly caught my attention, relatively small, not many leaves but located in just the perfect position to lean in and use it as foreground bokeh to frame the ice in the distance.
Playing with various compositions and angles, I knew I wanted to come straight back here tomorrow when hopefully, the weather was going to be clearer and add a sprinkle of sunshine to help enhance the tones! Let’s skip to day two…way more fun.
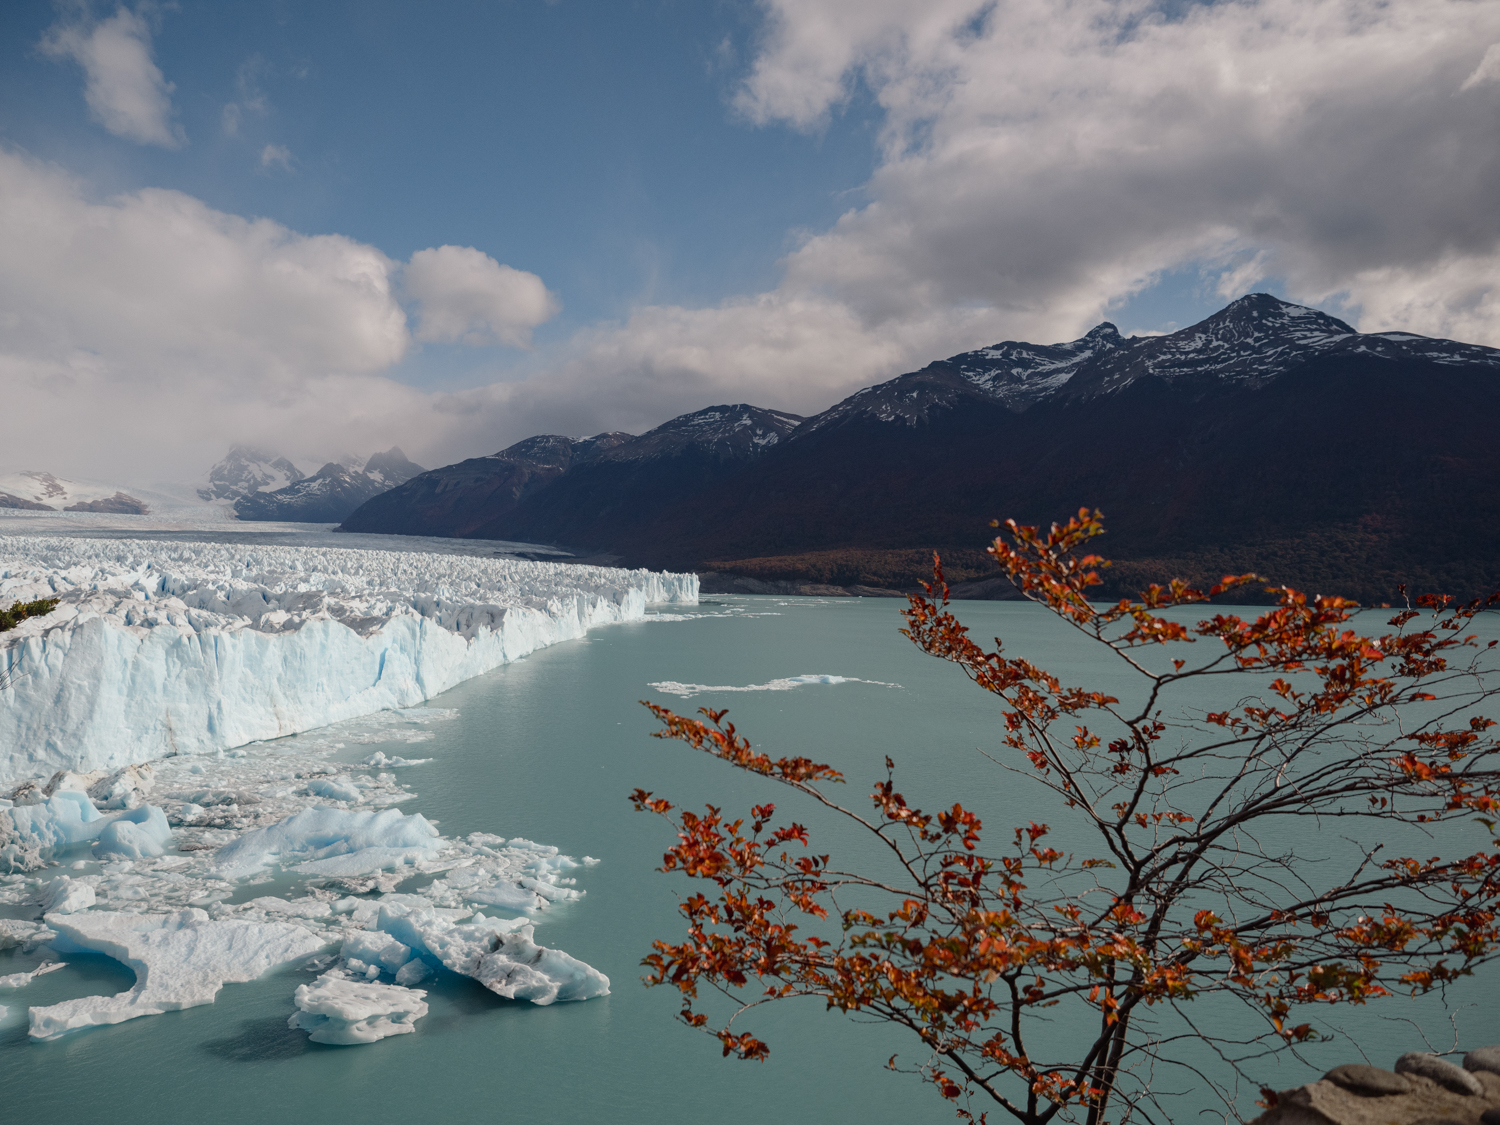
Day Two at Perito Moreno Glacier
Sunny skies again in El Calafate and this time, as I drove closer to the glacier, there were no clouds in sight! Hooray!
Having wandered along the blue walkway back to the carpark the previous day instead of opting for the shuttle, I knew this would change my approach on day two. Walking along the shore of Lago Argentino with no one else in sight, as the glacier grew closer, I could feel the lack of crowds and noise was aiding my motivation and creative vision for the day ahead.
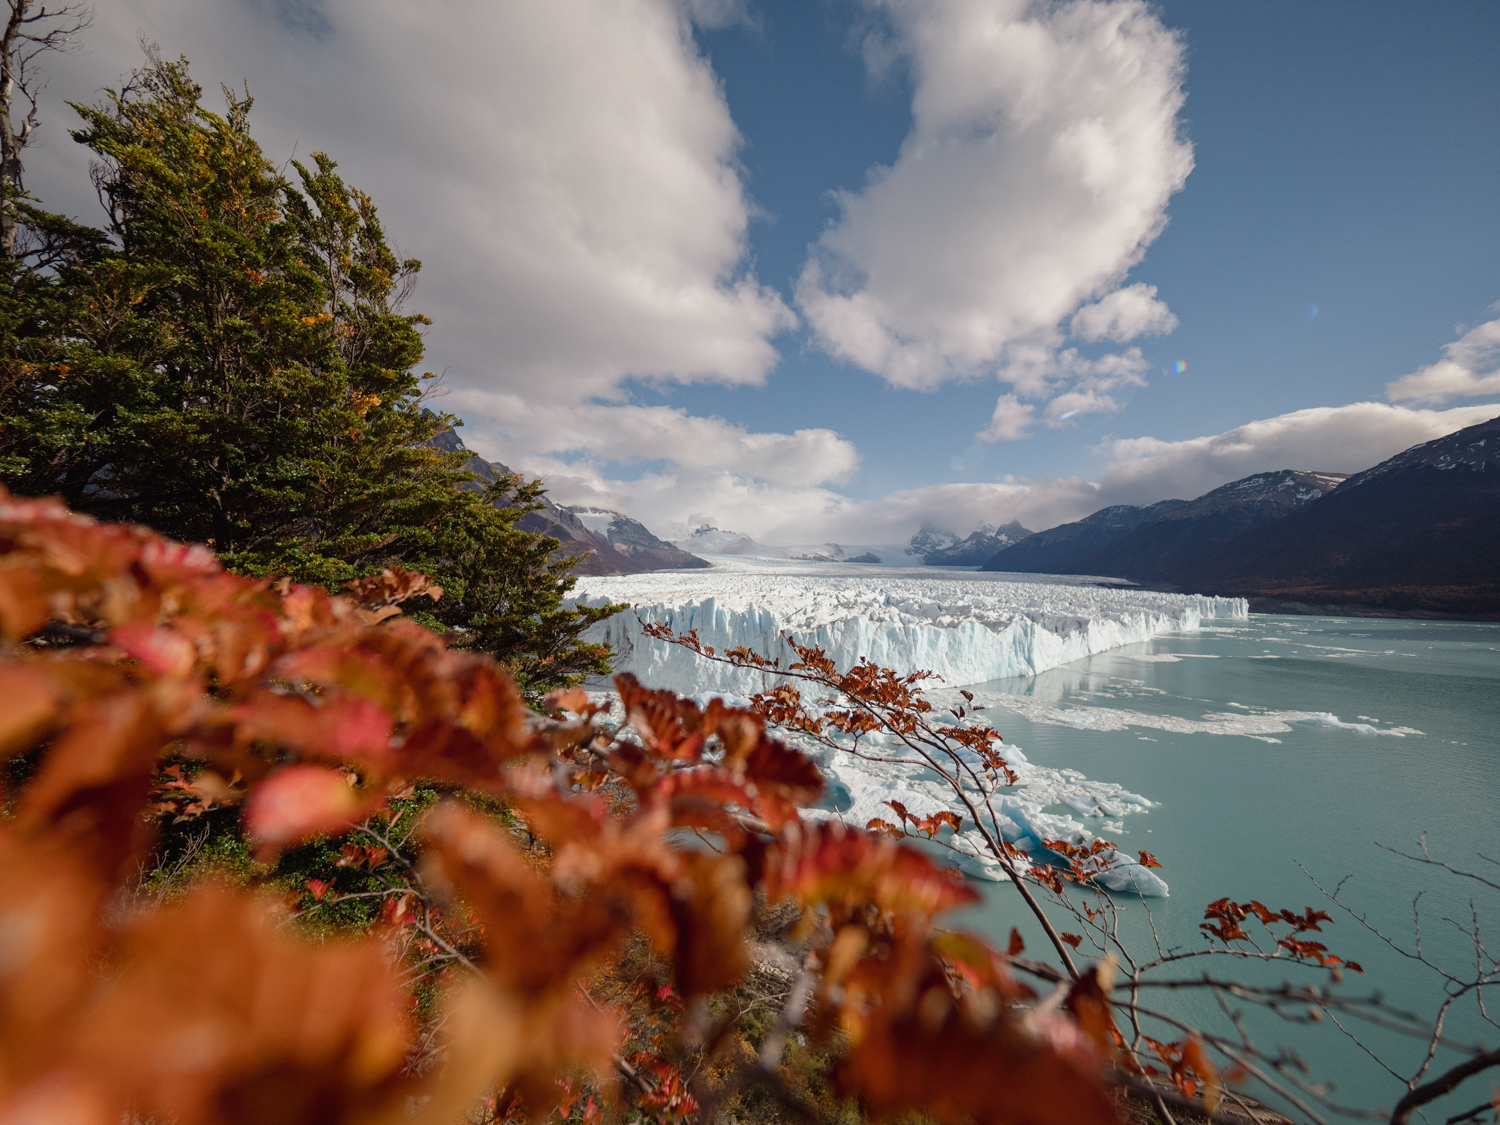
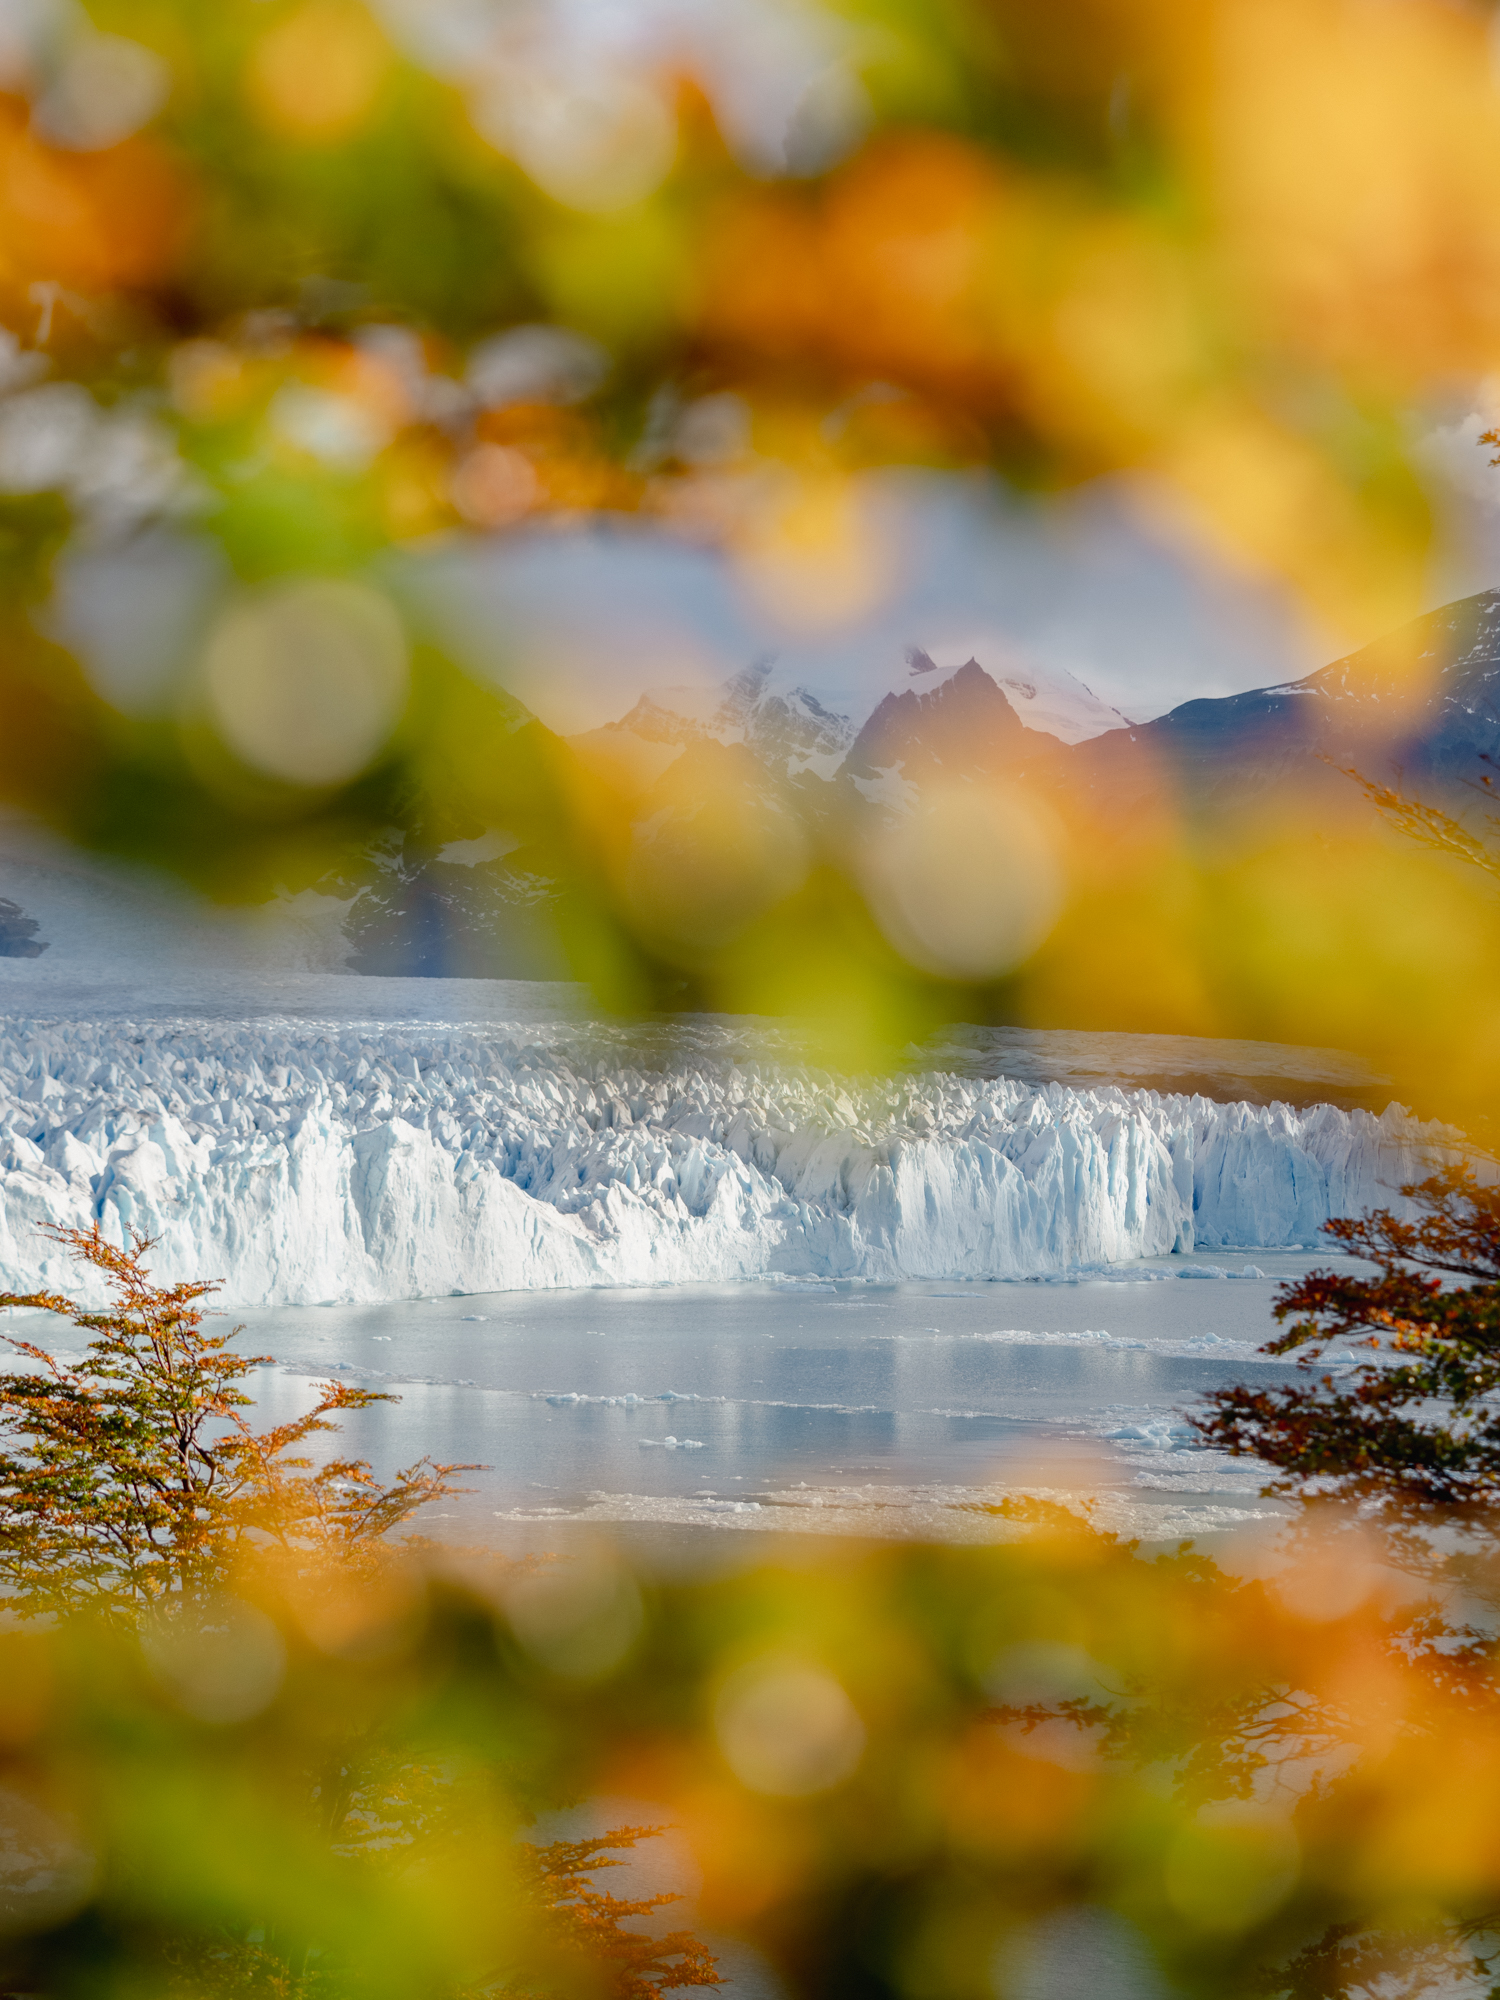
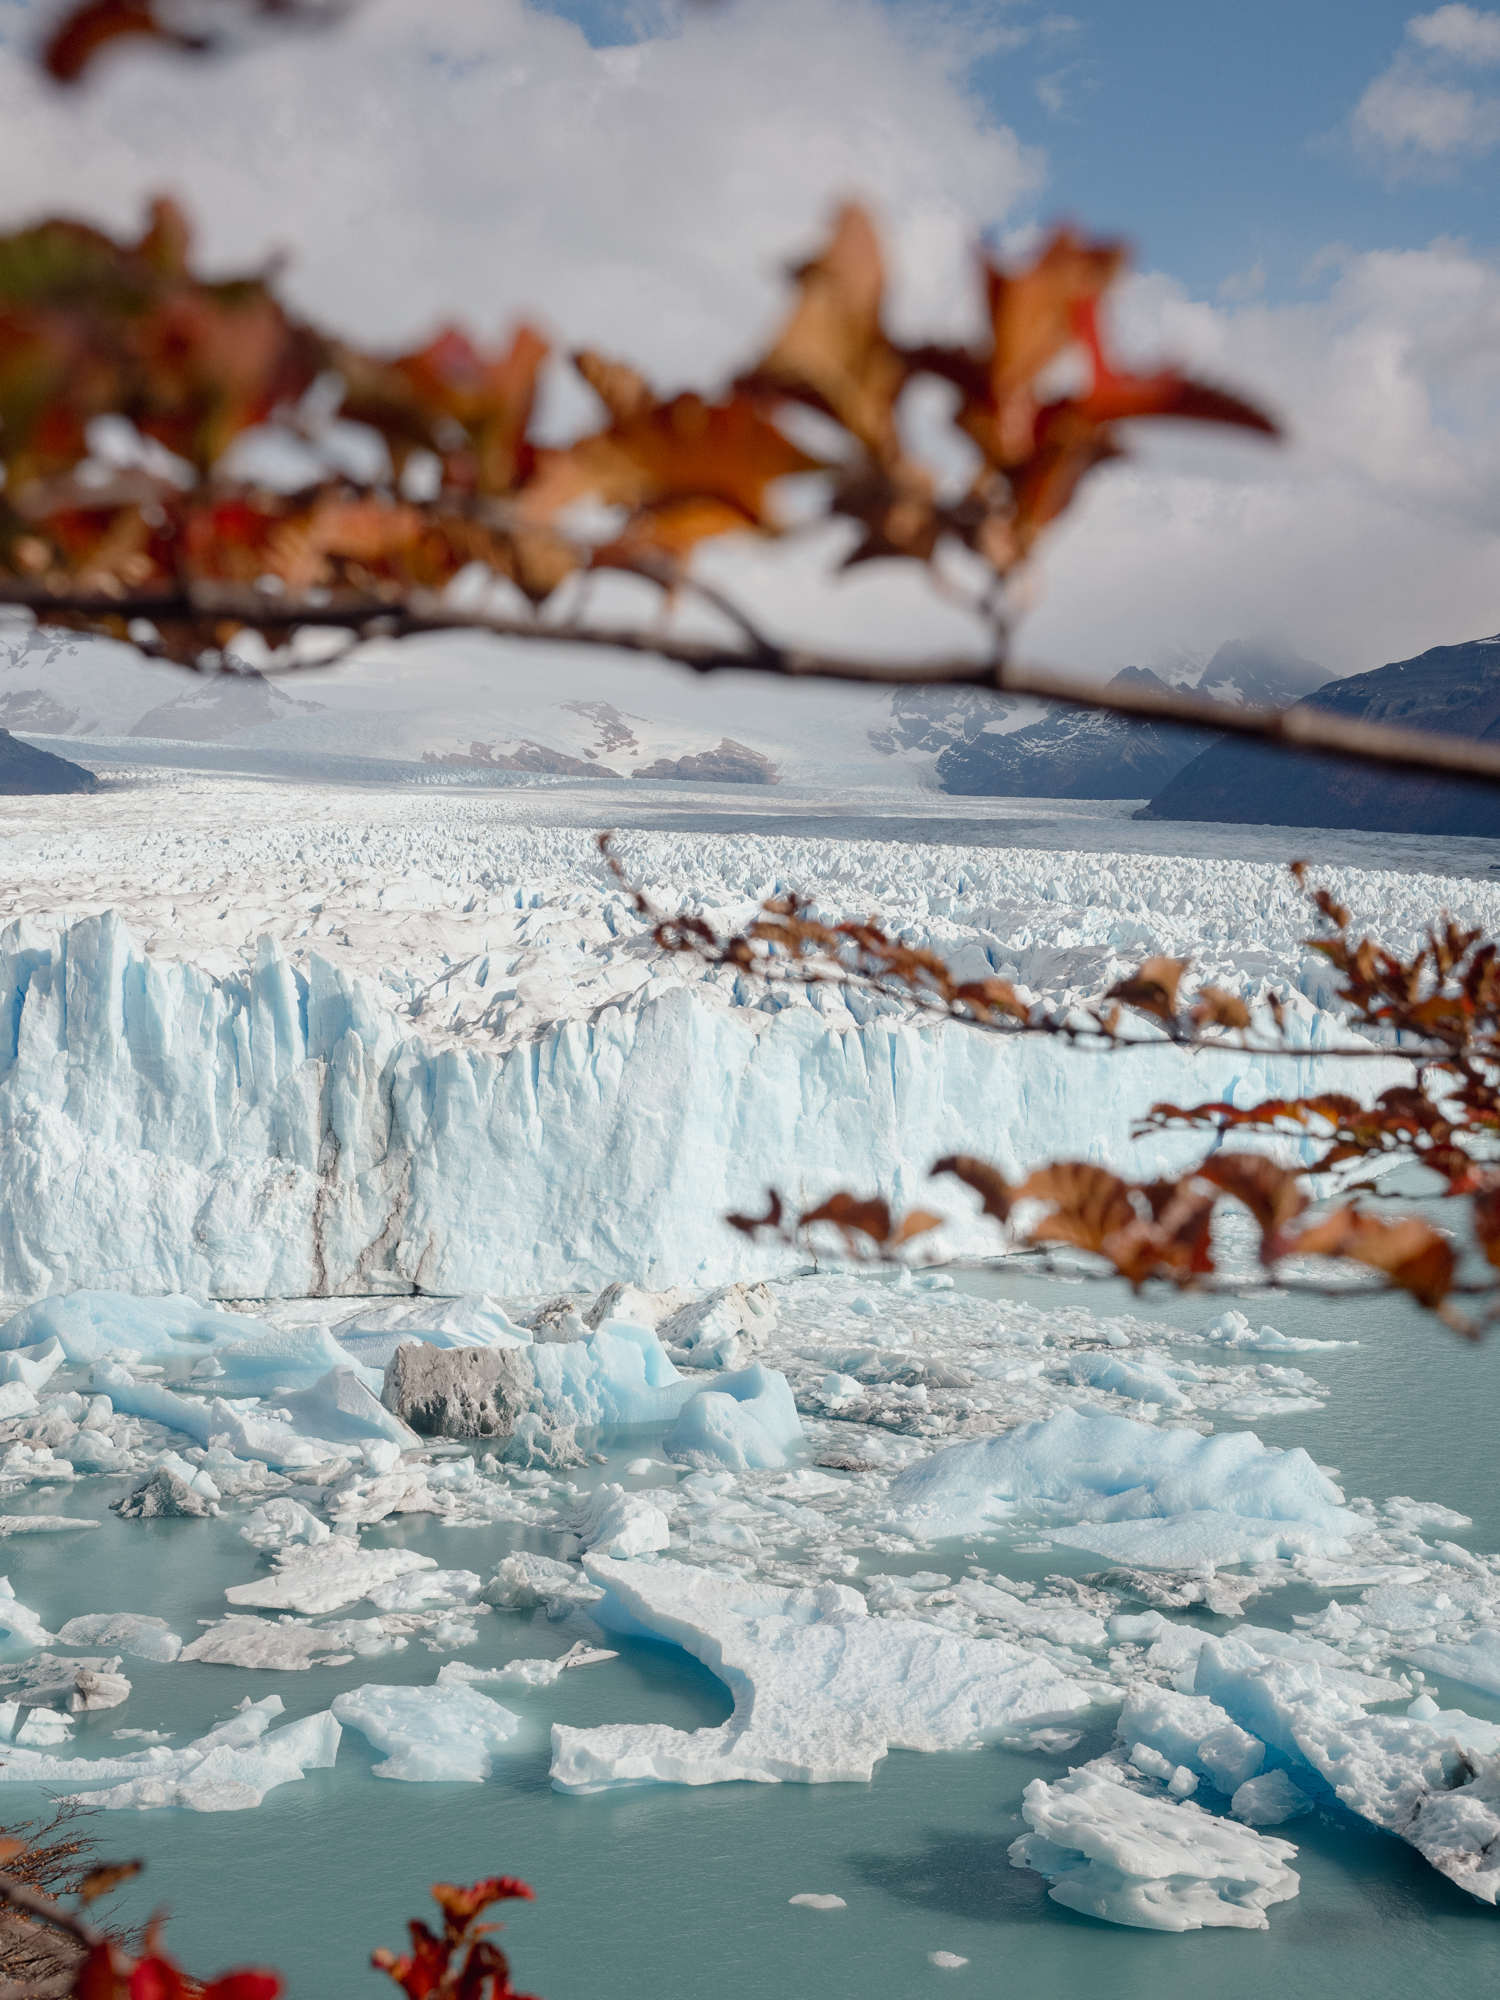
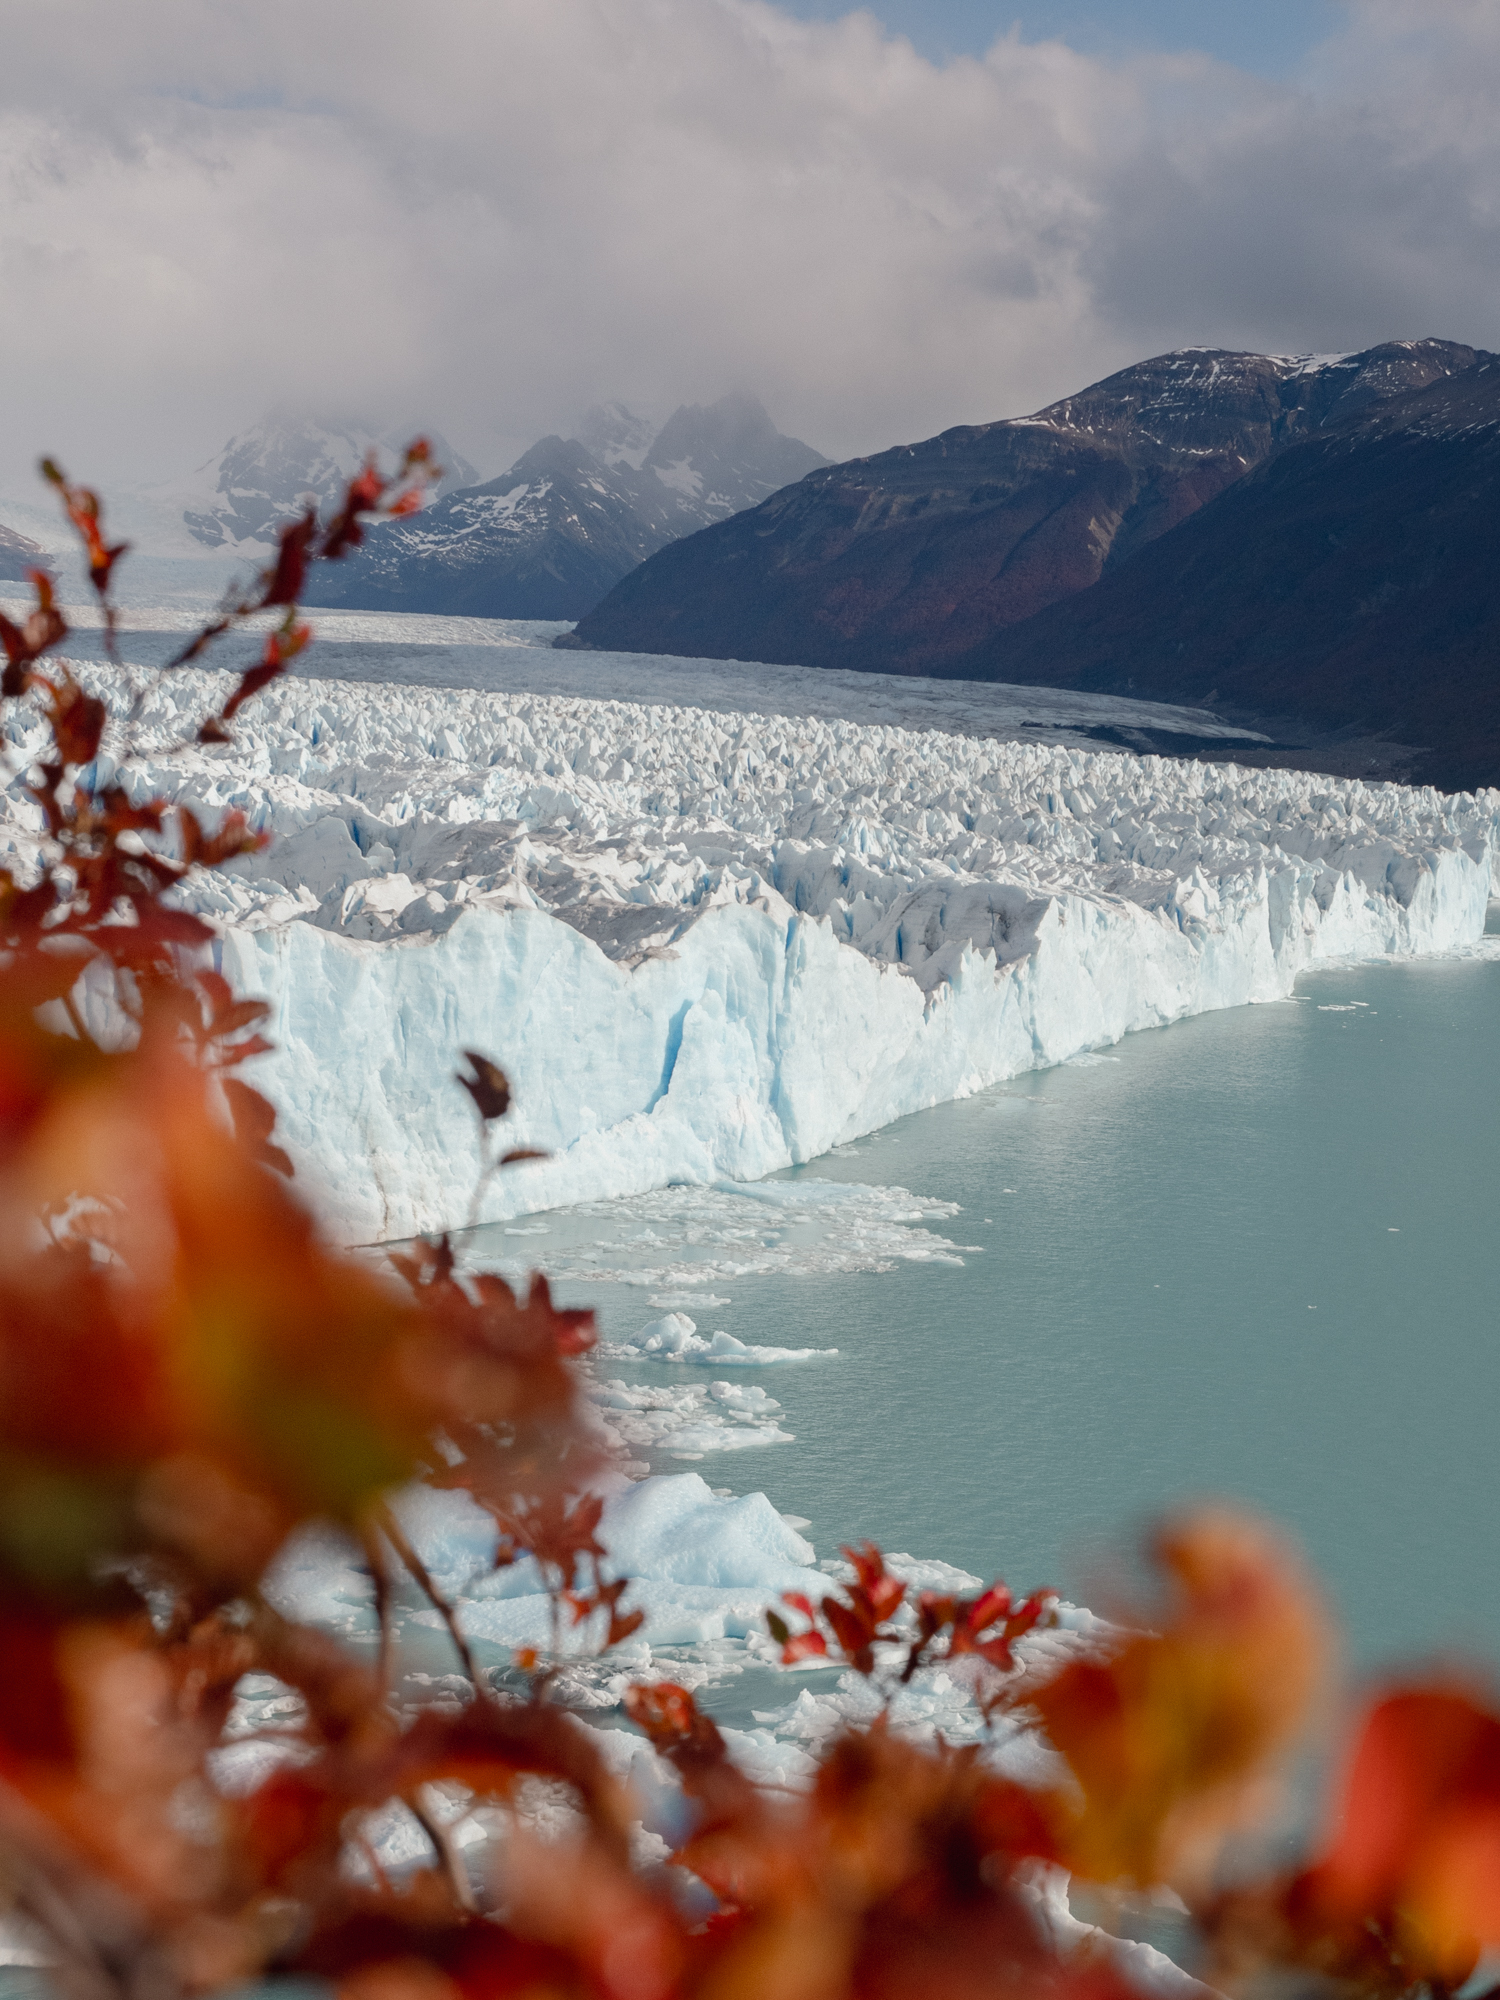
From this walkway, I arrived at the viewpoint that looks over the glacial front where Lago Argentino meets Canal de los Témpanos. It offers such a great vantage point for photographing the ice patterns and wide-angle shots of the landscape, but it’s also where an autumn tree was aligning beautifully with the glacier’s terminus. Take a peek at the shot below which was captured through the branches of a deciduous tree.
While there weren’t any people around, I quickly filmed this video discussing how I approach photographing glaciers…hopefully you can get a sense of how happy it makes me haha. I was also talking quite quickly because I could see people approaching down the walkway and get extremely awkward talking when others are watching 😊
Back to the photos, after filming I made a beeline for the spot I’d seen previously, the autumn tree dangling in just the right place to capture the bokeh beauties I’d been planning. With the OM SYSTEM 40-150mm lens on, I was moving around attempting to frame the scene to showcase the ice patterns with the vibrant autumn reds in the foreground. It wasn’t working.
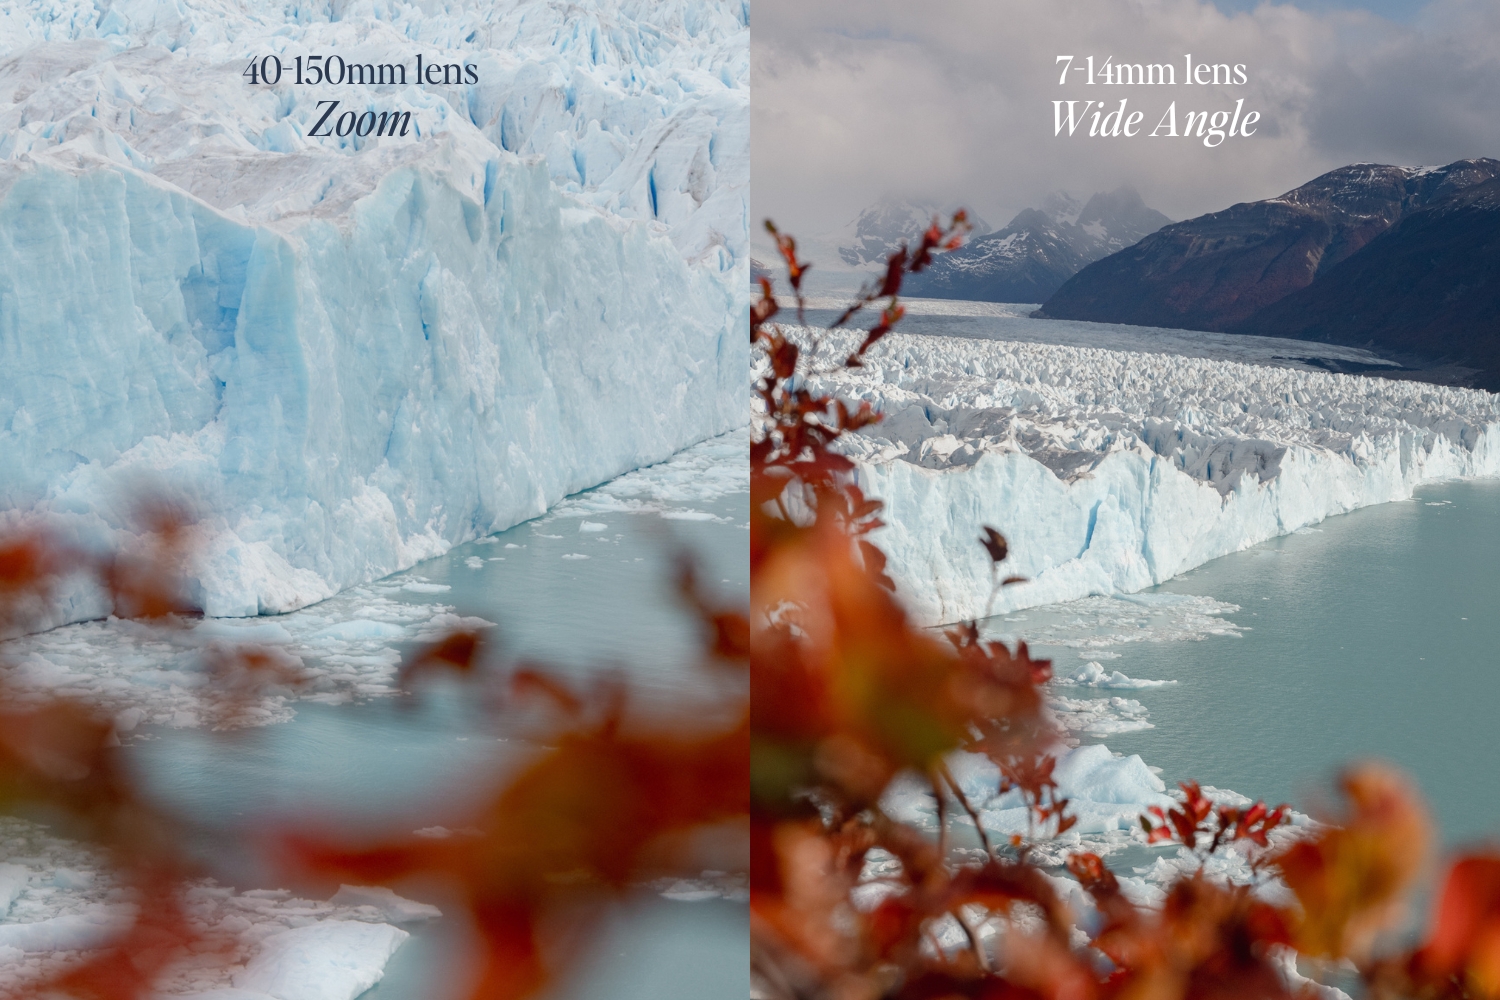
Usually, the 40-150mm is my go to lens and I can capture anything and everything with it and be completely blown away by the results (as I did above in the other spot), but I think the leaves in this particular location were too small and the glacier was too far away, a combination that instead suited the 7-14mm f2.8 lens. It’s my go-to lens for underwater photography and wide open scenes, but I rarely use it when photographing a glacier because I love getting up close to the cracks, crevasses, and patterns. Alas, I switch, and was instantly impressed by the result.
By swapping lenses and opening up the focal range I could see so much more, but the leaves that weren’t working with the zoom lens, suddenly took on a new life, I could see more of them and also incorporate the blue sky which was helping to enhance the overall impact of the image.
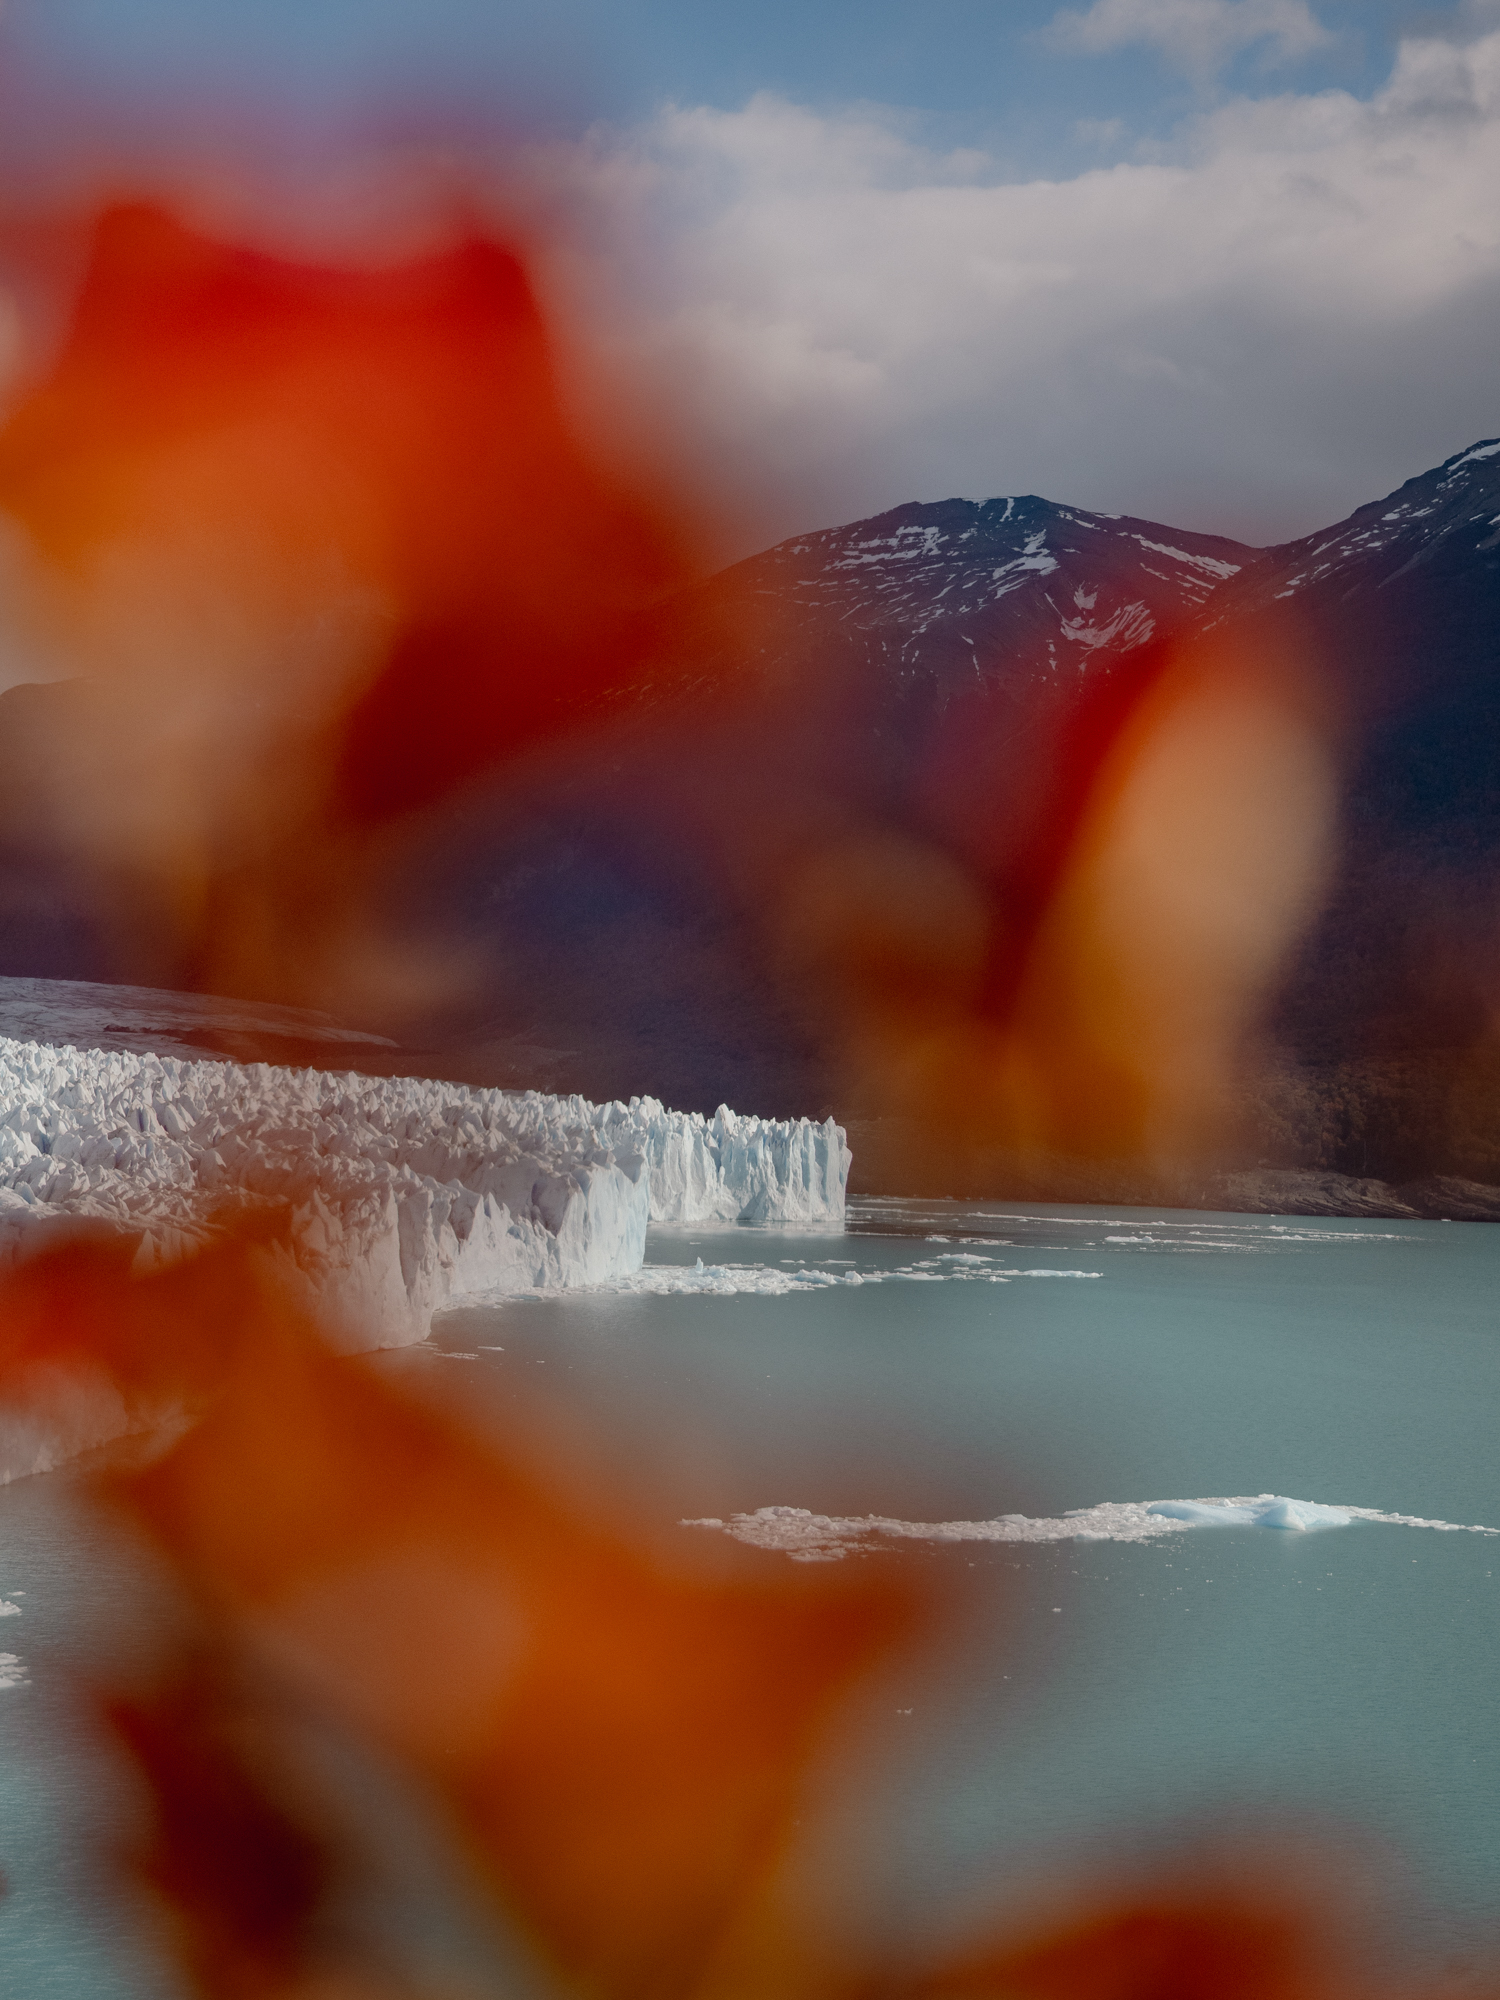
For the next hour, I stood at the same tree, actually, looking back it was more of a small branch or two! No wonder I was getting funny looks from people passing by wondering what the heck I was looking at so intently. Every gust of wind revealed a new opportunity to frame the scene and I was completely hooked on standing in that one spot until I got the image I was after. Take a peek at the results below, I think I could still go back and take some alternative but had so much fun experimenting and switching out the lenses that I’m just happy with the experience.
Afterwards, I needed to move on, my back was getting hunched from focusing on the same branch and to stretch my legs, wandered further along to find a spot where I could focus on capturing the calving action. Typically, the afternoon sees more calvings because the sun has been hitting and heating up the ice, making it a little more likely to tumble into the lake.
As I mentioned in the ‘Guide to Photographing Perito Moreno Glacier’, you’ll most likely hear a calving before seeing it! The sound echoes across the water and due to the length of the glacier (it’s 30km), it can take a while for the sound to reach the walkways. The best way to catch a calving is to stop and stare, wait and watch. Patience is key which is why it’s essential to plan at least one full day when visiting the glacier.
Because the calvings can happen anywhere along the glacial front, I put the 40-150mm f2.8 lens back on with the MC-20 2 x teleconverter because I wanted a nice close, action shot of the crumbling and crashing ice. As I’d spent so much time photographing leaves, the calvings were already starting to happen around 3pm, so I didn’t have to wait long for the first sheet to fall dramatically.
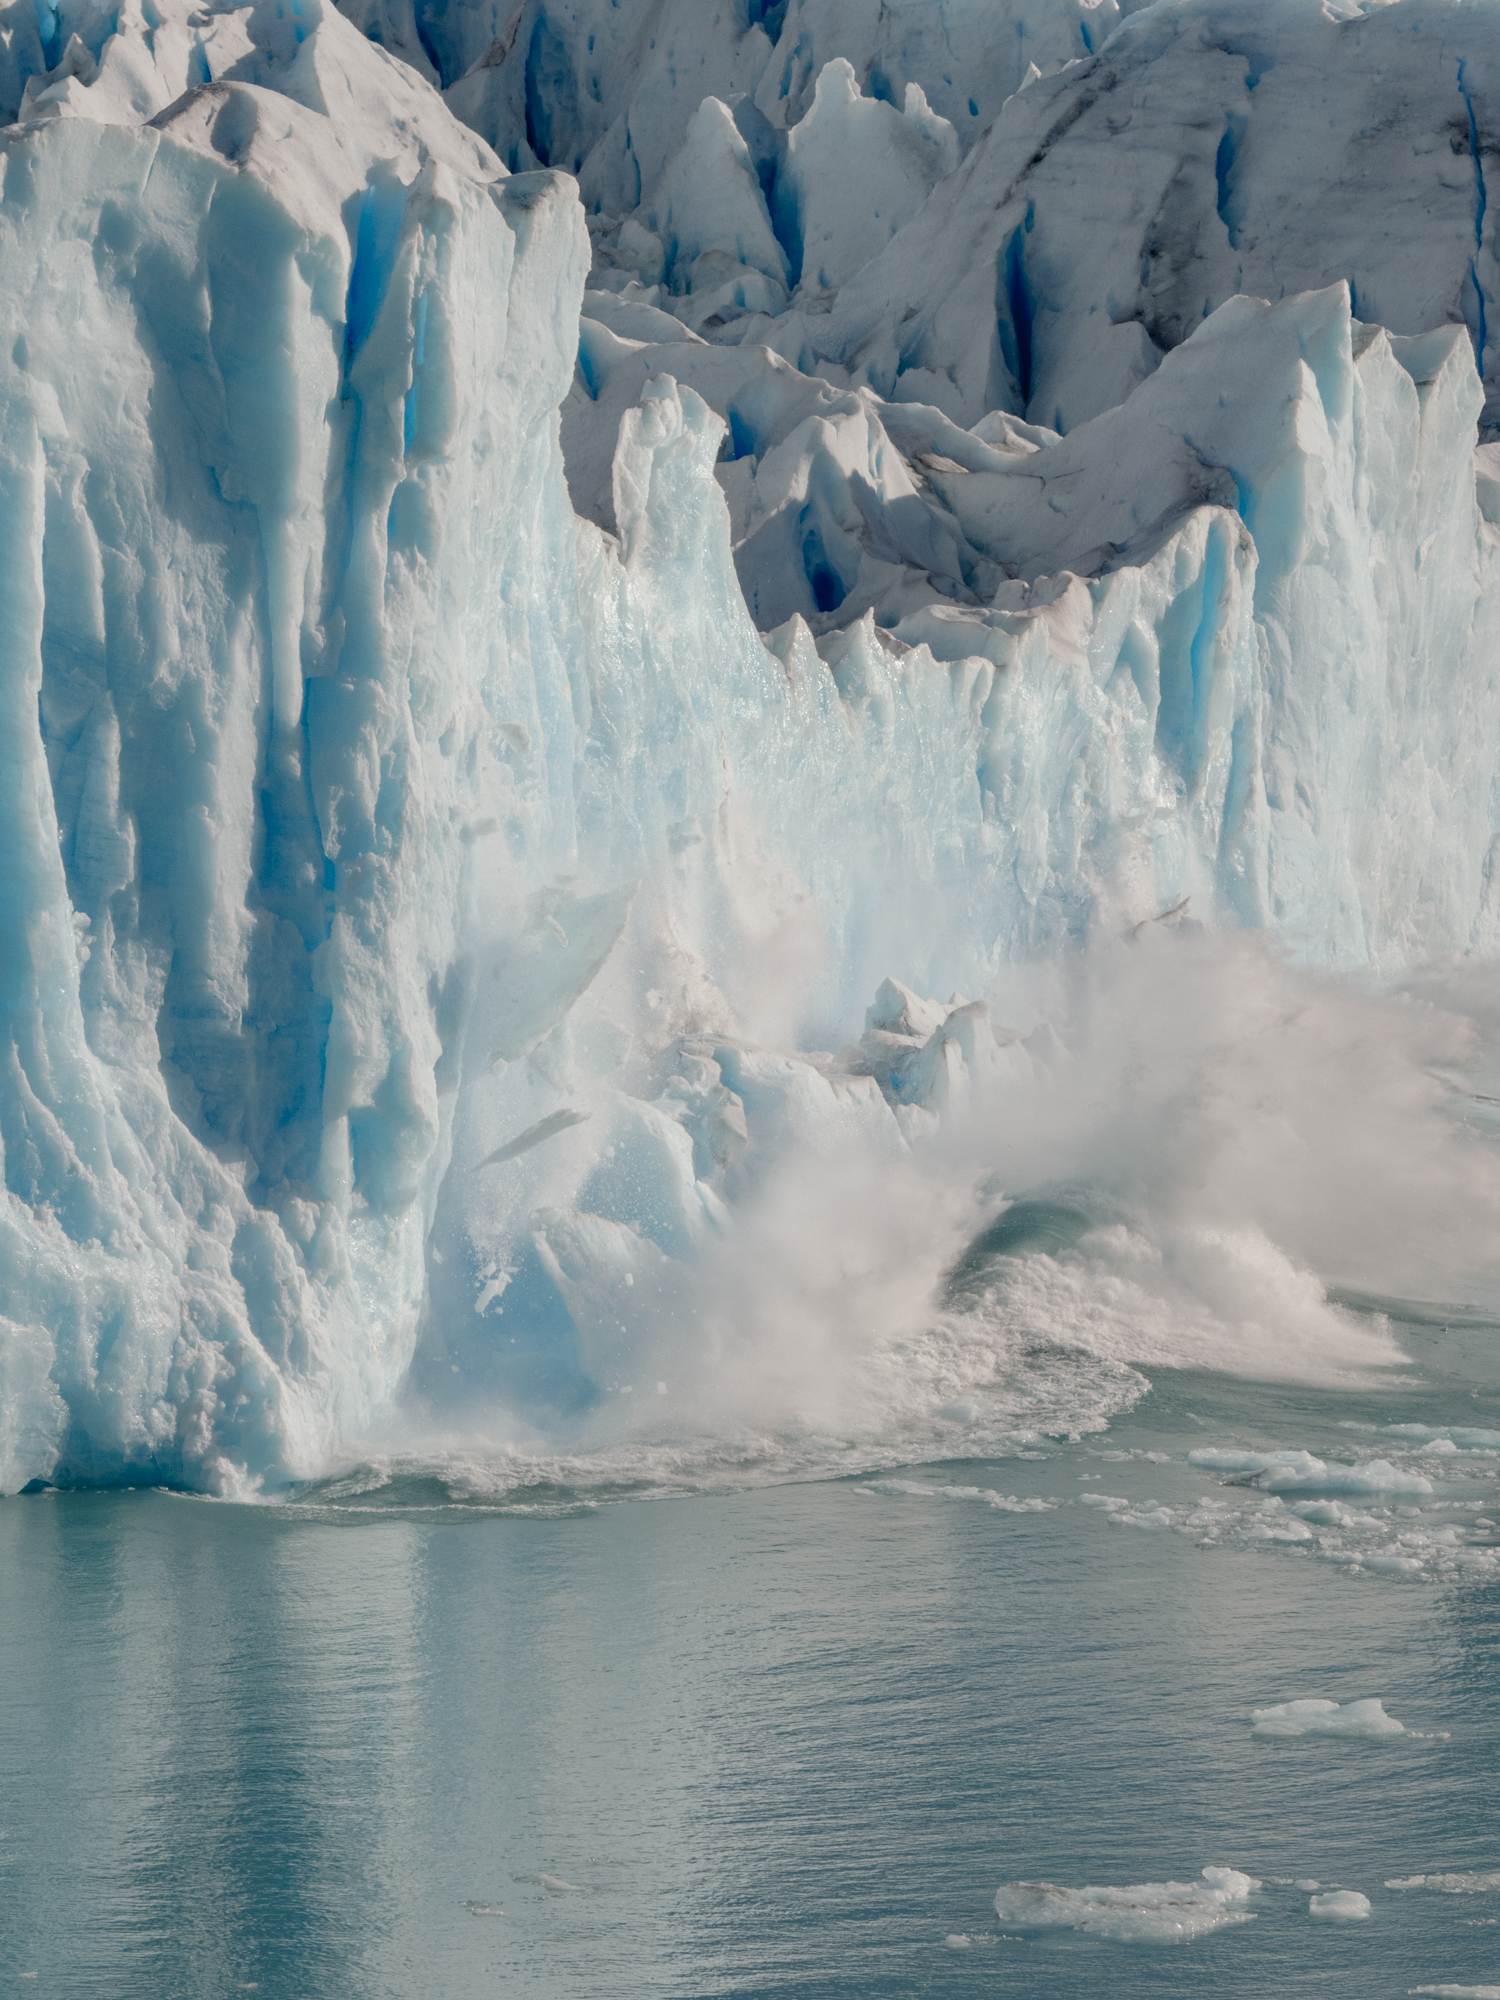
A quick crack like lightning, then suddenly, the entire section dropped, creating a massive swell, splash and sound. It’s quite an experience to watch something happen, yet have the sound delayed by a few seconds, like you’re seeing it in slow motion then getting hit by the reality in fast forward.
I attempted to alternate between photographing and filming, something I’ve been enjoying a lot lately, particularly on my trips to Patagonia, the Atacama Desert and South Africa. For me, filming is an entirely different art form and I have so much respect for people that can piece together documentaries, tell stories, and bring viewers into a moment through film and careful storytelling. What I capture at the moment I consider snippets, little moments of movement that I can share alongside my imagery.

The stability of the OM-1 is so impressive that I can film handheld, then once I’ve got some footage, quickly switch back to photographing. It’s a combination that’s boosting my creative thoughts and process, sometimes I’ll see things while filming that I may not have spotted when scouting for photos. One thing I’m sure a lot of photographers can relate to though is wanting to still capture the shot. I’ll be filming, watching the moment happen but desperately want to stop and take a photo too…I guess it’s a lesson in patience!
I hope you’ve enjoyed this behind the scenes adventure of my time at Perito Moreno Glacier, if you have any questions about visiting the area, or any of the gear mentioned, feel free to pop a question in the comments below.
To read more about my time in Patagonia, the following articles may be of interest –
A Photographer’s Guide to Torres del Paine National Park
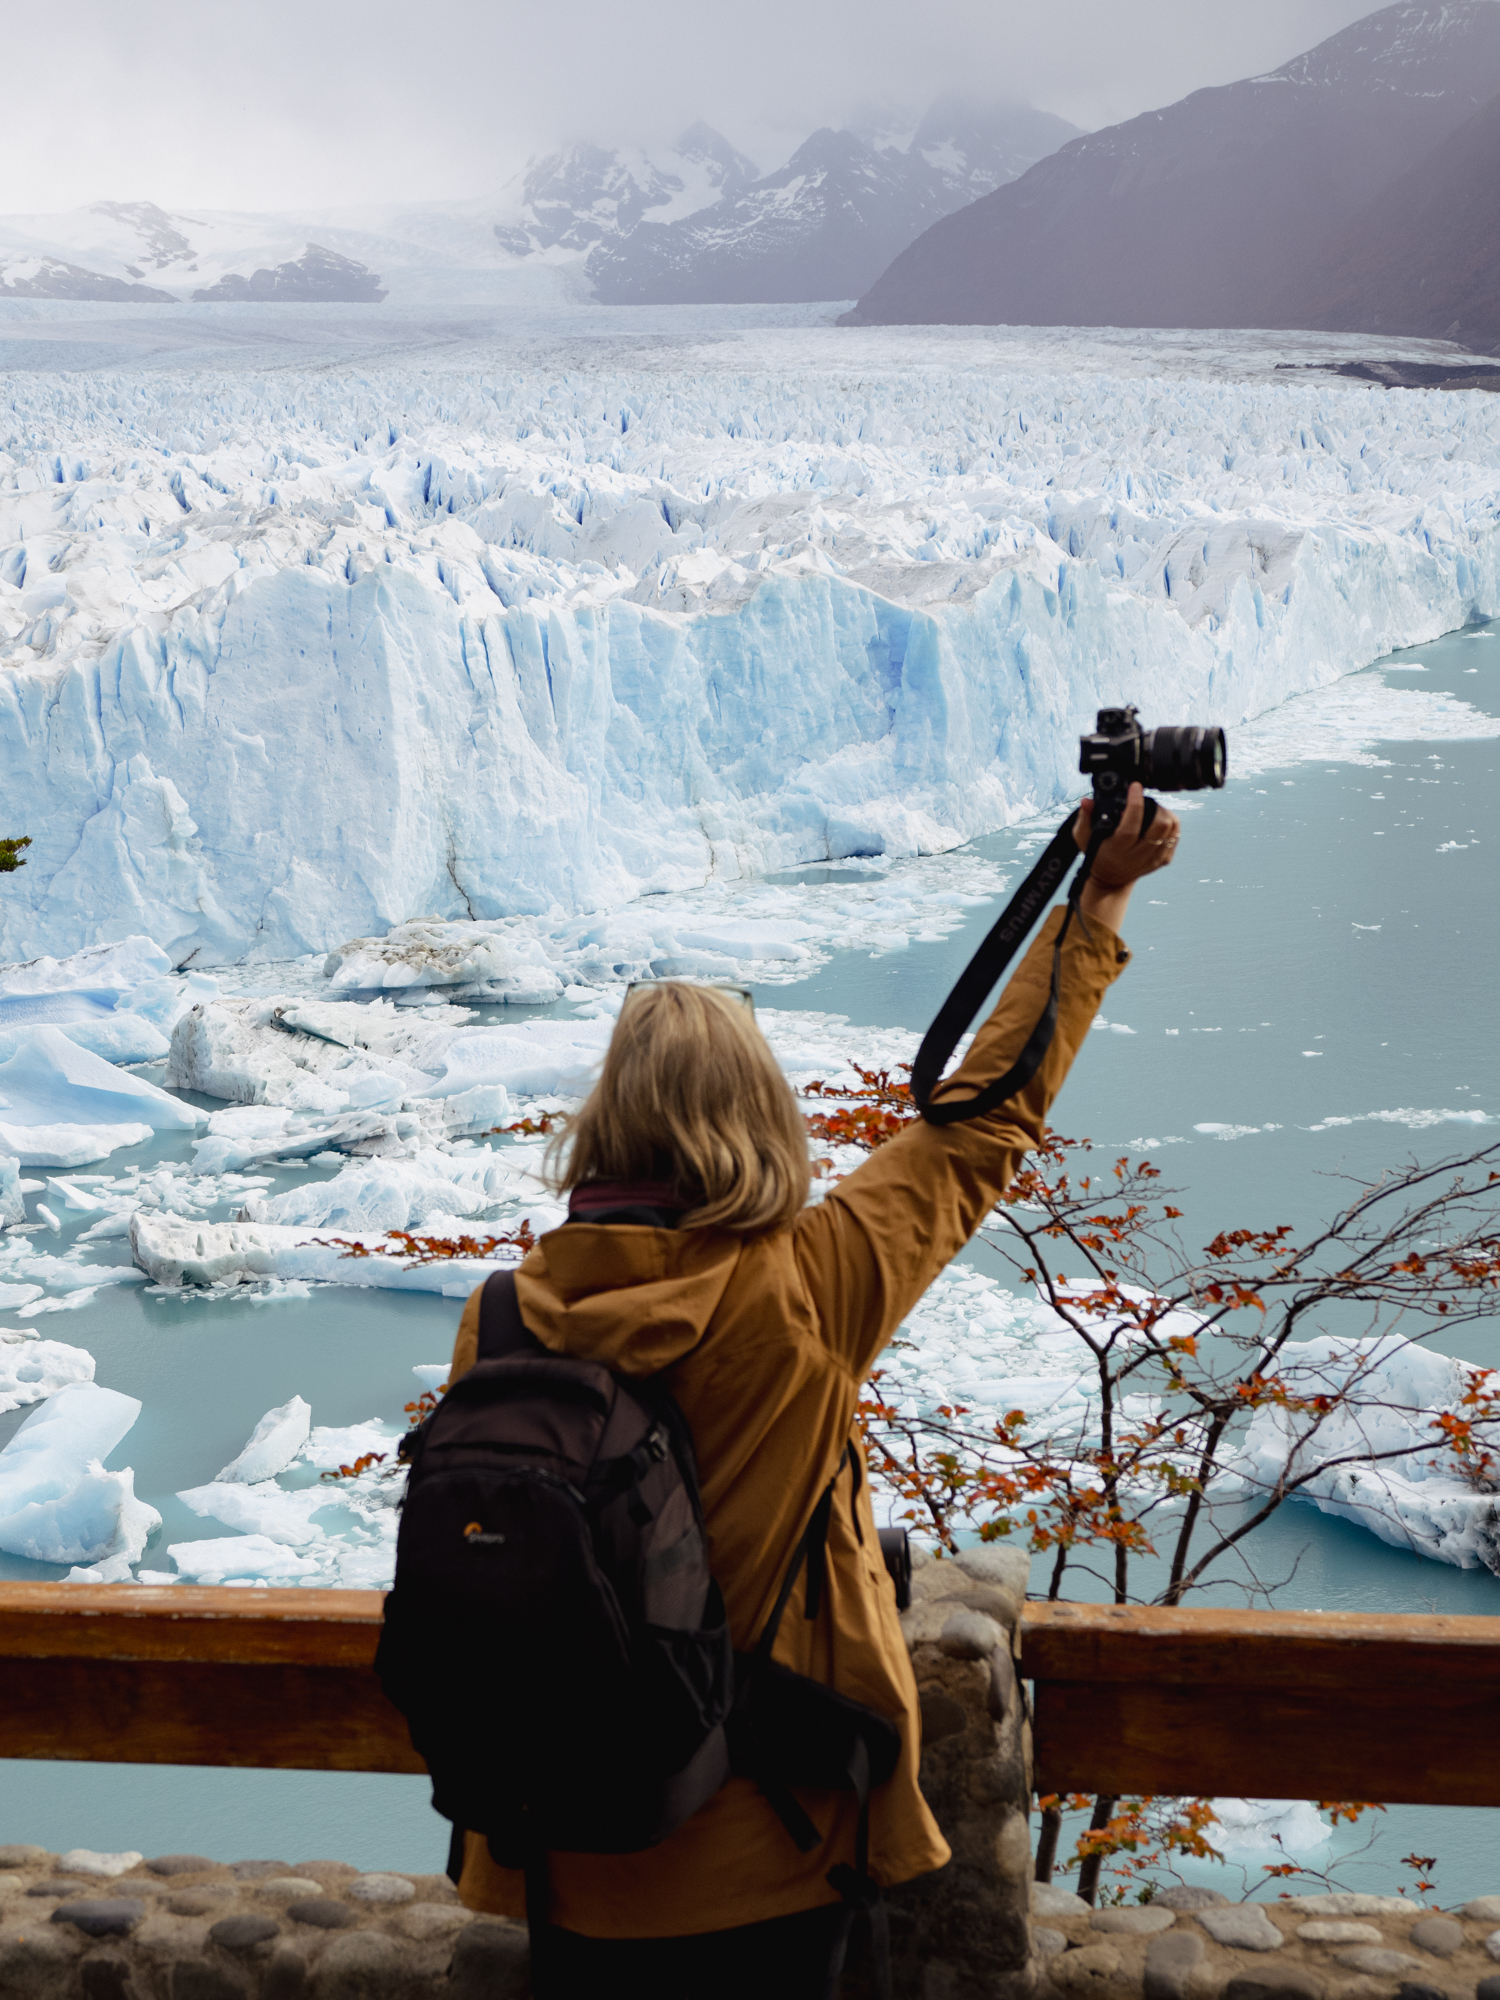
Travel and landscape photographer from Australia who is far more comfortable in a pair of flippers than heels! Having worked for publications such as Lonely Planet, Wanderlust and the Sunday Times, Lisa founded The Wandering Lens to share destination guides to the worlds most photogenic places and outdoor experiences.

Leave a Comment