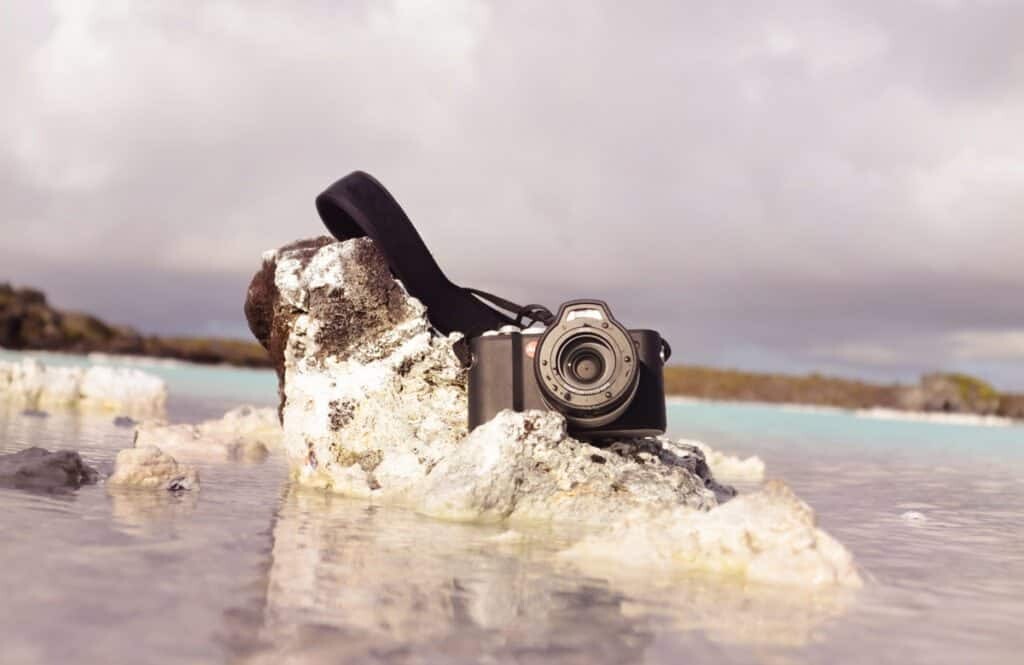
Water and cameras don’t mix well at all. Whether it’s drops of rain, humidity or you’ve gone and dropped your camera in the water by mistake, a wet camera is not ideal.
I’ve written about underwater photography before which is a whole other topic as waterproof cameras and housings are built to manage in wet conditions. But what about regular cameras that end up in the water?
Firstly, don’t panic. Depending on your camera, most will have a certain level of waterproofing, or at least an outer barrier that will protect them somewhat from the elements.
If your camera gets wet there are a few steps you can take to minimise damage and hopefully, your camera will be clicking away like normal in no time or fingers crossed you have travel insurance.
The list below isn’t a guarantee all will be well and the outcome will depend on how wet or waterproof your camera is, but if you’re not near a camera repair shop give these a go.
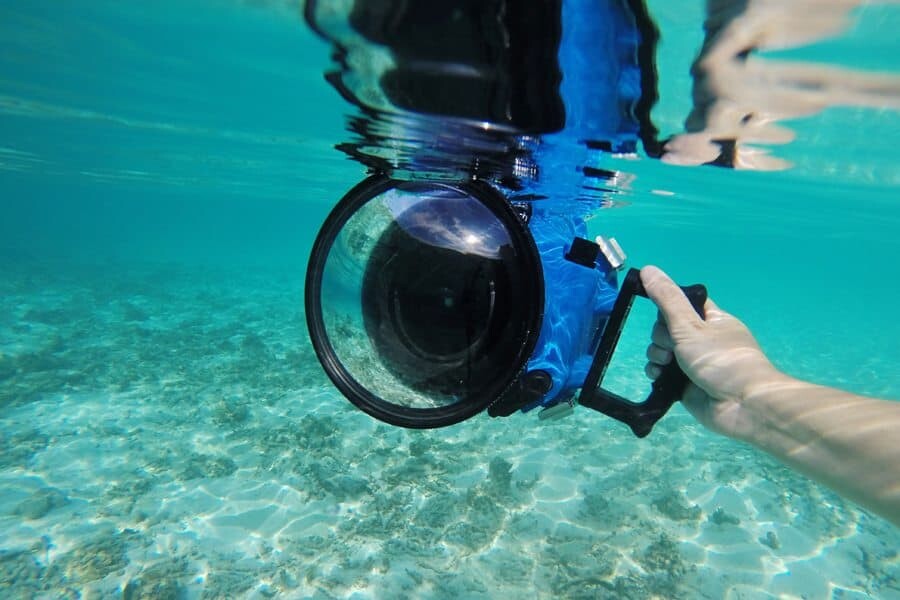
Obviously I’m not going to take a photo of my camera in water without a housing for this article…but imagine this without a waterproof case!?
1. Switch Off Your Camera
If your camera has fallen into the water while operating, the first thing you need to do is turn it off immediately. Keeping your camera on will only do more damage as it can cause failures in the electronics.
2. Remove Your Memory Card + Batteries
Luckily you’ll find most memory cards are weather resistant, even when it comes to a complete soaking in water. That said, these should be the first things you remove to ensure you don’t loose any data from images you’ve taken. Removing the batteries is essential too, take them out and leave them somewhere with good ventilation to dry out.
3. Remove Your Lens
Take the lens off only if there’s no water lining the seal where it connects to the camera. Dab the area before removing to ensure no water leaks into your sensor and then replace it with the cap to seal it off again so the sensor isn’t left open and vulnerable.
Be sure to clean the lens as quickly as possible to avoid any further damage, especially if it’s fallen into salt water. Always dab when cleaning your lens to ensure it’s gentle and won’t scratch or put pressure onto the elements.
4. Check For Water
While this might seem like the first and most obvious step, always perform the other steps first to minimise damage to your equipment and data. Once complete you can begin to check for any water around the camera. If water has found itself inside your camera (in the battery or memory card areas), use a small cloth to gentle dab the inside and soak some up. Be sure not to venture too far into the camera as you could end up pushing water droplets further inside. If in doubt, don’t touch it and perform step six instead.
5. Rinse Your Camera
This step may sound a little silly but if you have dropped your camera into salt water, rinsing off the salt is essential to avoid rust or corrosion. Obviously, you need to be very careful when doing this so create a controlled environment by filling a large bowl with fresh water. Dip your camera in the water for no more than 5 seconds and then place on a towel and pat dry immediately. An alternate method is to wet a cloth and wipe it over the camera to lift off any salty residue.
6. Dry In Rice
The good old rice method will help you soak up as much water as possible. Open your camera’s battery compartment door but ensure the sensor remains covered so rice can’t get lost inside!
Place your camera in a sealed bag of rice and let it rest for a few days depending on how wet it was. To be safe you’re probably best leaving it for up to a week! Keep the bag in a warm, dry place to ensure the rice can work its magic.
7. Camera Repair Shop
If you’re afraid to touch the camera, simply ensure the camera is turned off, the memory card and batteries are out and then take it immediately to a local repair store. Speed is the key factor here, the faster you can get it seen to, the better chance you have of it working again.
The weatherproof ability of cameras differs between brands and models. Most expensive DSLR’s will have a certain level of protection against the elements so things like rain or water splashes won’t do too much damage and you’ll find they continue to work through the conditions.
Cheaper cameras however won’t hold up to water damage and will need to be dried off and seen to straight away. If you suspect water has entered the camera, take it to a professional to look over and they can decide if it’s worth fixing or buying a new camera.
If you’re travelling with your camera when water damage occurs and have travel insurance, be sure to contact them to make a claim or check if the accident is covered. When travelling abroad I highly recommend purchasing insurance for incidents like this that can ruin your trip (especially if you’re a photo lover like me!). Be sure to check your coverage includes personal items and if your camera equipment is valuable, you can enter the cover amount required per item for piece of mind.
Check www.scti.com.au for a travel insurance quote on your next trip.
Also if you have a camera that’s under warranty or has a guarantee attached to the purchase, be sure to contact your manufacturer for assistance. Nikon, Canon, Panasonic, Sony, Leica and most camera brands will have a contact available in each country or international numbers should you wish to call the office in your home country.
*This guide is not a guarantee and I take no responsibility should your camera fail to work again or be damaged whilst performing the steps above. Please seek professional assistance if you aren’t comfortable cleaning your camera as all cases will differ depending on the extend of water damage.

Hello! I’m the founder and photographer behind The Wandering Lens.
With 19+yrs experience as a professional travel and landscape photographer, all advice found on this site is from my personal experience, or that of contributors, on the road. I hope it’s useful for your own travels and would love to hear in the comments about your trips and experiences around the world.



Blog Comments
Bill Appelbe
October 22, 2018 at 10:08 pm
Cameras can sometimes take months to dry!
Regarding drying cameras, we tried all the suggested tricks (remove batteries and memory card hair-dryer, store in a bag of rice), but no luck with it after a week.
But in hope of restoring it I left it for a few months on the counter, planning to recycle it.
For amusement, I thought I try one more time before recycling it, and lo and behold it powered up just fine (over 2 months after getting damp).
Camera model was a Panasonic DMC-ZS40, it got very damp in a wet backpack while hiking and intermittently would not start afterwards til it stopped completely
Luis
November 12, 2018 at 4:21 pm
Thank you for sharing this article i think i can take a good care of my canon 70D camera
Rosie
January 17, 2019 at 5:19 am
Thanks for this tips. Just coming back from standing 2 hours in the rain waiting to see wildlife is Uganda and I did not notice that my camera bag was not waterproof! Your tips are in use as I post this.
Lisa Michele Burns
January 17, 2019 at 5:22 am
Oh gosh, good luck Rosie! If anything, getting your camera wet in Uganda sounds like it was for a good reason, I hope you saw some wildlife!
isabella Biava
February 17, 2021 at 9:21 am
Hello there. I just found your article. I think I am screwed. I am in a remote area and I dropped my camera in a river 2 Mt fall. So wet+hit. I still want to try. I have found the rice but not the sealed box. So I want to use the camera bag. But my concern is, since I had to remove the lense, the rice will be get into the sensor and that’s not good. I am not sure how to proceed. Shall I keep the lense on? Thanks a lot for any advice. I am crying.
Lisa Michele Burns
February 17, 2021 at 11:19 am
Hi Isabella, oh no! Sorry to hear you’re upset. A sealed box does work best but if that’s all you’ve got it’s worth a try. Do you think there is water inside the sensor? If so, is there a way to place the camera upside down in the bag so that water can drain out and perhaps not be effected by the rice? If the lens is already off, I’d try and dry it like that but like you said, just be weary nothing else gets inside. Some cameras recover really well from water damage, others unfortunately do not. My fingers are crossed for you and hope you can enjoy the adventure regardless 🙂
Oh and take the memory card out just so if all else fails, hopefully it isn’t damaged and you have some photos from your trip.
I can only offer general advice without actually being there in person and seeing the camera so apply it as you see fit.
Best of luck.
Tanya Howell
May 1, 2021 at 8:00 am
Got the cameria working use the rice in bowl mefered cannt believe the rice is still dry no water why does the water go ?
Joshua Domingo
January 23, 2023 at 11:39 pm
Hello. My camera canon 200d dropped in the water and when i try to open it and try to take a shot it suddenly pop up “error 20, an error prevent from shooting. Take the camera off and re install the battery” what shoud i do? Still not working and still error.
Lisa Michele Burns
January 23, 2023 at 11:54 pm
Sorry to hear your camera is having issues. If it’s wet inside, your camera is probably detecting this and therefore displaying the error if it’s impacting the operation. You could try waiting for it to dry, taking the battery out and leaving the battery area open to dry before reinserting the battery and turning on. This is me just guessing though as it will depend on how much water got inside and where it crept. It’s impossible to know how much damage is there without looking at the camera myself, I’d suggest if it’s still not working to take it to a camera store for repair. Good luck!