
Quick tips for designing your Photography Website and Print Store
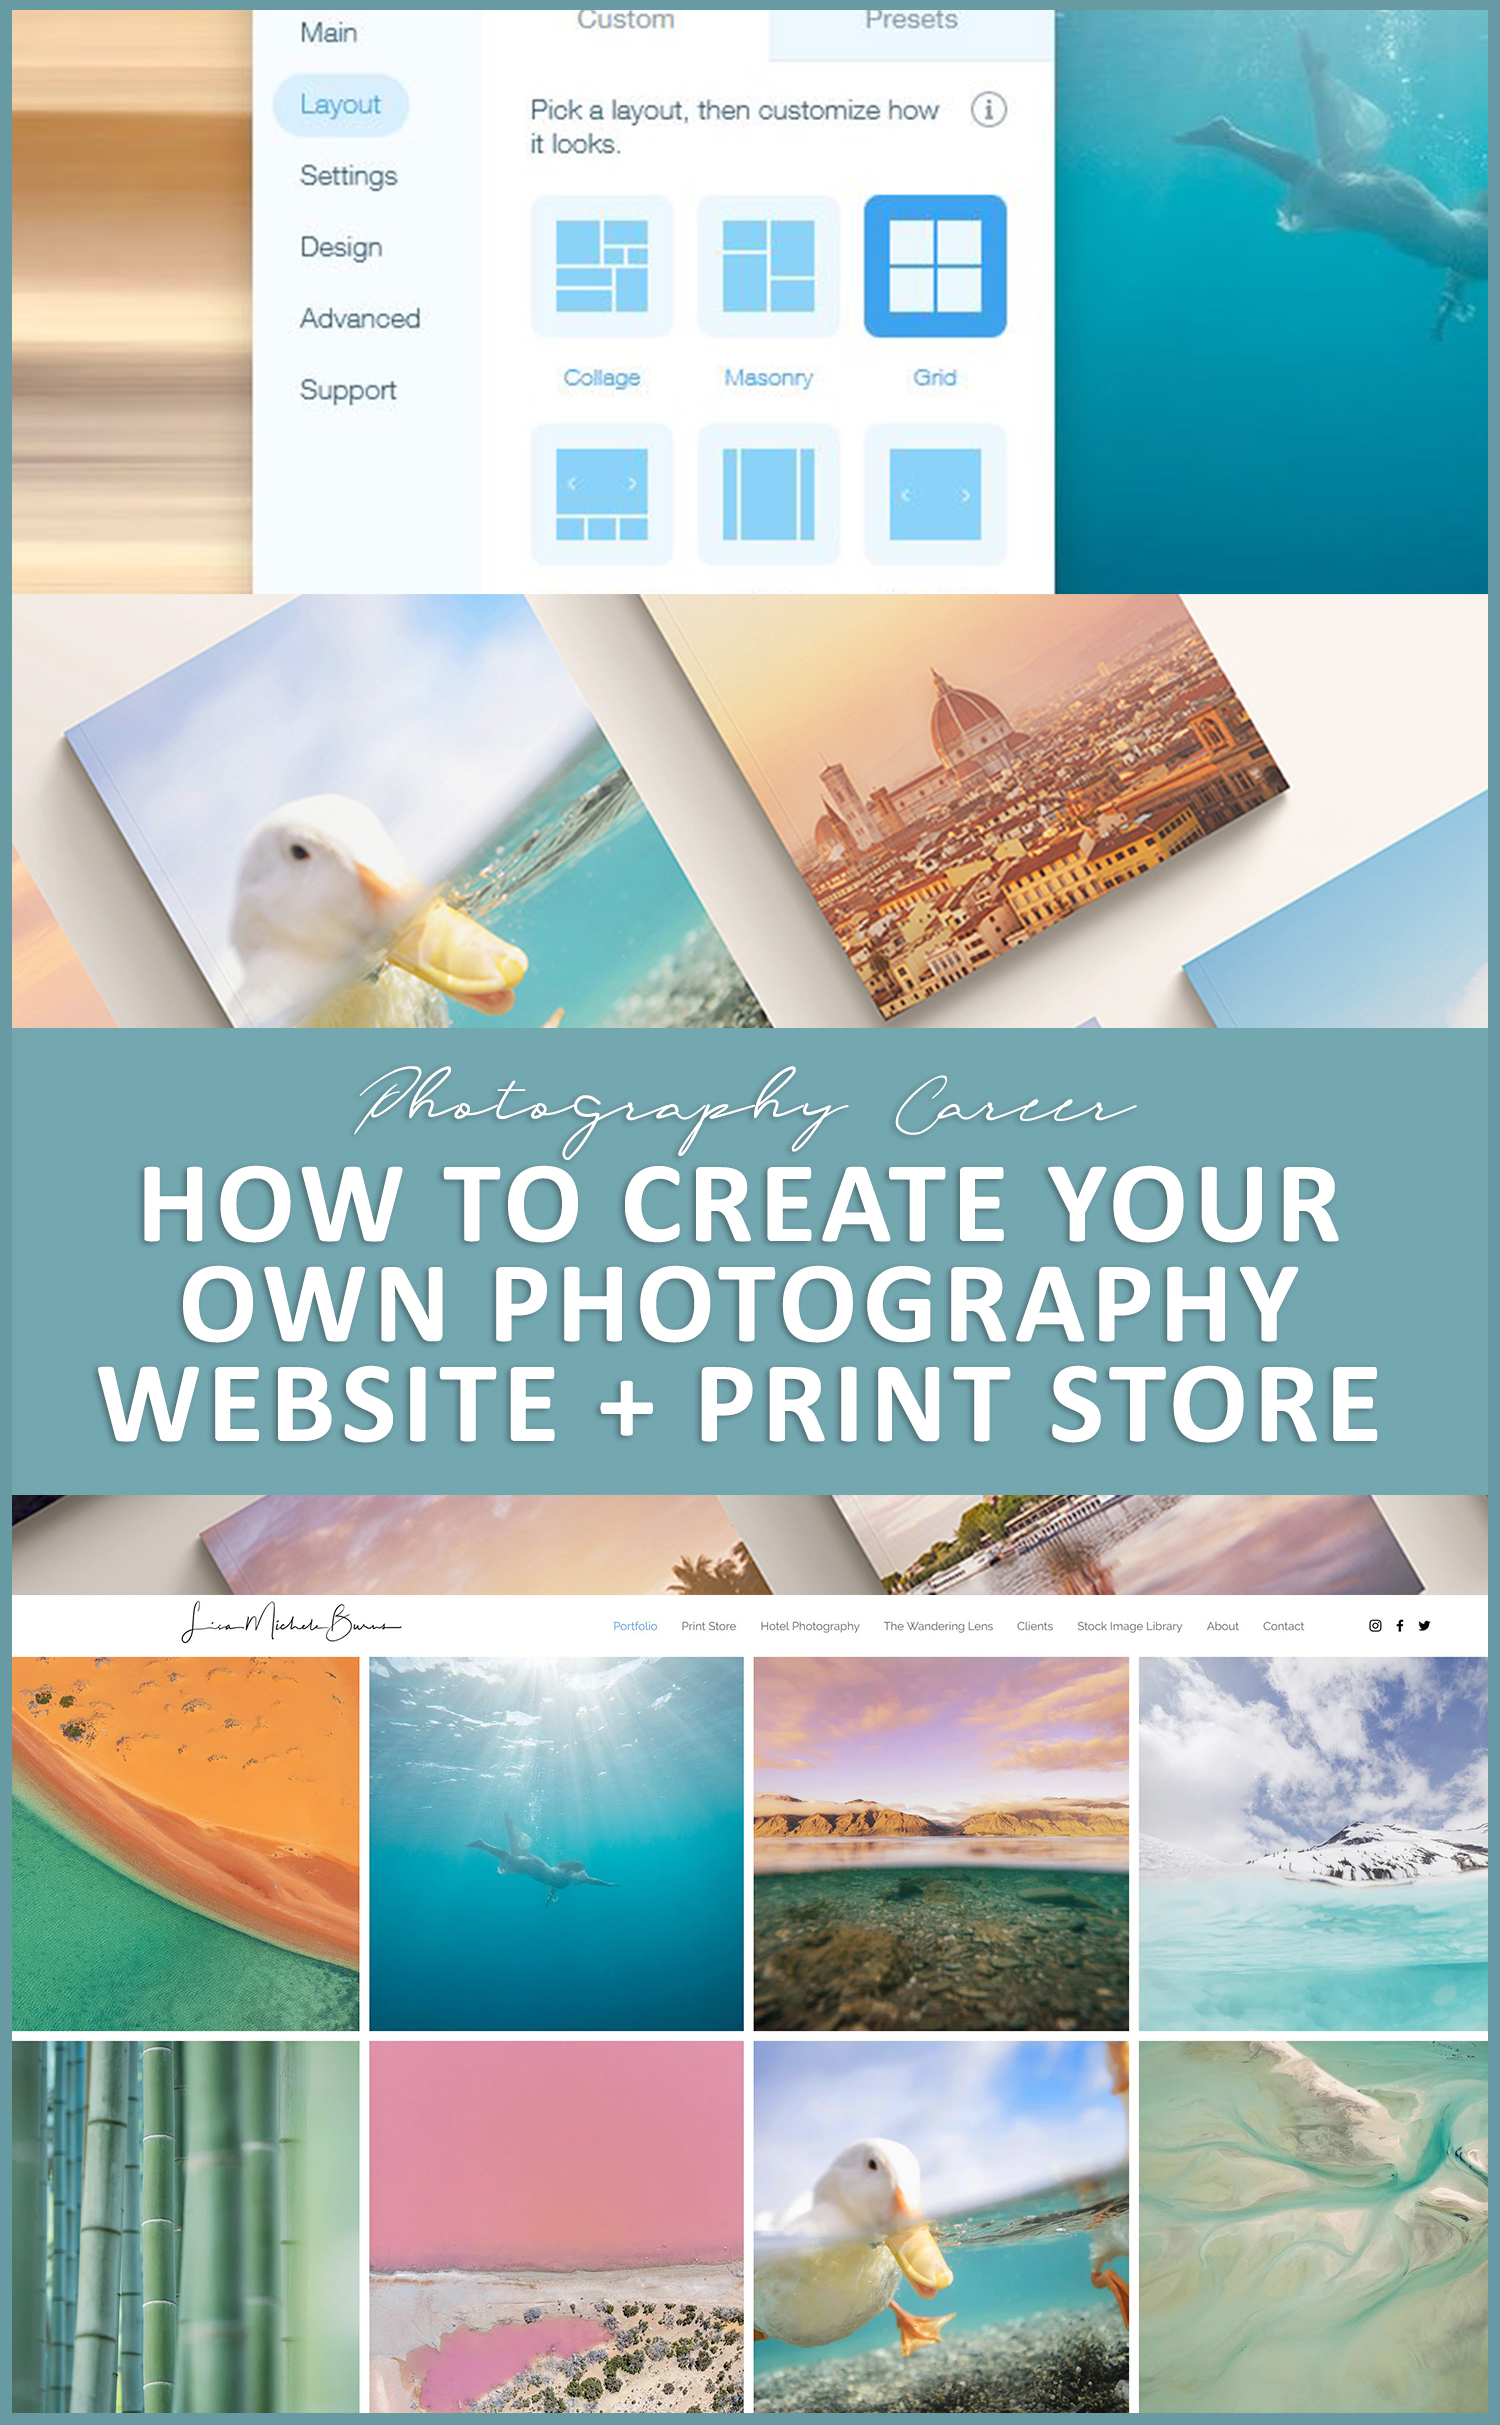
Showcasing your photography online and making a curated home for your best work is almost essential as a photographer in today’s world. We can’t just rely on having a beautiful Instagram account, a clean, professional photography website will ensure you can provide clients with a direct link to see your best images whether you’re photographing travel, lifestyle, portraits, weddings or commercial work. If you’re keen to sell prints of your photographs, developing a website with eCommerce potential is a great way to start generating a side income stream.
It’s like owning a gallery space in the online realm. It requires an initial investment, time and continuous upkeep but when done right, you’ll be setting yourself up for long term growth as a photographer.
Why create your own photography website?
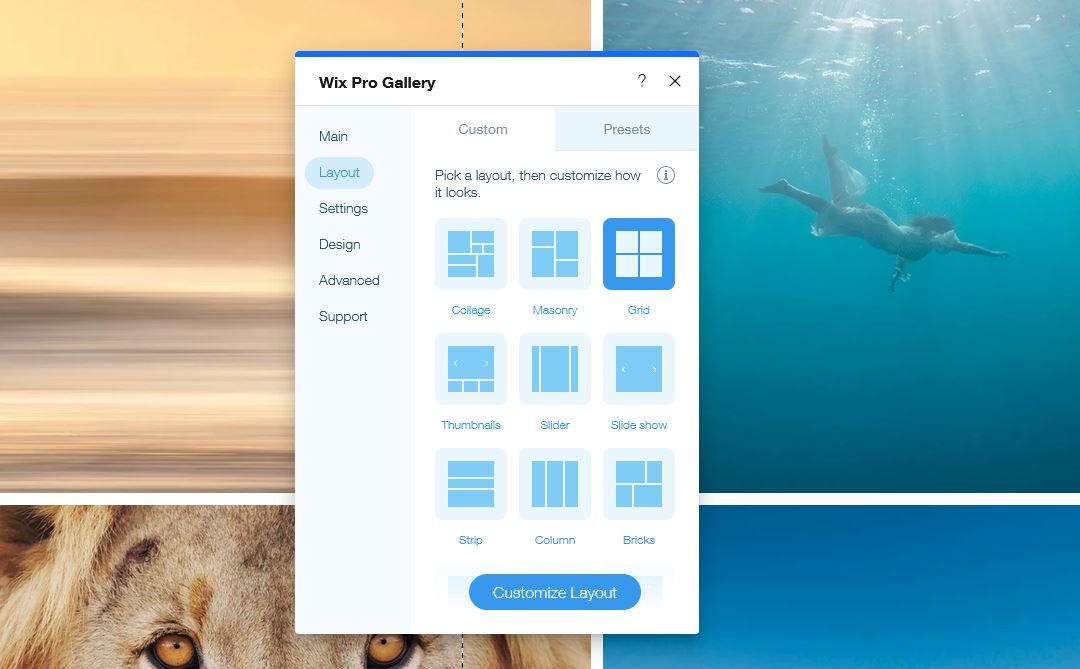
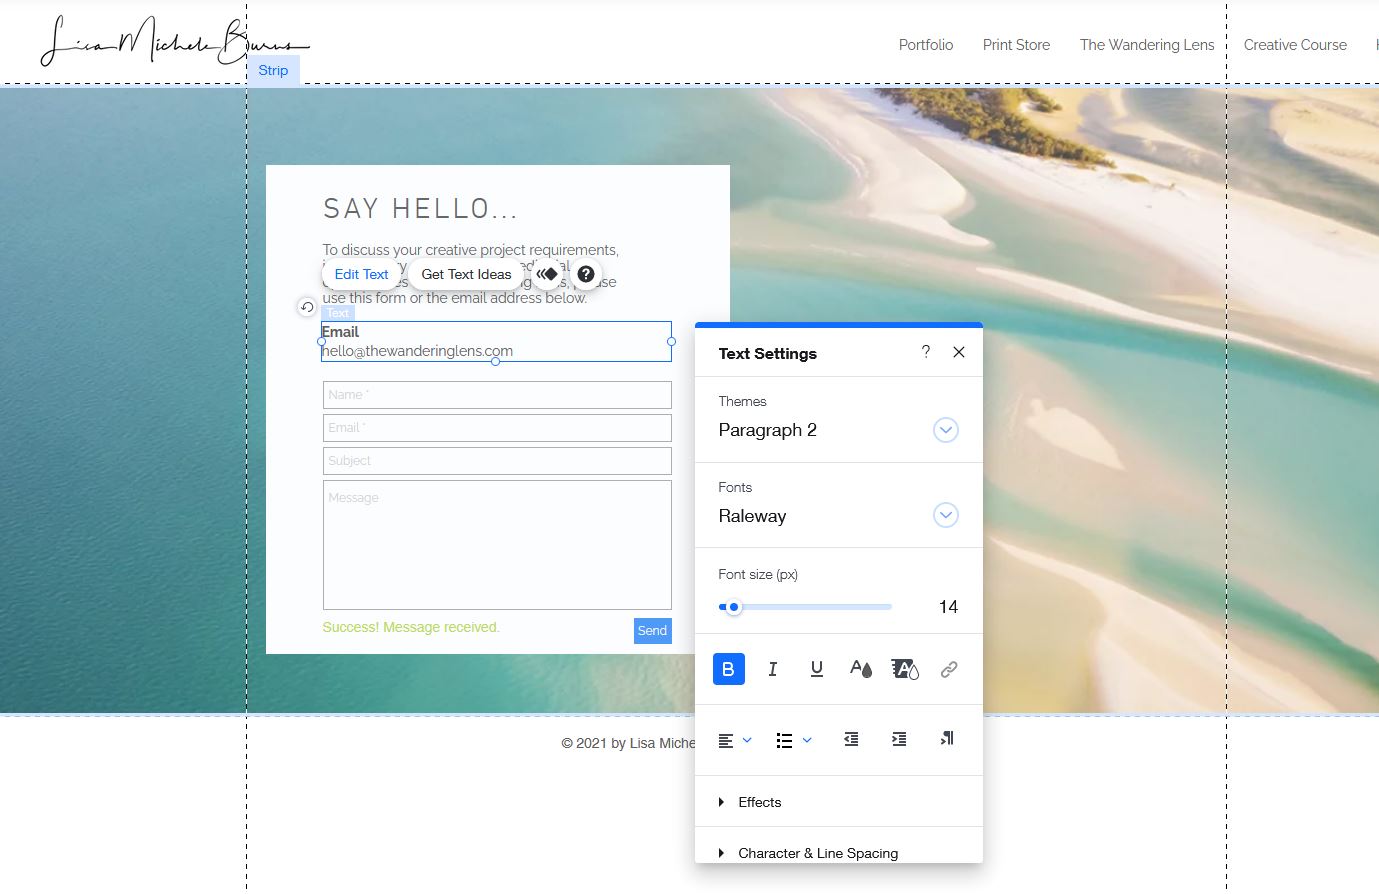
When developing a website yourself, the skills you’ll gain will help to prepare you for the ongoing site updates, adjustments and ability to make changes as you go. You can have complete control over the design, test various elements, colour palettes and layouts without needing to pay someone an hourly rate to make small changes.
If creating your own site sounds difficult or you’re not a naturally tech person, you can take advantage of free tutorials via YouTube, each web design platform offers helpful FAQ and Forums, or online learning outlets like Udemy typically have courses specifically created for each web design platform. When searching via YouTube be as specific as you like with your keywords and you’ll be amazed at how many free resources exist from wonderful creators sharing their tips and advice. Alternatively, my program ‘The Print Store Launch Pad’ guides you through the process!
Optimise for Mobile – “The majority of your customers or site visitors will be viewing on a mobile so ensure your site looks great and functions well on mobile screens. We typically create and edit our sites using the desktop version so it’s extremely important to consider
responsive design and speed on mobiles and tablets too.”
How to design your photography website?
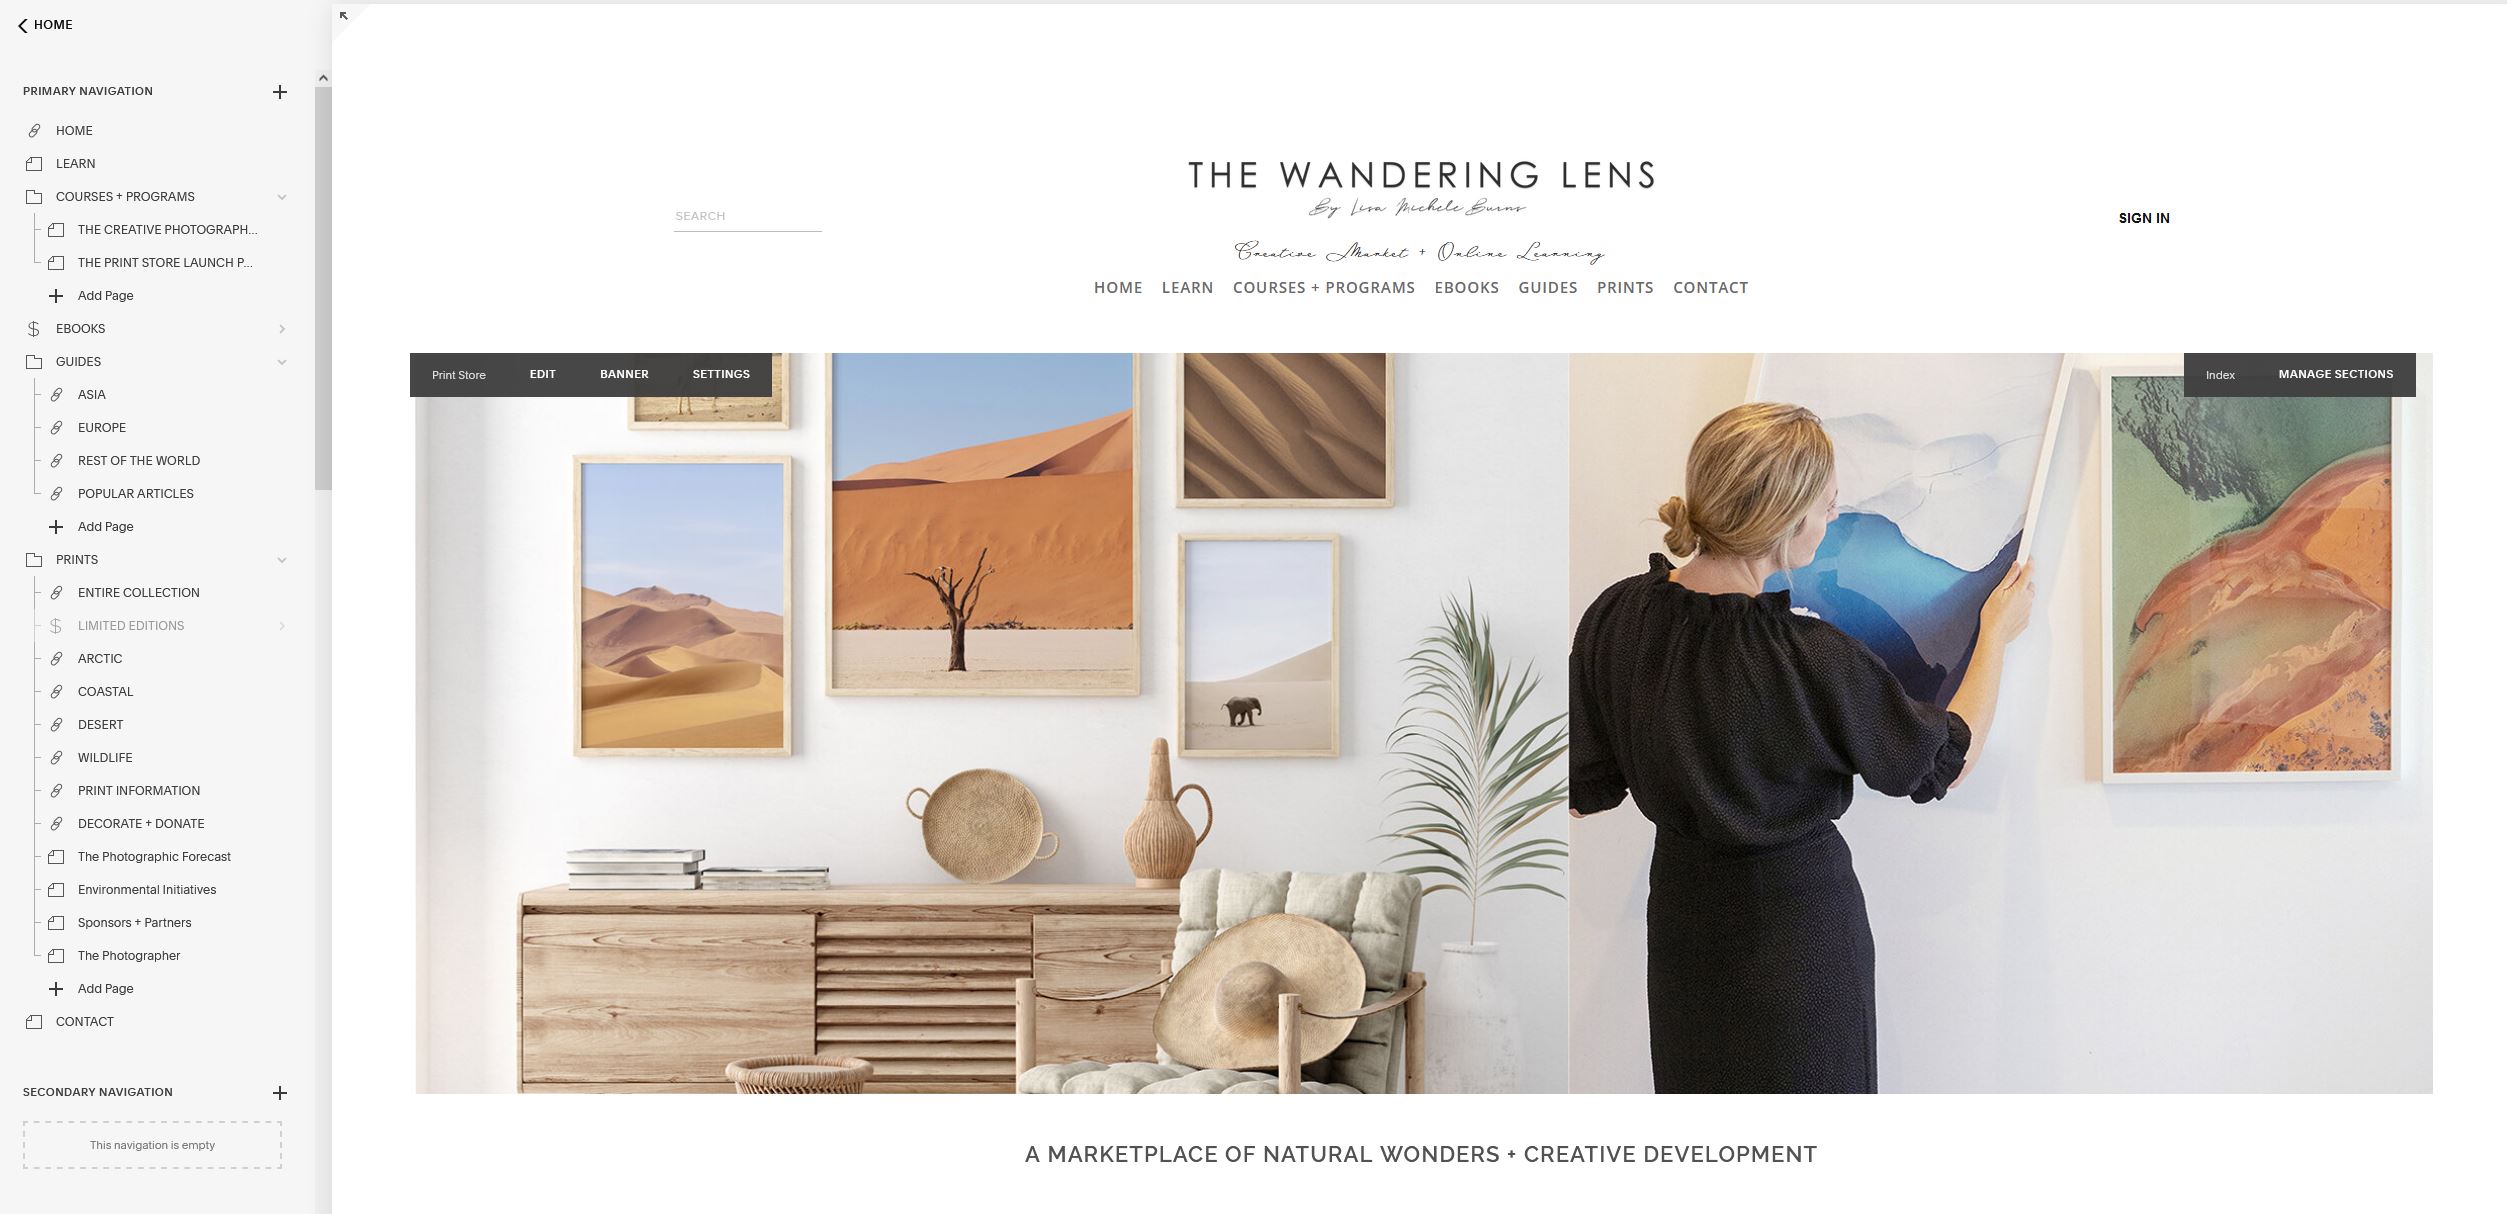
If you’re a coder, you can build your website from scratch! Most of us however, are not coders and luckily, platforms like Squarespace (great design options for creatives!), Wix, WordPress and Shopify exist and make it easy to design beautiful photography websites with portfolio and commerce options.
Some key things to look for when selecting which CMS (Content Management System) to design your website –
Functionality: You want a site to be able to run fast, smoothly and provide easy user experiences for your site visitors. Most of the well-known CMS offerings will provide this as a standard inclusion however if you opt for a more boutique set up or new CMS, just check it’s built for purpose, not just a fancy system with no oomph.
Layout options: No one wants their website to look like a copy and paste of someone else’s, so look for a CMS that gives you the opportunity to get creative with your layout and design. You can easily start with a template and then customise it to make it uniquely yours.
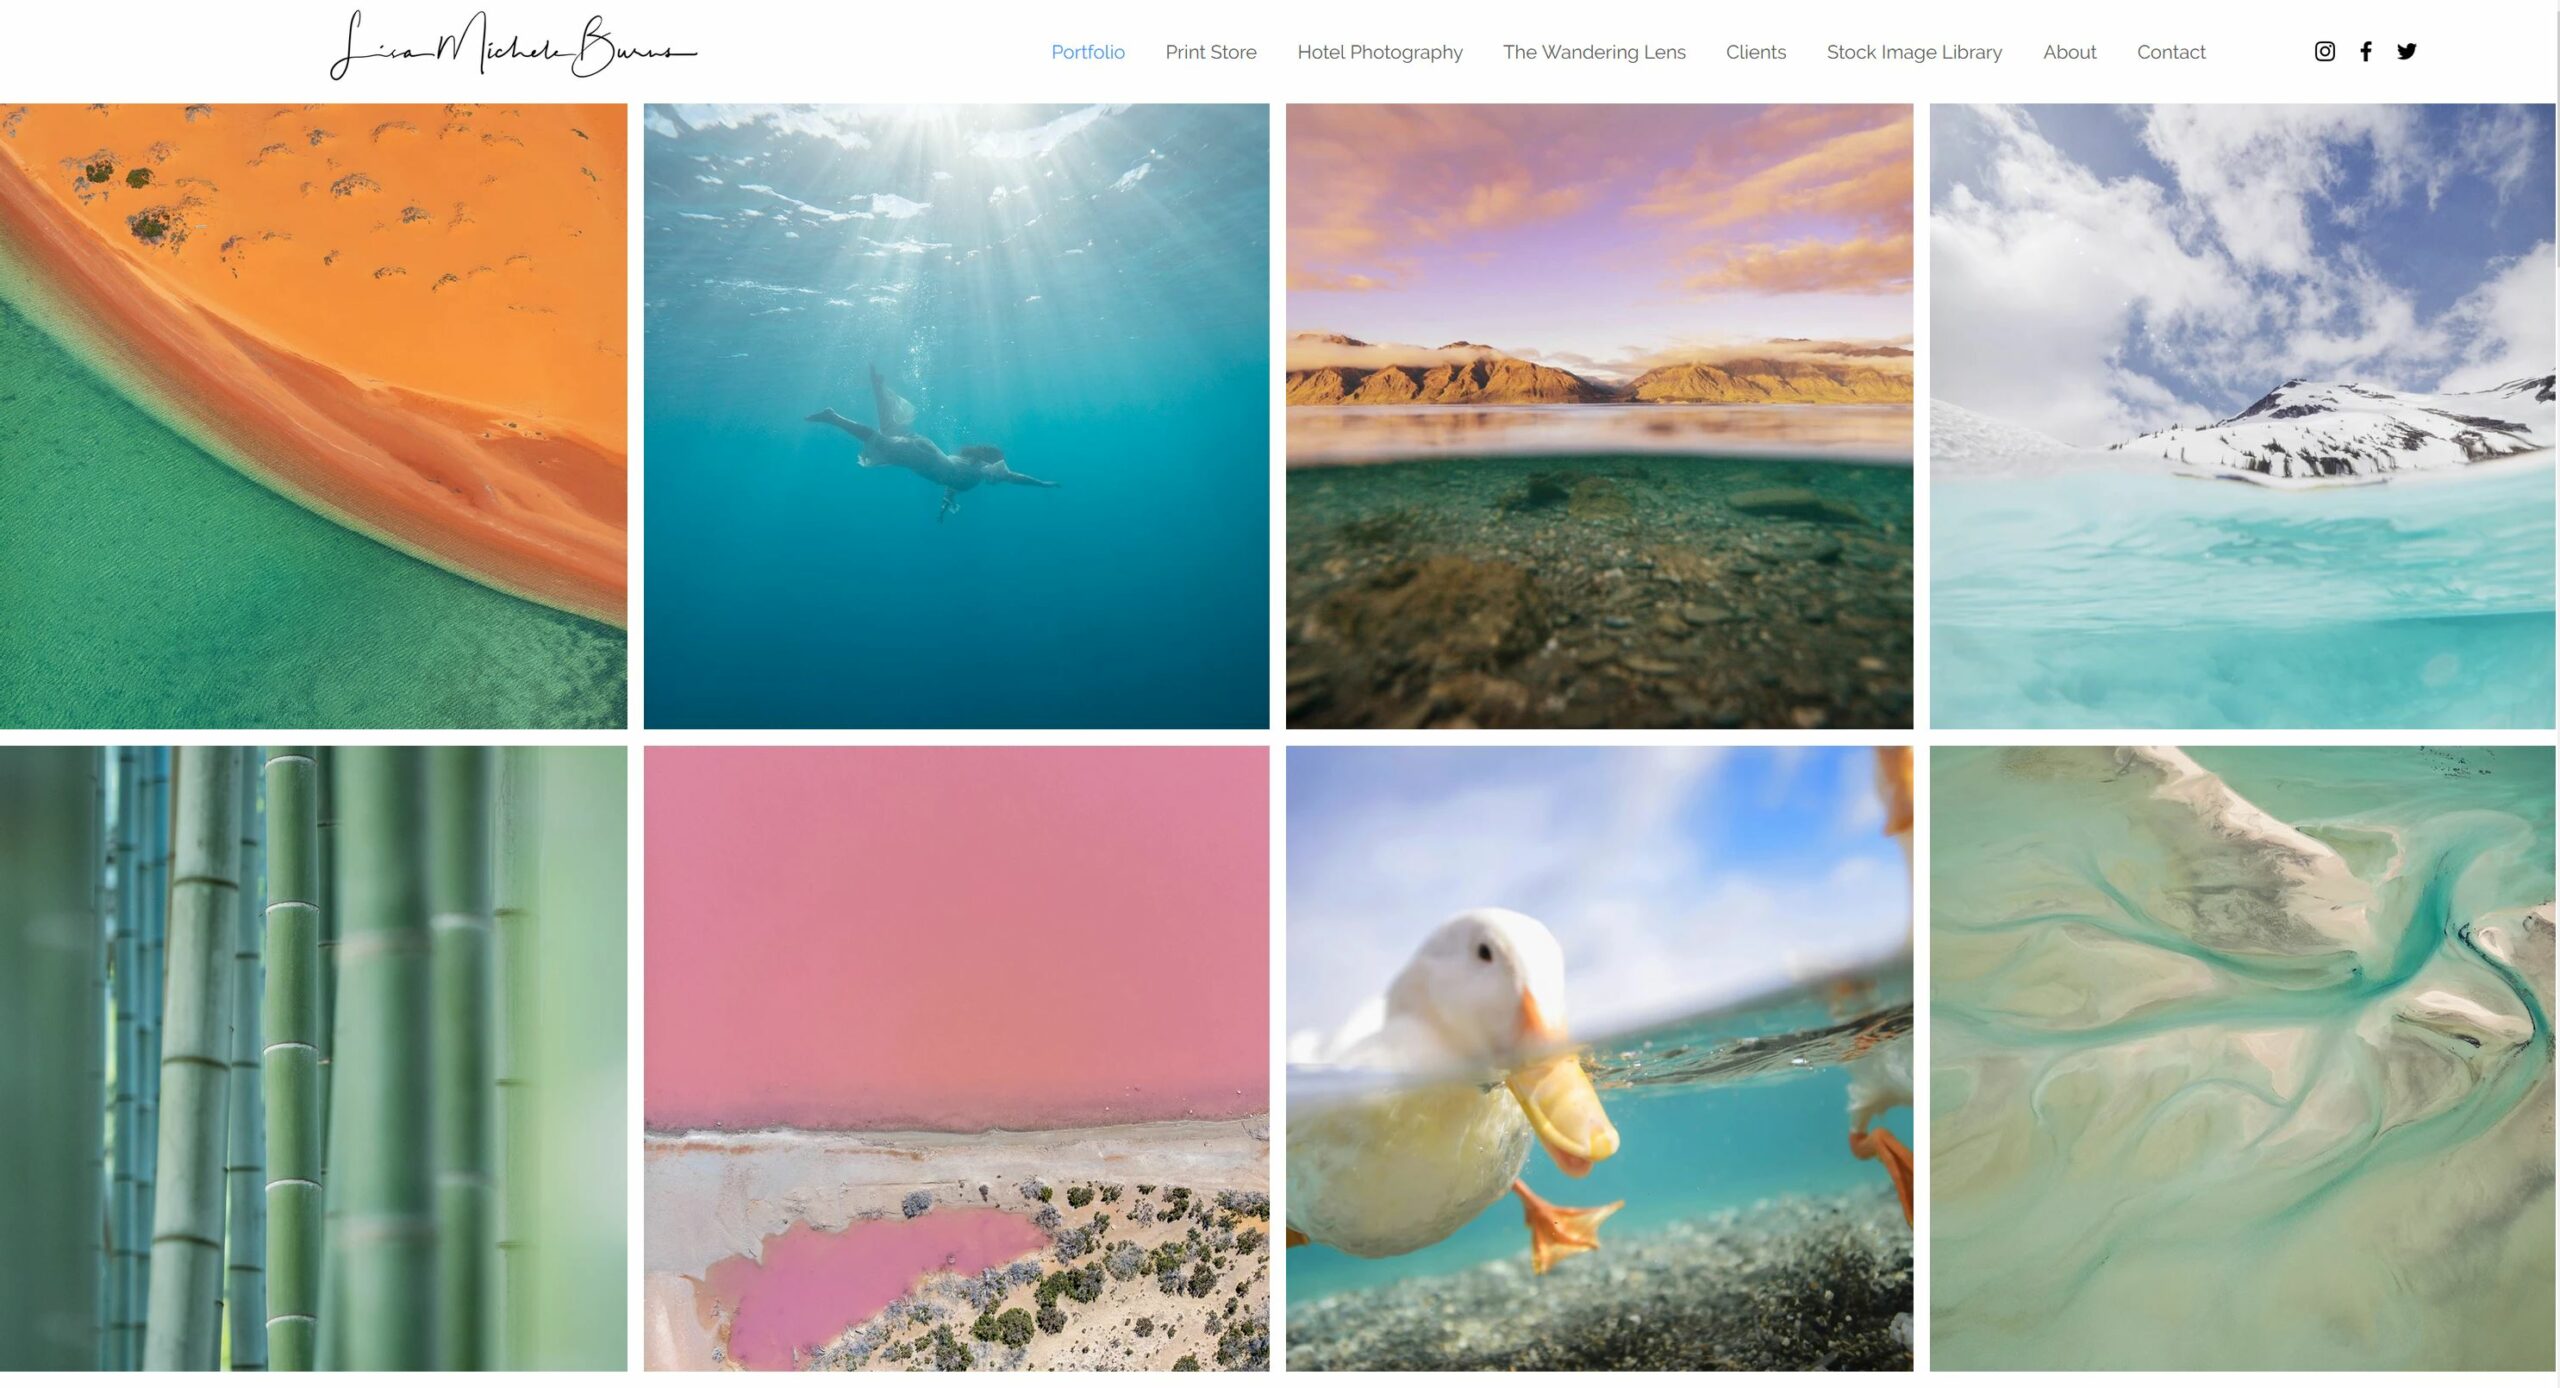
Features: When running a print store, you want the ability to incorporate various features into your site that help showcase your prints. Things like gallery display options, how pop-ups are displayed, the ability to write blog posts, pricing information etc. Not only this, but your site also needs to be responsive and able to function across all screens/devices.
eCommerce: An easy integration with payment gateways and store functions should be one of the first things you look for when setting up a print store and eCommerce website. You might find a beautiful template but without the ability to incorporate an eCommerce system, that template won’t be of any use.
User friendly: A CMS should be something you log into and can confidently work in to update and add content to your website and store. When deciding which suits you best, it can be worth doing some free trials of platforms like Squarespace, Wix and so on to see how they feel.
Customer Support: Knowing there’s a team available to assist should you get into any tricky situations is very reassuring. There’ll be times when your site isn’t loading, when a new plugin or update causes it to crash and having the ability to reach out to a reliable team for assistance is essential if you aren’t a coding wizard. As WordPress is self-hosted you don’t have direct support however your hosting service or other providers will have support and over time you’ll become your own best tech support agent!
Terms to know when developing a website –
DOMAIN NAME: The address of your website. Selecting a domain name should be one of your first steps. Sites like Crazy Domains will allow you to see if your desired domain name is available as the .com or various additional extensions related to your location or purpose.
URL: Used to link to pages and posts within your website (Universal Resource Locator). The URL is typically your domain name + page/location, eg. https://www.lisamicheleburns.com/hotel-photography
HOST/HOSTING: Allocated space on web servers that house your website files and where they are served from to connect with the internet. If you’re using a platform like Squarespace, Shopify or Wix, you’ll find hosting is included in some plans. Arranging your own hosting is required with WordPress. Hosting is done via a shared network (cheaper), Dedicated Server or VPS, Virtual Private Server. Dreamhost + Bluehost are two I recommend.
DNS: Domain name servers, they control which server a visitor is pointed to when they visit your site.
CMS/WEB PLATFORM: Content Management System, or web design platform, used to describe the site or service in which you design your website.
HMTL: Hypertext Markup Language, the language used to construct website and display visuals ; text, images, links etc. It’s rare to find a site solely using HTML and most will be a combination of HTML, CSS and Javascript.
CSS: Cascading Style Sheets, another coding language used to describe how the visual HTML elements are displayed.
RESPONSIVE DESIGN: The ability of your site to adjust to various devices and screens. For example, the flexibility to function across laptops, phones and desktop monitors.
PLUGIN: An app of sorts that you can plug into your CMS to add new features or functions. For example, for The Wandering Lens, the site which you’re reading this article on has about 30 plugins working behind the scenes on WordPress to provide things like security, faster loading + image resizing.
SSL: Secure Sockets Layer is essential when selling online and is a standard security protocol necessary for establishing encrypted communication between a web browser and a website. You may notice when you visit a site and the little security icon pops up beside the web address, this relates to whether or not a site is considered ‘secure’.
UX: User experience, how someone visits your site and navigates through it. A very important thing to be aware of in order to provide the best browsing experience for visitors to your site!
Want to learn more?
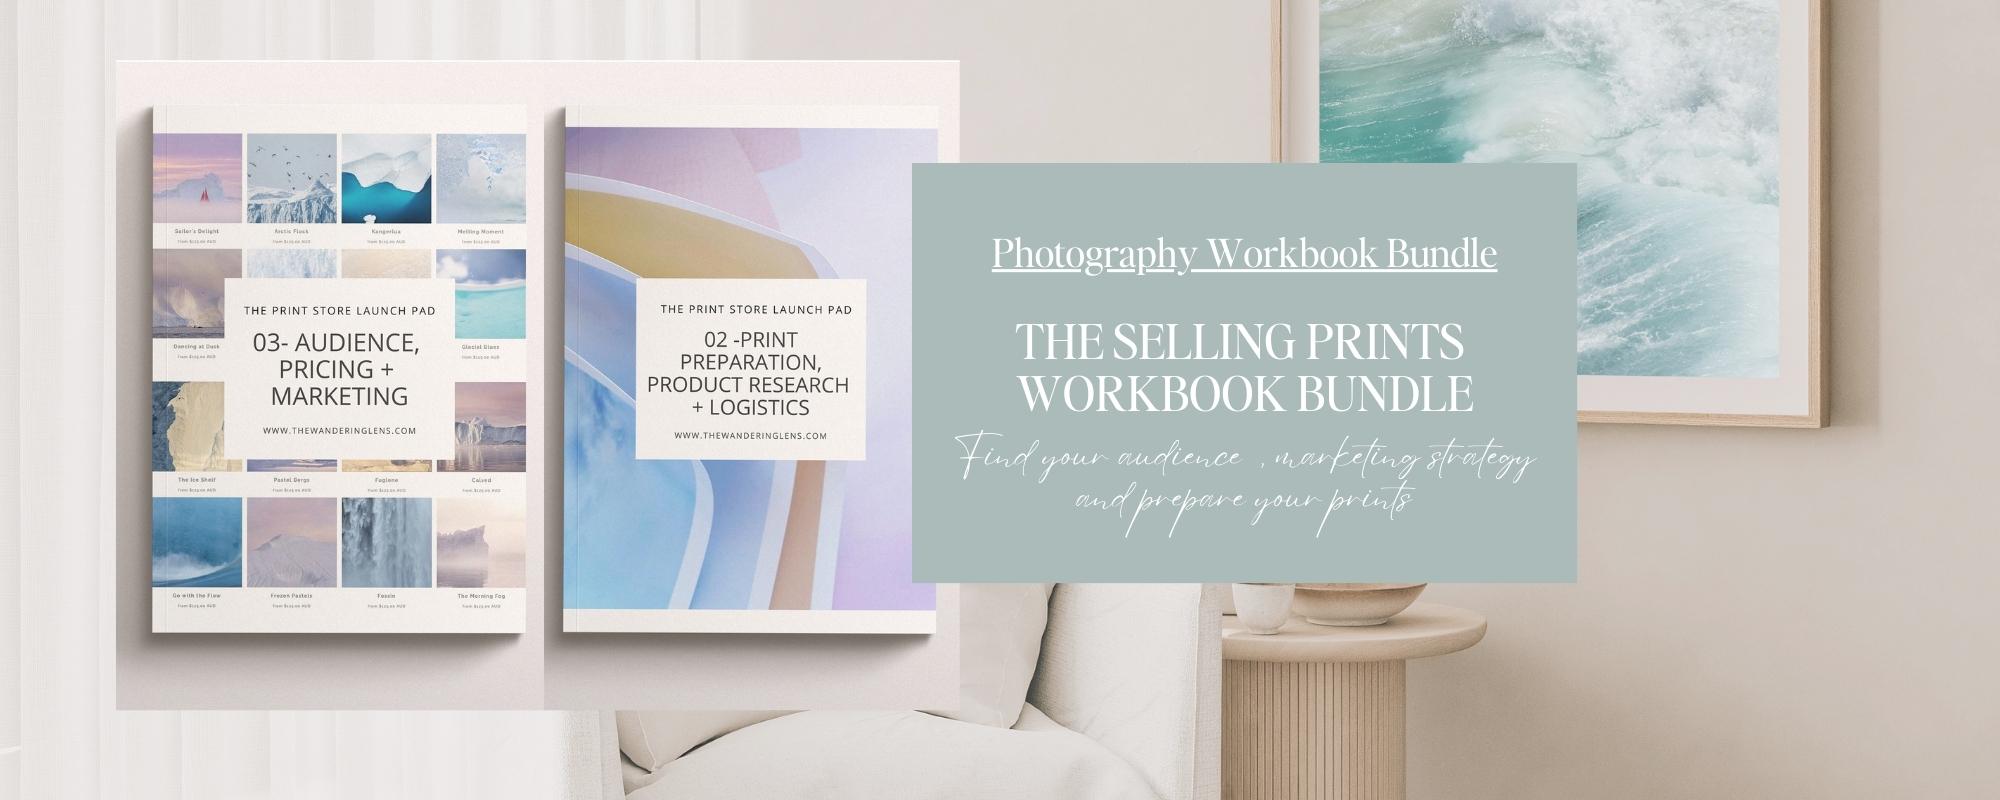
The topic of designing a photography website is so in-depth and extensive that it’s impossible to cover within one blog post. I’ve designed workbooks with The Print Store Launch Pad program to go further in-depth and help guide you through the process, particularly if you’re keen to get customers, traffic to your site and start selling prints or finding clients! If you’re keen to create a photography website and start selling prints, enrol in The Print Store Launch Pad program to learn how to prepare your files for printing, how to find customers, develop your print store and all about the sales/marketing process! The program is all online and delivered in a self-study style so you can learn whenever you like, wherever you like with the support of a private Facebook Group for questions.
These creative courses and resources bring together my 17+years of experience and lessons from working in the industry. I want to see others share their talents and get published, sell prints, find clients – to have the confidence to achieve whatever it is you want to within the field of photography. Get in touch via hello@thewanderinglens.com if you’d like to chat about your photography!
You’ll find The Freelance Travel Photographer Course guides you through the process of getting ready to work in the industry, teaches you about pricing, professionalism and how to get published and find clients! If selling prints is more your thing, The Print Store Launch Pad walks you through setting up an online store, preparing your photos for printing and the marketing + sales process required to get sales! Alternatively, The 3-Week Composition Reset is a short course aimed at refreshing your creative approach to photography, you’ll learn to ‘see’ a scene and subject in a new way to boost your composition skills!
Keep Reading Related Articles –
How to Become a Travel Photographer
How to Stand Out as a Photographer Today

Hello! I’m the founder and photographer behind The Wandering Lens.
With 19+yrs experience as a professional travel and landscape photographer, all advice found on this site is from my personal experience, or that of contributors, on the road. I hope it’s useful for your own travels and would love to hear in the comments about your trips and experiences around the world.



Leave a Comment