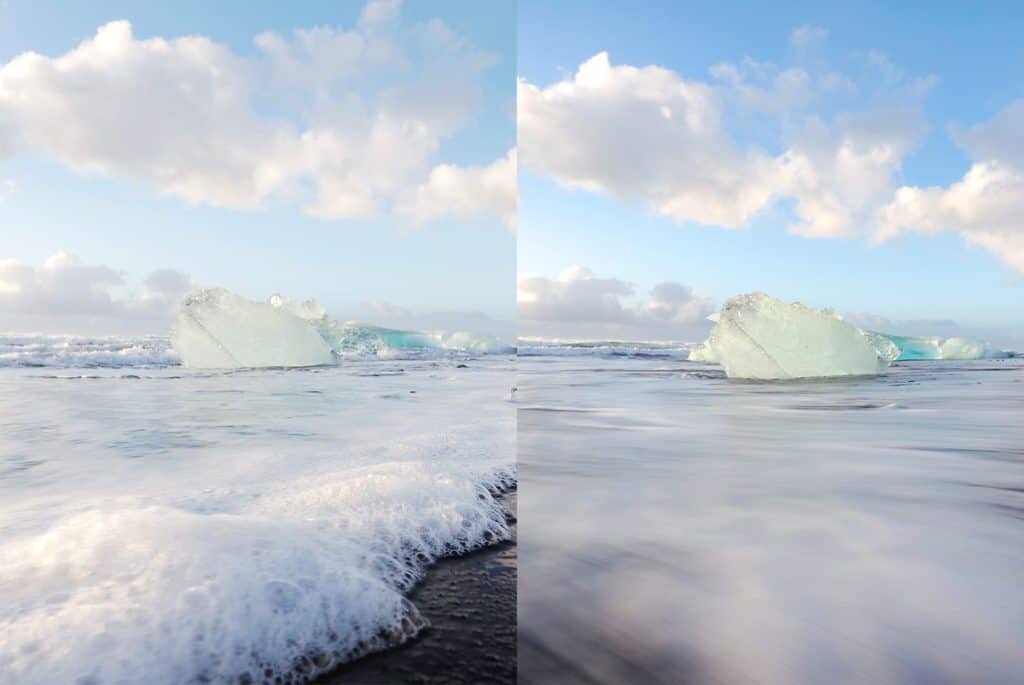
Long Exposure Photography – How to Take Long Exposures of Moving Water + Create Beautiful Blur
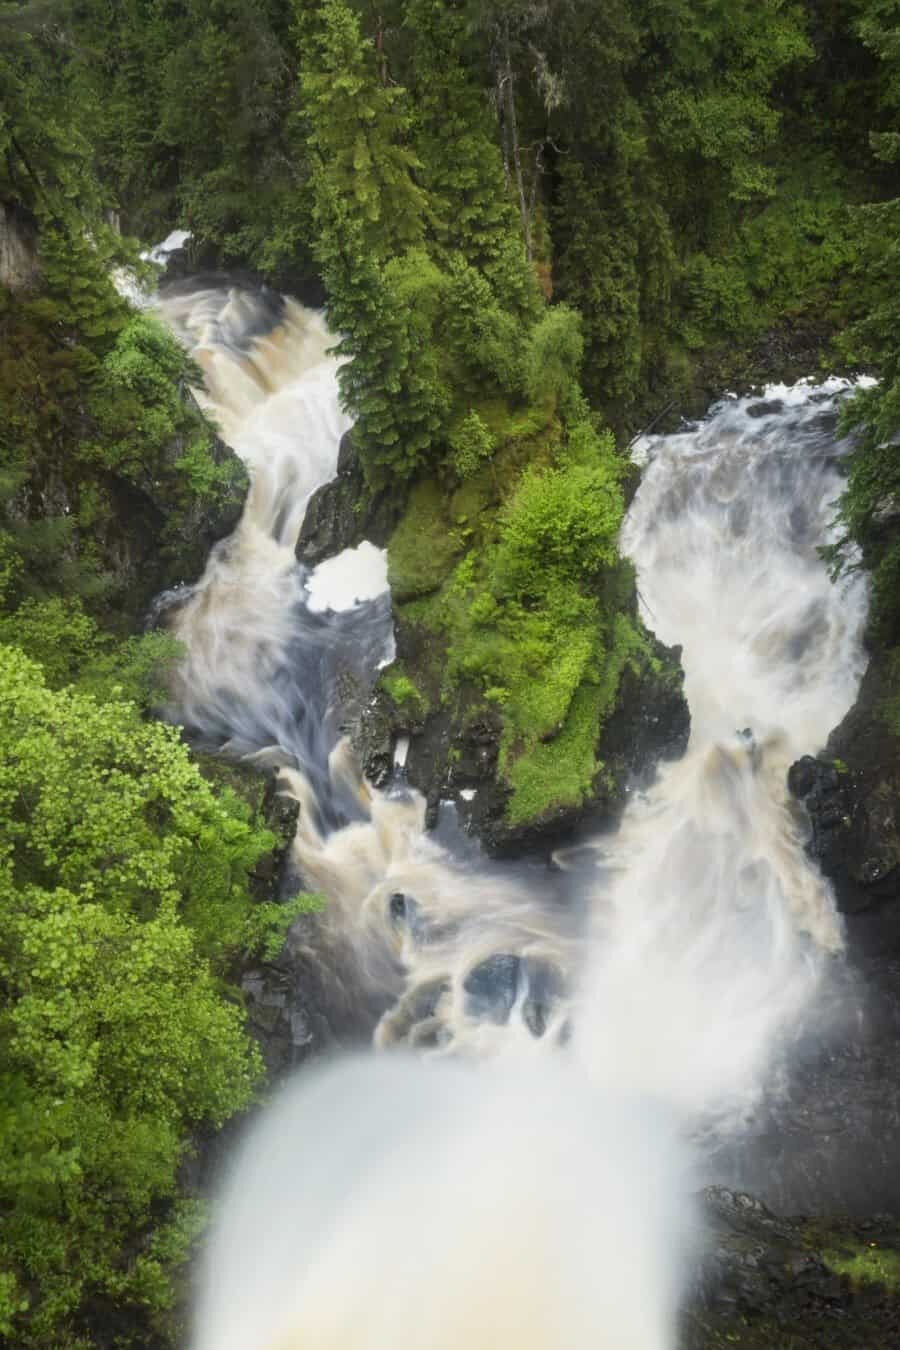
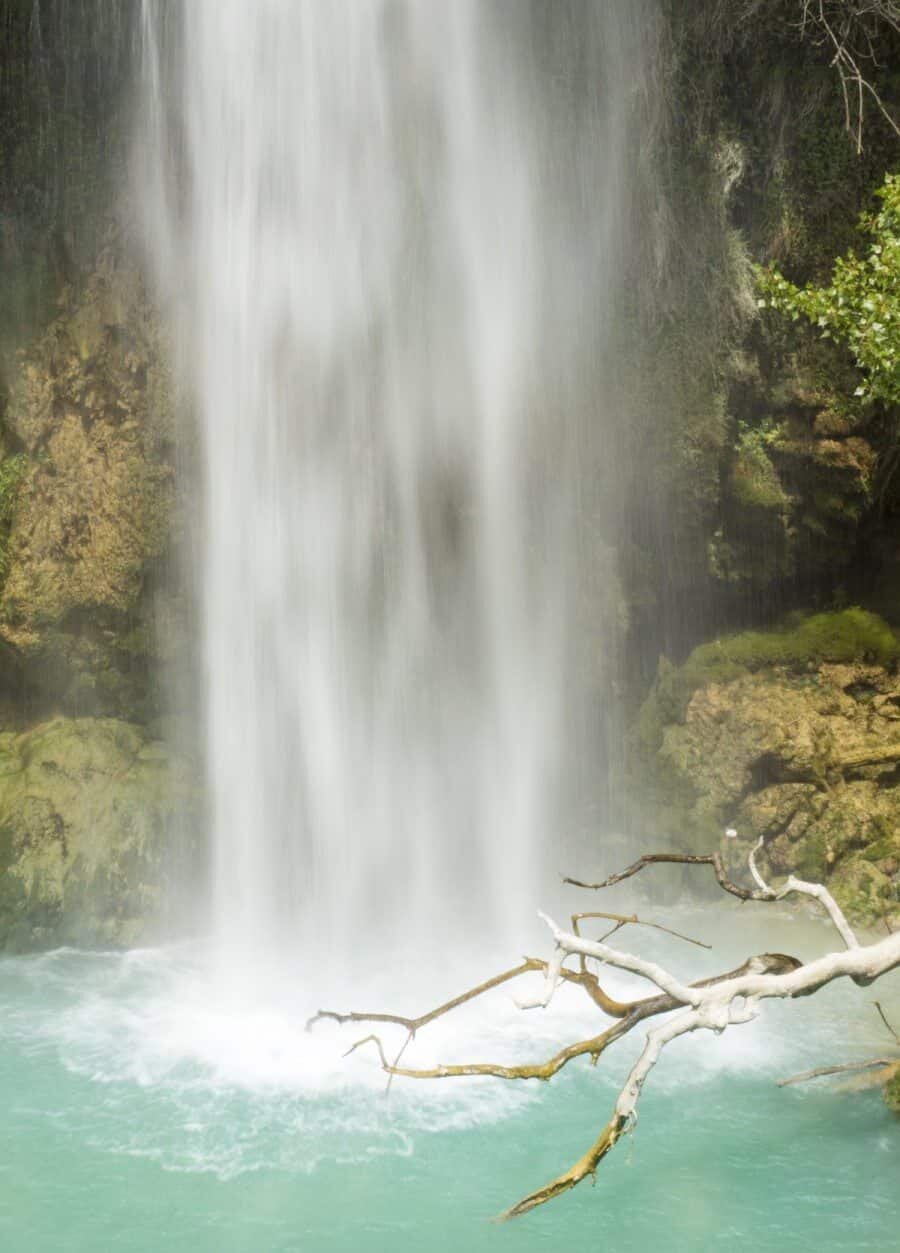
Long exposure photography relates to creating soft flowing water and making it blur, dance and glide through your image is one of the most rewarding effects you can do with with your camera.
Whether you’re out photographing waterfalls, the sea, rivers or a fountain, making water dance is a simple technique using basic settings that most cameras have available.
It’s very similar to long exposure photography however the tips I’m going to share below are possible without fancy gadgets or tools like filters, sometimes you don’t even need a tripod.
So…here is your guide to making water blur beautifully with long exposure photography!
Planning the Time + Location:
The best time to attempt a slow shutter shot without filters is in low light, so essentially in the early hours of the morning or around sunset and dusk when there’s no overpowering sunlight.
If the weather is overcast, cloudy and moody it will work really well also.
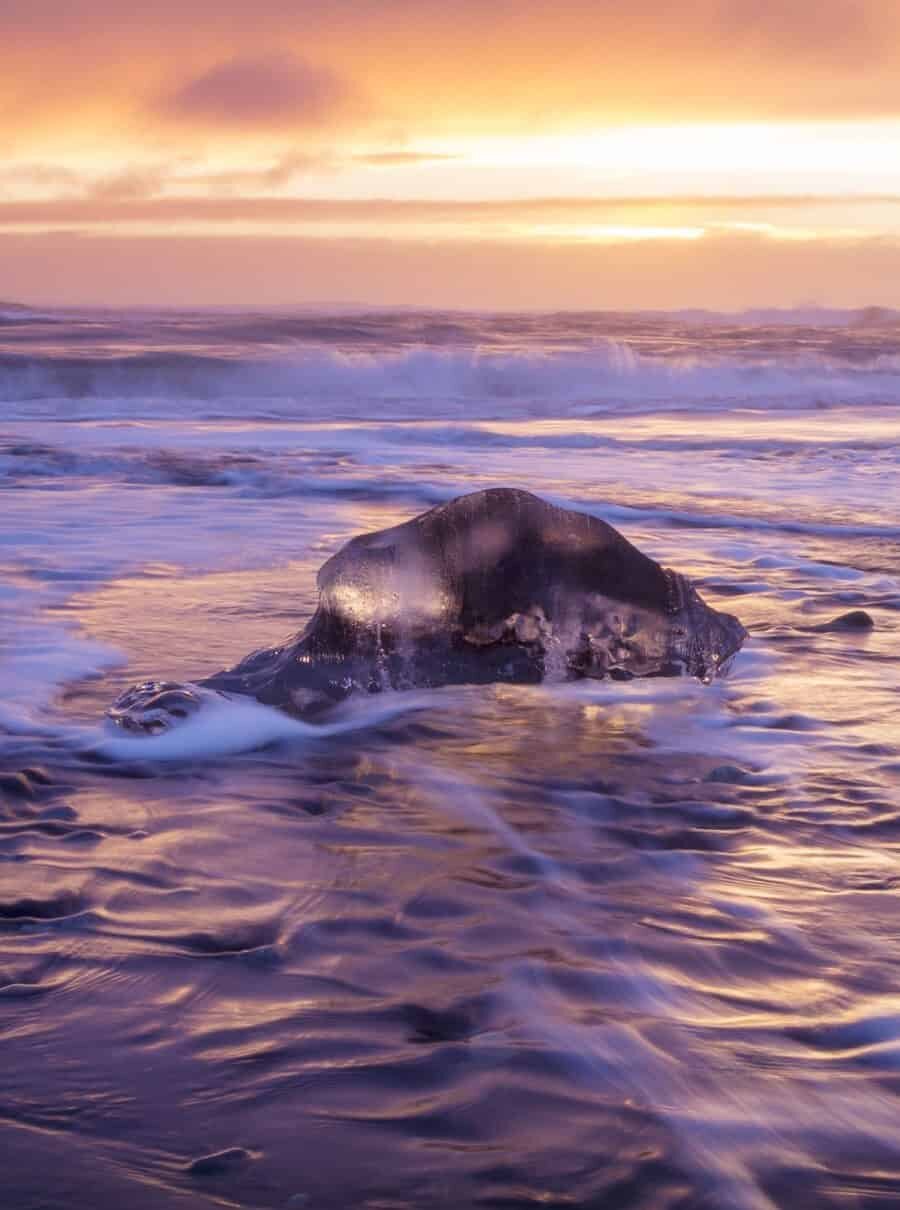
Look for areas where the water is moving fast, places like waterfalls and beaches with a never ending subject matter to capture and test out various settings. I love photographing at the beach when the waves are nice and small and the sky is soft and pink so the entire image once the waves are blurred becomes really peaceful.
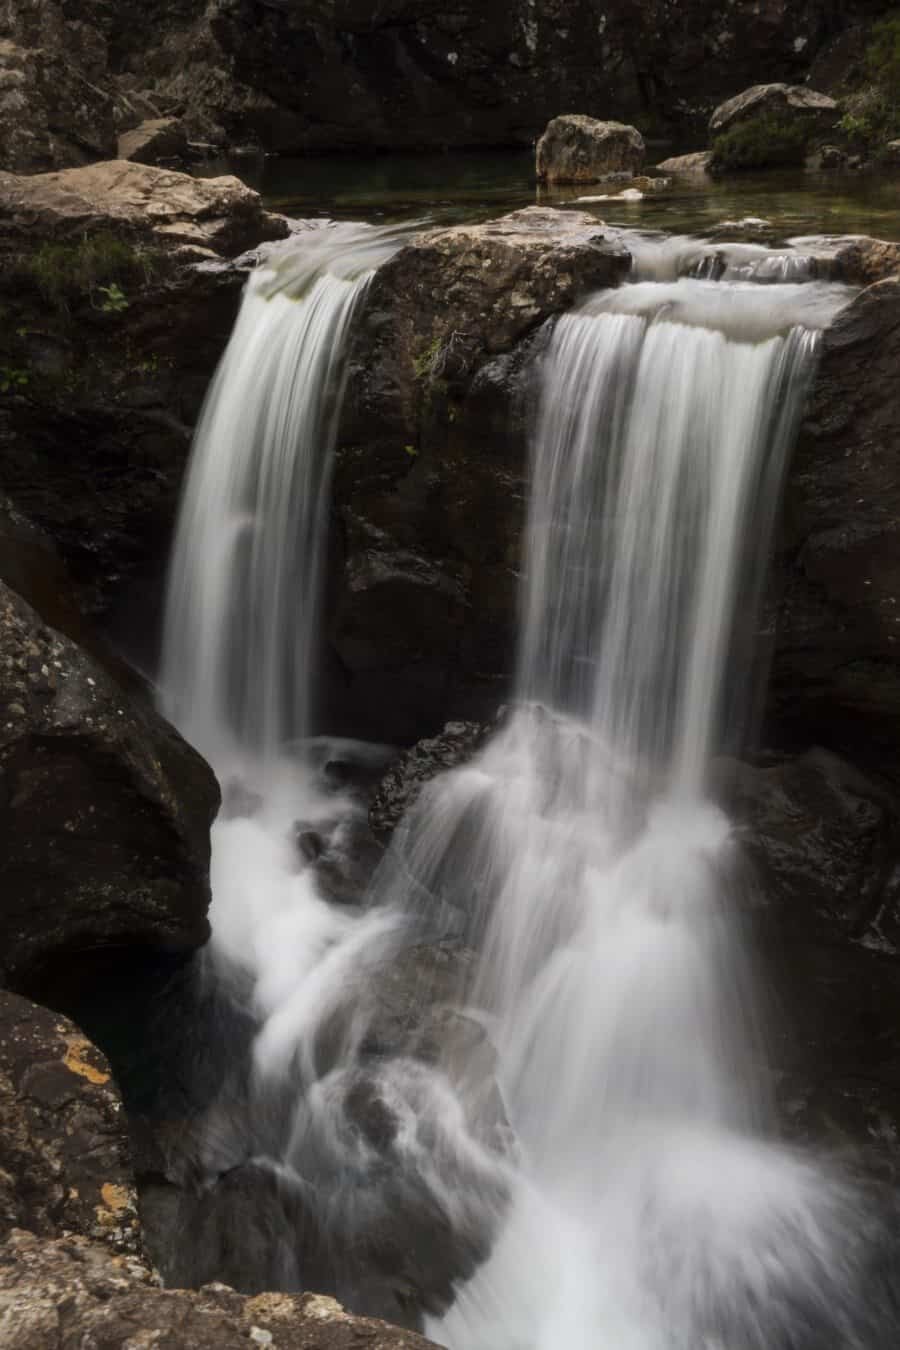
Waterfalls are ideal for testing how to make water dance so if you’ve got a national park nearby, head out for a hike and plan for a few hours shooting the falls.
You can capture a number of perspectives so it doesn’t matter if the waterfalls are high or just a fast flowing stream pouring over some little rocks, as long as there is enough movement to blur, you’ll be able to work on this technique.
What Gear You Need:
Because you’re working with water, it’s best to have a camera that’s weatherproof and can withstand a few sprinkles! Also it’s best to take along a little towel just incase things get a little wet and wild.
While having a tripod is ideal, if you don’t want to carry it or take it along for a hike, you can attempt these shots without it by either standing super still or leaning your camera on a rock or suitable flat object.
My Olympus OM-D E-M1 Mark III is perfectly weatherproof and also the industry leading image stabilisation means I can shoot longer exposures completely hand-held…usually up to 4-5 seconds depending on how wobbly I’m feeling at the time.
You’ll find the following in my bag when I’m out shooting watery scenes:
M.Zuiko 7-14mm f/2.8 PRO lens: Great for capturing wide angle shots that take in the entire scene. Having a wide angle lens allows you to compose your image using the landscape, in turn showcasing the surrounding forests, coastal scenery or rocky edges of a waterfall.
M.Zuiko 12-40mm f/2.8 PRO lens: I love to have a zoom lens available when shooting moving water but have found I rarely need more than 80mm. The further you zoom the longer your exposure will be so it takes a lot more skill to remain still!
Long Exposure Photography – The Best Settings for Moving Water:
To create movement in the water you’ll need to slow down your shutter speed. To do this easily, flick over to Aperture Priority mode, simply drop your ISO down really low, increase your aperture to f/22 or the highest your camera will allow.
Having your exposure set a touch above even will also help slow down the shutter and highlight the moving water.
The point of lowering the ISO and increasing the aperture is to keep your shutter open for longer and allow enough time for the water or waves to move through the image.
If you find the entire photo is coming out blurry then it’s either a matter of standing super still or finding something to rest your camera on (tripod or rock). You can also play around with the settings and bring down the aperture to something a little more manageable like f/10 or by increasing your ISO to around 200 or 400 depending on how much light is available. Once you’ve found settings that you’re comfortable with, you should find the surroundings are nice and sharp but the moving subject of water is blurring beautifully.
The longer your shutter is open, the smoother the water will appear. For a more rough looking movement simply make the shutter shorter by again balancing your ISO and shutter speed accordingly.
Starting Point –
ISO – the lowest possible or 100
Exposure +0.7
Aperture f/22 or as high as your camera allows.

Composition Tips for Moving Water
#1 Find a Steady Subject
Because you’ll be focused on creating a moving scene, it’s really important to have part of your image that’s nice and steady, hence remaining completely sharp and in focus. Having this just highlights the movement of the water and shows that you didn’t just blur the entire photo and mess it all up!
#2 Include Natural Elements
With water it’s nice to feature a log, tree or a rock, basically a natural object that fits the landscape. Curling water around a rock as the waves crash over it on the beach, or focusing on a branch as it hovers out over a waterfall are two examples.
#3 Wide Angles and Waterfall Long Exposure
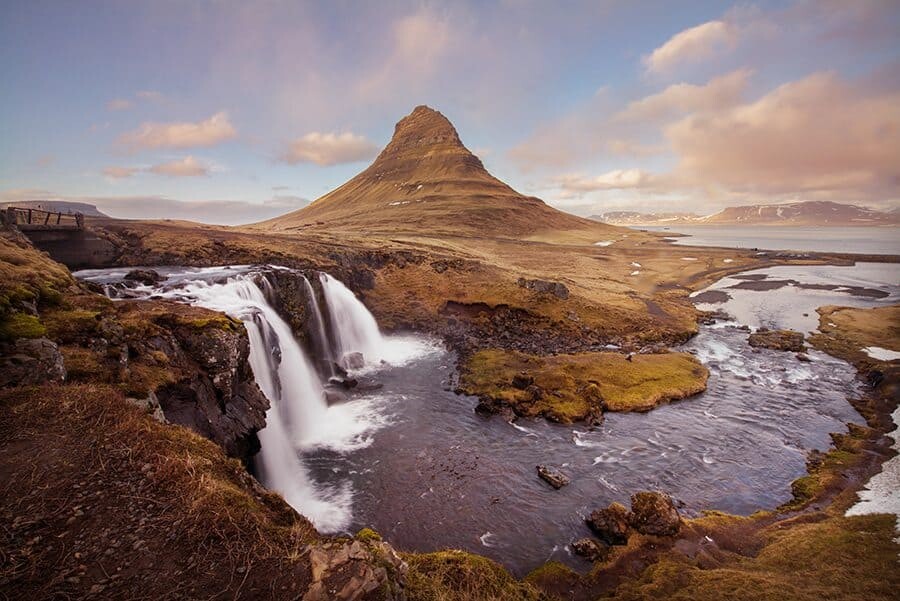
There are few things more photogenic that a beautiful wide angle image that features an element of moving water. You know those epic landscape shots you see from Iceland or waterfalls in the depths of lush rainforest, composing an image that highlights rich natural beauty is one of the absolute joys of photography!
Editing Tip:
To really highlight the movement of the water dancing through an image, I like to gently brush over the water with the dodge tool or by simply selecting an area and increasing the brightness. Creating a feature of the water by brightening it up will enhance the look of movement.
If you’ve got any questions at all feel free to ask in the comments below and I’ll get back to you.
You can continue browsing through the series of Setting The Scene with the articles below –
Setting the Scene – Golden Hour
Setting the Scene – Photographing Snow
Setting the Scene – How to Photograph Sunrise
If you’ve got a slow shutter shot of water to share, use the hashtag #thewanderinglens on Instagram or come and join my private Facebook group ‘The Wandering Lens Photography Group’ and share it with a group of fellow photography lovers! Click the link above to receive an invite to join.
Keen to learn more with The Wandering Lens?
If you’re eager to improve your photography, explore your creative talents and even perhaps work in the industry, you’ll find self-study courses and a library of eBooks and Workbooks via The Wandering Lens Store. I’ve developed online resources for photographers, creatives, dreamers, adventurers, travellers and freelancers. If that sounds like you, maybe we should connect and chat about your photography goals! These creative courses and resources bring together my 17+years of experience and lessons from working in the industry. I want to see others share their talents and get published, sell prints, find clients – to have the confidence to achieve whatever it is you want to within the field of photography. Get in touch via hello@thewanderinglens.com if you’d like to chat about your photography!

Hello! I’m the founder and photographer behind The Wandering Lens.
With 19+yrs experience as a professional travel and landscape photographer, all advice found on this site is from my personal experience, or that of contributors, on the road. I hope it’s useful for your own travels and would love to hear in the comments about your trips and experiences around the world.


Blog Comments
Sierra
June 24, 2017 at 7:57 am
You’ve totally saved me from all the frustration feels! I knew I was doing something wrong when I attempted this before on manual. Actually, so wrong lol
thewanderinglens
July 3, 2017 at 8:35 am
Haha Sierra, don’t even worry! That’s what photography is about, trial and error makes it fun…if you manage to eventually stop the errors 😉 Give it another go and I’m sure you’ll nail it!
Hannah Tilford
June 26, 2017 at 12:14 pm
Your waterfall photos are amazing, really wish I could do this I will have to try what you said 🙂
thewanderinglens
July 3, 2017 at 8:34 am
Thanks so much Hannah! You should definitely give it a go, once you’ve tried a few times it’s nice and easy to make the water blur beautifully!
Jim Archer
July 3, 2017 at 8:25 am
Iceland would be an epic for this.
Tyrell
September 24, 2019 at 2:49 pm
Pretty! This has been an extremely wonderful post. Thank you
for supplying these details.
Erin
July 14, 2021 at 1:54 am
My camera always tells me it’s too bright with these settings. Is there a fix for that?
Lisa Michele Burns
July 19, 2021 at 11:36 am
You can adjust the settings to suit the conditions you’re shooting in as it will be dependent on the available light at your location. A subtle nudge of the exposure, ISO or aperture will change the brightness. Try first adjusting the aperture to see what changes occur.