
How to Make an Attractive Social Media Account
Social media has created a never-ending vault of inspiration and possibilities to showcase your work whether it’s personal or professional.
We’ve all scrolled aimlessly through Instagram, swiping up and double tapping as we browse images from all over the world captured by talented creatives seemingly living the dream life.
Lately there’s been a change in thought when it comes to social media and I think it all comes back to the fact that it’s different for everyone. Some photographers use social media to simply share their work with whoever happens to lay eyes upon it, others are turning their accounts into commercial ventures working with clients on sponsored campaigns.
Regardless of how you choose to use social media as a photographer, one thing needs to remain consistent. Your work. Your work is what defines you as a photographer, it’s what attracts people to your accounts and it’s what helps you stand out from the billions of images circulating the online realm.
It’s also one of the main elements that everyone struggles with at one time or another. If you’re a photographer who has never had a doubtful thought enter your mind please let me know your secret. Most creatives will second guess which image to share, how to caption them, whether people will like them or whether or not they’re good enough to even bother editing.
Even professionals will curate their own work, narrowing it down to the very select few images that ever see the light of day.
It’s this that I wanted to write about, how to curate your work and develop a gallery that’s evidently unique to you and your style of photography.
Below are some questions and tips on how to create a cohesive body of work to share via social media. How to make the colours work together, how to edit consistently and how to decide what it is you want to photograph.
Good luck and feel free to leave a link to your Instagram or relevant social media account in the comments below 😊
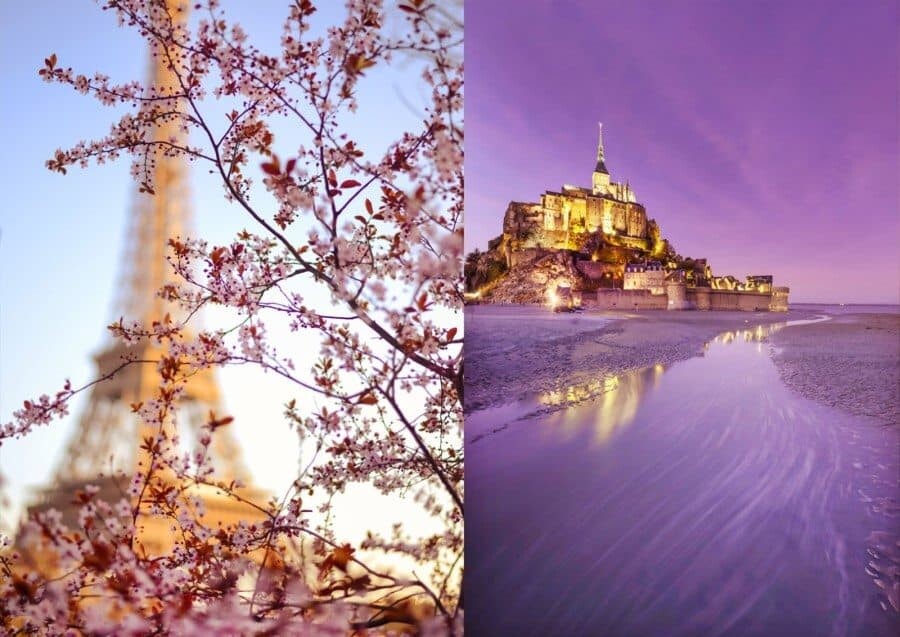
#1 What is YOUR preferred style of photography?
Without looking at Instagram or thinking of your favourite photographer’s photos, take a moment to think about what it is that first attracted YOU to photography?
Were you inspired by nature, exploring different cultures or surf photography…what is it that you love to photograph and that always manages to make you dream up new angles and composition possibilities?
Knowing what it is that you enjoy about photography will help you to hone a style and will go towards creating a body of work that looks like yours. You’ll naturally choose images to share that you personally enjoy so get started by deciding what that is and how you can capture more of the same images in order to develop a style and cohesive gallery.
*If you get stuck, browse back through your old images and try and look for any repetition. Or remember what it was that you couldn’t stop photographing on your last trip or photoshoot.
#2 Do you need to photograph more?
Before jumping ahead, if step one has you stuck a little then perhaps you need to take more photos.
Wander around with your camera and see what it is that distracts your eye. Look for trickling light, shadows, patterns in nature, people, storefronts…what is it that you’re drawn to?
I’ve included this step because sometimes it’s too early to know what your style is. If you’ve been photographing for years you might have developed a style already, if not, it can take some time.
Definitely don’t rush or force yourself to only photograph sunsets or horses. If you’re just starting out, look for something else to link your images together, it could be the editing style or the way you photograph.
Read more – “How to Become a Professional Travel Photographer”
#3 Creating Visual Consistency
Social media is sometimes (let’s be honest, most of the time) all about the initial impact. Have you clicked on someone’s account, quickly looked at their gallery and decided immediately whether or not you want to follow them? I’m guessing the answer is yes.
The main thing helping to form your decision is the visual cohesion and consistency. You want someone to look at your social media account and know exactly what it is that you specialise in and what they’ll likely see if they do click that golden follow button.
If you shoot mountains and landscapes, have it seen that this is your bread and butter. Don’t post a random food photo beside an image of the Rockies. Creating consistency is something that will need to continue as a focus if you want one of those beautifully curated Instagram accounts.
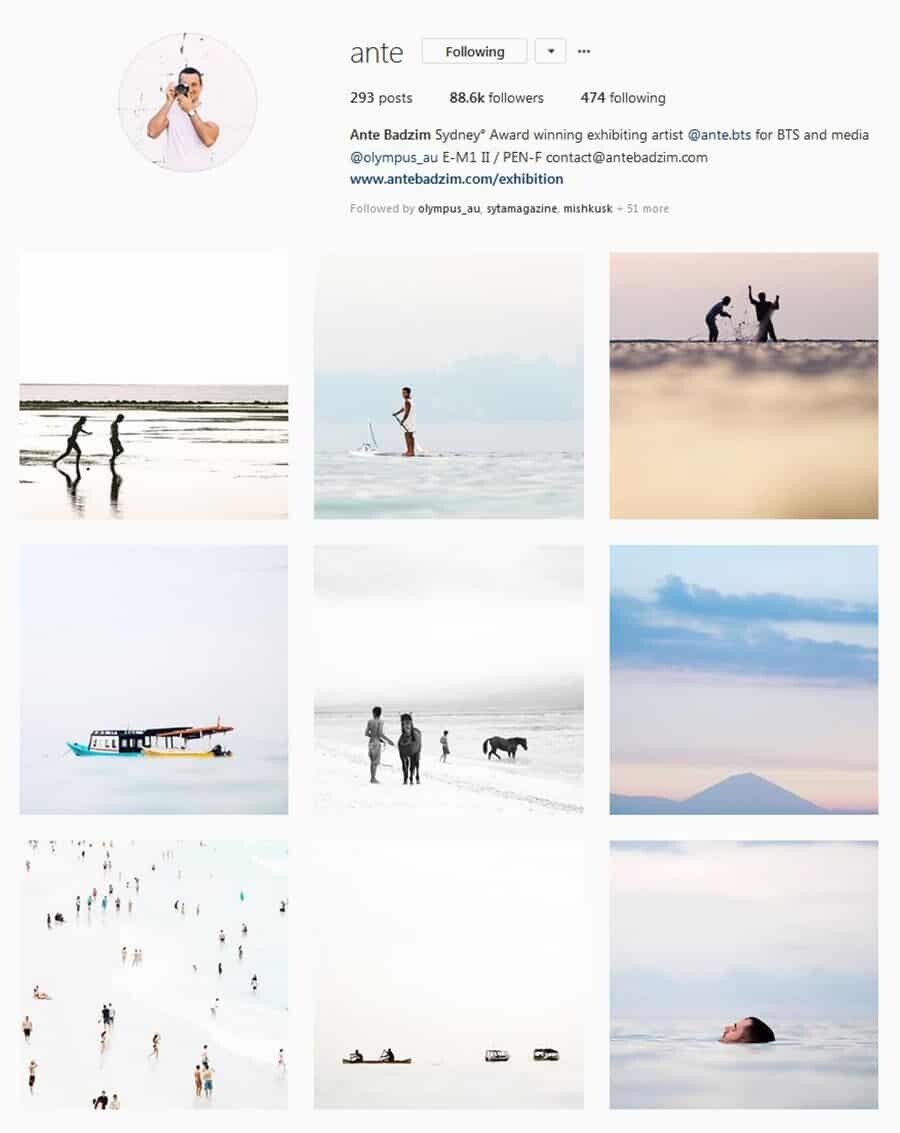
As an example, take a peek at one of my favourite Instagram accounts by Ante Badzim whose style is beautifully minimal and it’s evident the moment you see his work. Amazing, right!?
#4 Edit Your Images
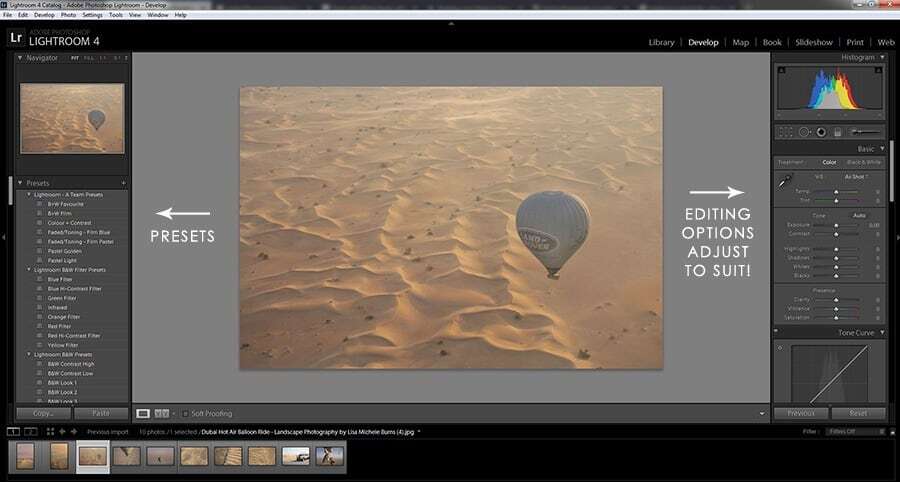
Editing and post processing is a great way to create a social media gallery that works together. You may have noticed a bunch of photographers selling presets on Instagram lately and the reason for this is…everyone wants their photos to look the same!
Some of the bigger influencers are selling their presets to use in Adobe Lightroom so fans can easily make their images look just like theirs…which some people believe will mean they instantly receive an influx of followers.
I’m on the fence about this…actually, to be honest I’m more on one side than the other. Presets are great, they are an easy way to make your images look the same however I think it’s important to create your own, rather than buy someone else’s style.
Sure you might be inspired by how amazing another photographer’s account looks but try to create your own editing style by playing around with the available toggles and techniques on Lightroom or Photoshop. You can sign up for a trial of the Adobe Creative Cloud here which includes use of both Lightroom and Photoshop, they both operate a little differently so it’s worth testing both to see which fits best.
Did you know it’s actually quite easy to make your own presets? On Lightroom in particular, you can adjust an image and then save the process as a preset so next time you edit, you simply click a button and the effects will magically appear.
I’ve always been a big fan of adding warmth to my photos so most of my presets focus on this and I’ve got a number of them set for various scenes and lighting conditions. Once you’ve played around enough, you can have a full library of presets for your work to use for city shots, sunset shots, daylight etc…of course aiming for them all to look great together!
#4 Curating Your Feed
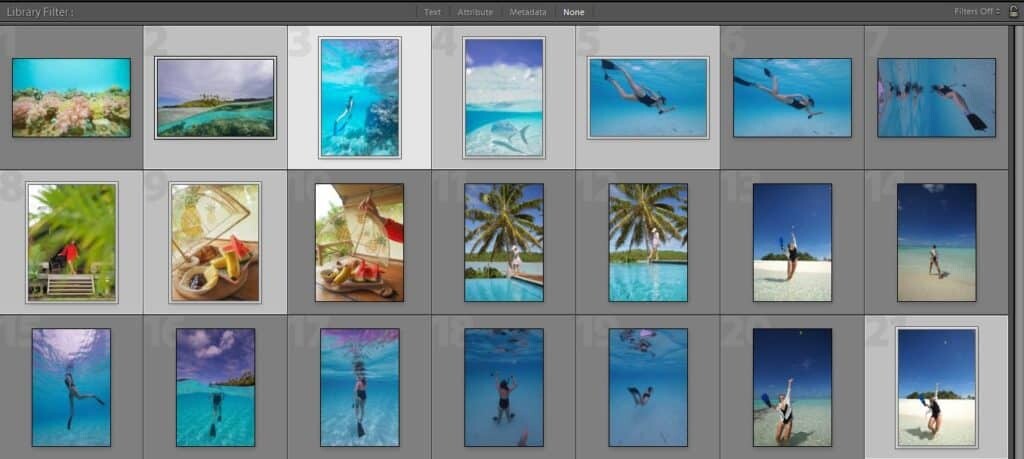
After you’ve been on holiday, doing a photoshoot or have a collection of photos to sort through, how many is too many to share?
The answer, who knows. BUT, you do need to curate what you share because who wants to see 50 images of someone’s trip when one incredible shot could wow you?
There’s some images that always stand out more than others. If you’re a food photographer, it’s no doubt those “jump on the table” flat lays (for the people who can bare to wait 20mins before eating), or if you’re a landscape photographer, it’s probably a beautiful mountain scene with a tiny person for perspective.
Whatever it is, search through your collection of images for those WOW images. The shots that sum up a destination, convey the message you want to achieve or stand out in some other beautiful way.
Also depending on what social media platform you’re using, the layout will differ so be sure to find out which sized images work best!
#5 Using Colours + Tones
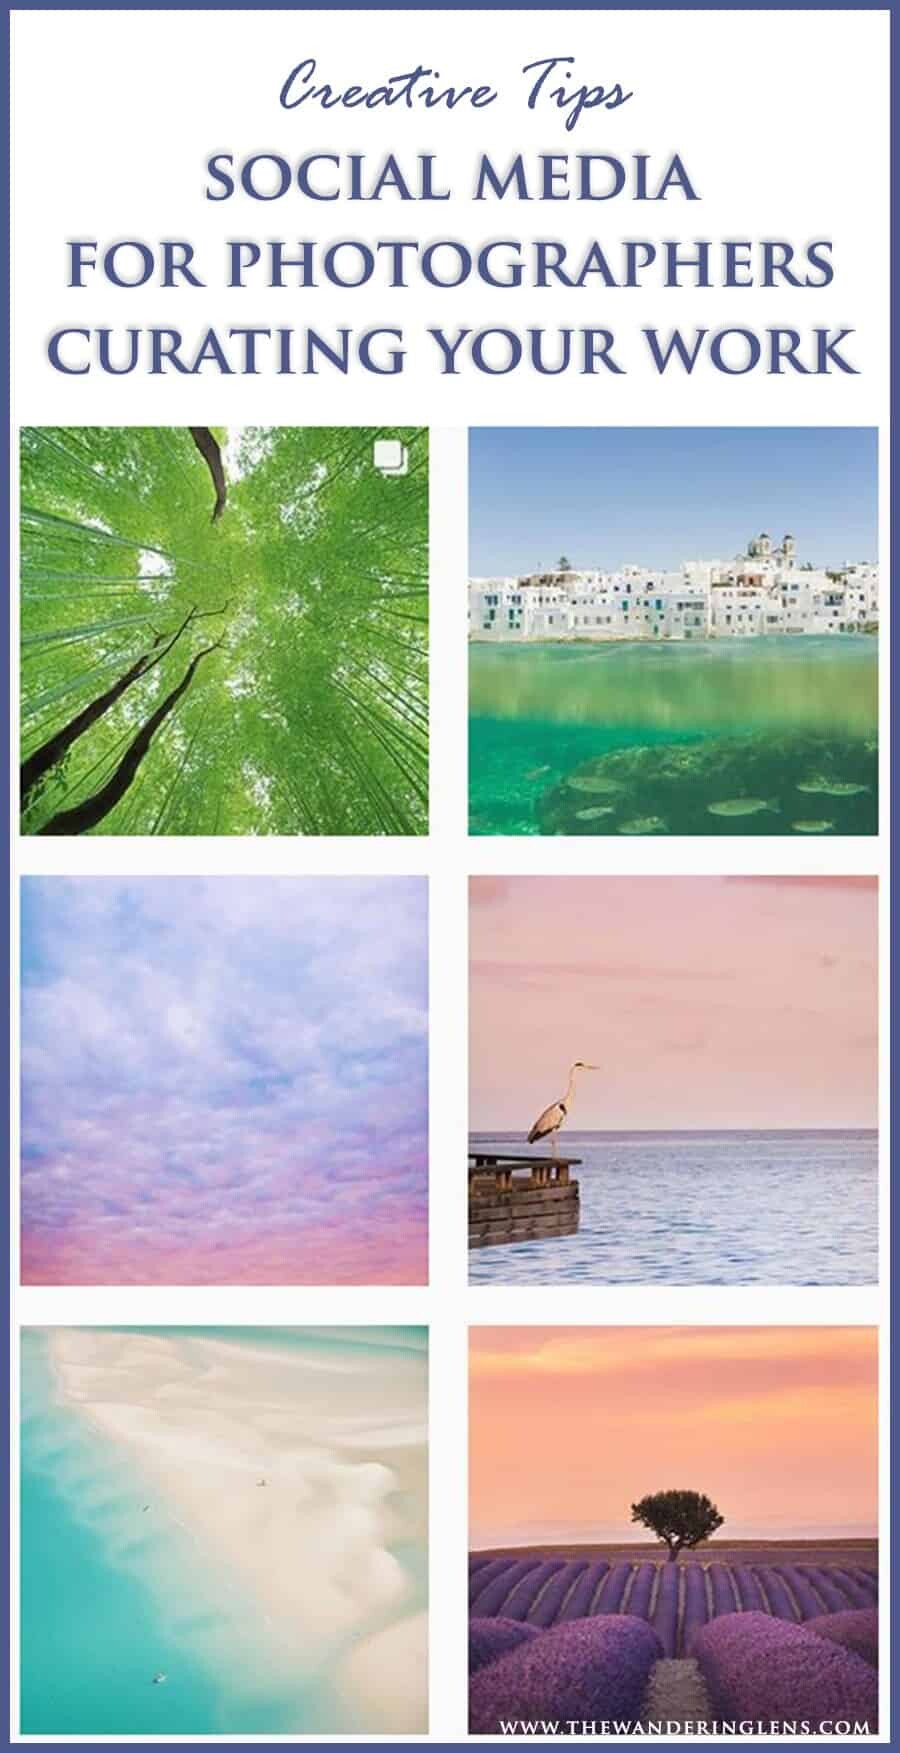
As I’ve mentioned above, a cohesive look is a huge part of the appeal when people decide to follow you on social media.
Curating your feed and what you share is very important if you’re hoping to work as either a professional photographer, creative, or simply want to attract people to your social accounts.
Before uploading a new photo, check that it fits well with what was posted previously, and once it’s sitting on your feed, does it look okay with the other images?
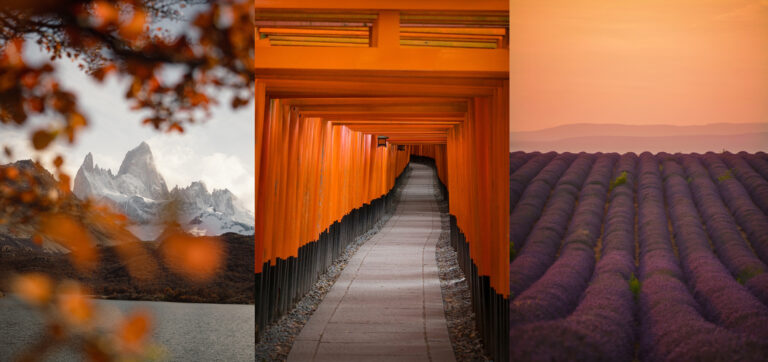
Check for things like colour matching, tones, brightness/darkness. Subject matter is a lot harder to make cohesive especially if you’re travelling a lot because every scene will be different. Instead use the things I mentioned like colours and editing style to sync your work together.
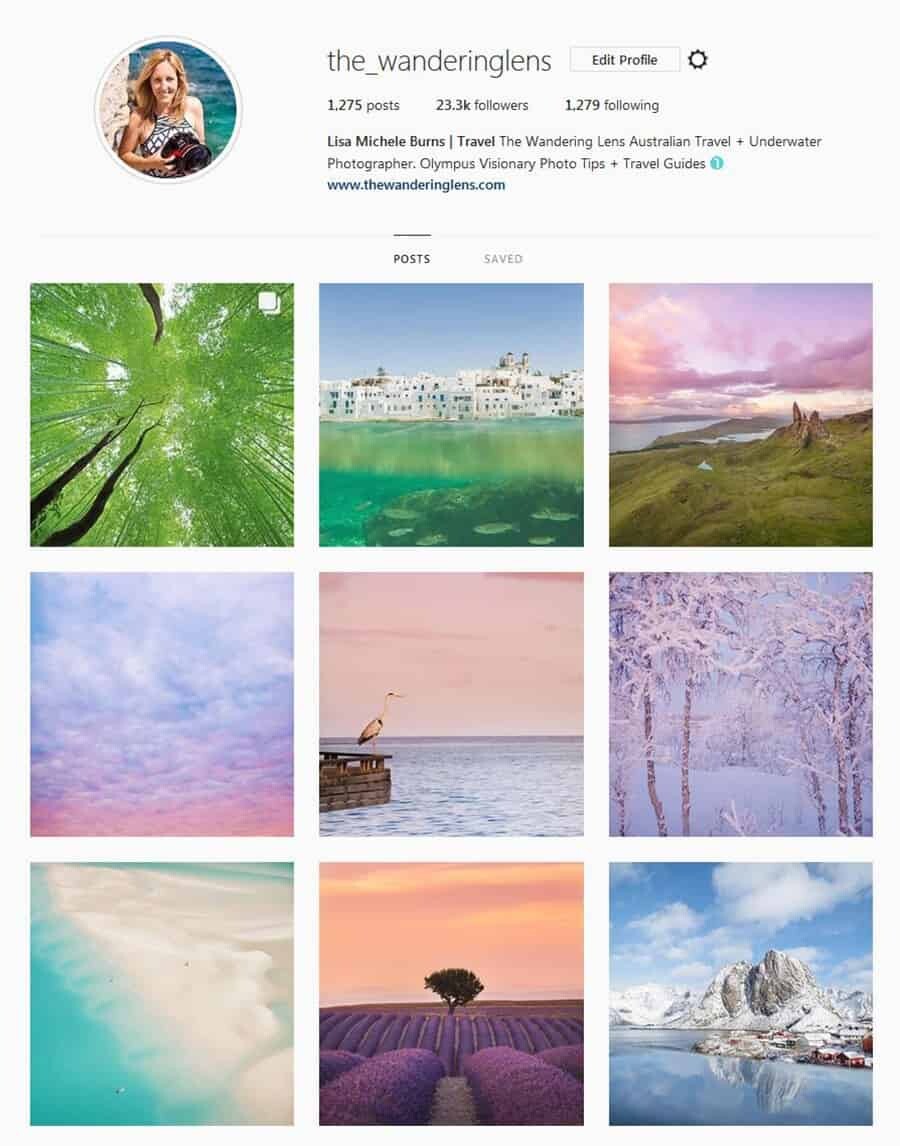
Personally I try to keep my Instagram account looking how I want with a mix of pastel colours, rotating between pinks, oranges and blues. That said, sometimes it’s really hard to find an image that fits so I always need to remind myself that people probably don’t take as much notice as I do!
#6 Be Descriptive
So this part doesn’t really relate to curating and sure, you can use the old ‘a picture tells a thousand words’ but if you’re given the option of a caption, why not use it to the full potential?
This isn’t for everyone as some people do have work that speaks for itself and doesn’t even need words, other times though, it’s nice to share a little something special about the image.
Where was it taken, why was it taken, is there a funny or inspiring story behind how you took the photo? These kind of things help an audience to connect with you as a photographer!
I’ve posted images before where I’ve simply written, ‘Dusk’ and yeah, it can work if the photo is amazing but more often than not, if I say nothing, I hear crickets. Having a little story that people can opt to read really pairs well with your images and lets people follow your journey in another way.
Also, you don’t need to be a journalist or creative writer, be you, that’s what people are following for!
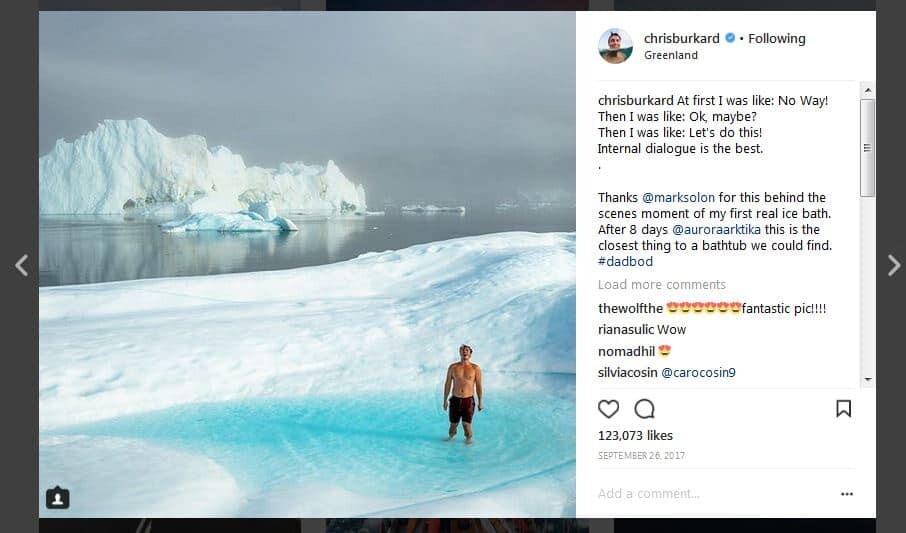
Here’s an example by one of my favourite photographers and personalities, Chris Burkard.
#7 Have fun and Share What you Love
This sounds totally cheesy but it’s true. Today more than ever, social media is jam packed with inspiration and ideas which can sometimes help to form a negative creative mindset that forces you to follow a trend or create images you think are going to perform well on social media.
I’m a big believer in sharing the work you want to share. If you take the time to create unique images and form a style of your own, the people who engage will be people who also feel strongly about the work you’re creating. What good are 50,000 followers if 48,000 of them don’t care about what you’re sharing!?
Keep at it, produce beautiful work and your followers will find you! Also use hashtags…apparently they’re very important 😉
Feel free to leave a link to your Instagram account in the comments below so we can all see your work!
Related articles –
The Six Best Social Platforms for Photographers
How to Become a Professional Travel Photographer
Hello! I’m the founder and photographer behind The Wandering Lens.
With 19+yrs experience as a professional travel and landscape photographer, all advice found on this site is from my personal experience, or that of contributors, on the road. I hope it’s useful for your own travels and would love to hear in the comments about your trips and experiences around the world.

Blog Comments
Ellen Young
March 22, 2018 at 6:11 pm
I’ve always loved your pastel colors, I definitely need to pay more attention to the layout of my Instagram, one more thing to add to the list :=)
Lisa Michele Burns
March 27, 2018 at 8:25 pm
Thanks so much Ellen, my pastel addiction can get a little out of hand but it’s gone so far I can’t stop now haha. It all takes time so don’t rush finding your thing!
Rachael
March 25, 2018 at 8:28 am
I struggle so much with consistency because one second I love the diluted look and the next I love a bright ocean scene! There’s also too many I want to share and I’m new to photography so I really don’t know what I’m doing just yet! But I want to! 🙂 Great post, thank you. My Instagram is http://www.instagram.com/hilltopsandflipflops
Lisa Michele Burns
March 27, 2018 at 8:30 pm
Thanks so much for sharing Rachael, don’t worry…with so many contrasting landscapes and subjects to photograph it’s totally normal to struggle with consistency! You’ll find over time it naturally becomes more evident what your style is but from what I can see, the outdoors feature prominently in your Instagram which is definitely a great focus to have! By the way, hooray Sunshine Coast! My family is in Coolum 🙂
Kolecki
March 27, 2018 at 8:19 pm
I am glad that i found this blog, because is there a lot of useful information for me, for some time i have been taking photos and trying to learn new things all the time.
Lisa Michele Burns
March 27, 2018 at 8:30 pm
Great to hear Kolecki! Thanks for reading 🙂
Karin
March 28, 2018 at 8:53 pm
Hello Lisa,
thank you for this helpful article! We have tried to create consistency by sticking to one country at a time lately and making sure that the 3 images in a row go together. However, as you mentioned this is not easy to keep up and a lot of work.
Do you have any suggestions regarding the format? The photos you post are not all square, do you just leave them in the format you shot them in?
Here is our account: https://www.instagram.com/fotonomadencom/
Warm regards,
Karin
Lisa Michele Burns
March 29, 2018 at 9:30 pm
Hi Karin, sounds like you’ve got a good strategy going, it’s just a matter of then having enough content to sort through and continue with the pattern…which is the tricky part 🙂
I tend to post vertical images (about 90% of the time) because they cover more screen space than a square shot and more screen space usually means better engagement.
I crop them to be a tad smaller than the original, usually 1000px x 1400px which is a good fit for Instagram’s vertical layout.
I actually shoot almost all of my images vertically anyhow…it’s become quite a habit haha.
Thanks for sharing!
Karin
April 3, 2018 at 7:17 pm
Dear Lisa,
thank you very much for the great tips! 🙂
Alison
May 6, 2018 at 3:02 am
Hi Lisa—thanks so much for all the great content on your blog, and for your beautiful photos. Even though I know having a consistent look or subject matter would probably increase my follower number on Instagram (which is definitely a goal, if I’m honest), I really struggle with the consistency factor in my feed. The focus of my Instagram account is to document my travels overall, so I purposely include all kinds of images, ranging from landscapes to city monuments to people to an occasional food shot. I like to edit each image the way I think it needs to be edited rather than creating a consistent color pattern, as you suggest. The result (I hope) is a lot of bright colors or an arresting detail that is big enough to be seen from the little thumbnails in the feed. Do you think that can work or am I making a mistake in not aiming for a visually cohesive look to my feed? Would love your (or your readers’) thoughts! My Instagram is @these.wandering.eyes
Lisa Michele Burns
May 7, 2018 at 9:36 am
Hi Alison, lovely to hear from you! You’ve been so many amazing places, your Instagram feed is definitely filled with interesting and varied subjects. It’s totally personal preference as to how you wish for your feed to look, I’ve found personally and in speaking with other photographers, that people either follow accounts for personality (they know or love to follow someone’s adventures based on how they document) or visual cohesion and apperance. One way to do it and still feature a combination of landscapes and city scenes is to find a commonality within the photos…it could be a tinge of red, or the time of day you capture a shot or simply editing with a similar brightness level. Having some kind of collective look or feature will help people want to follow your work and understand what it is that you’re capturing rather than just travel as a generic theme. I hope that helps a little 🙂
Natalie
May 11, 2018 at 3:38 am
SO in love with your style and your whole website – thank you for sharing tips – it’s wonderful to read. Tones and consistency (especially as the seasons change and different locations) are the toughest part in my instagram feed but I do love photography so much @hungrynike
Lisa Michele Burns
May 11, 2018 at 8:00 pm
Thanks so much Natalie! Is that your gorgeous puppy in the photos on your account? I hope I’m looking at the right account 🙂
Karin
May 25, 2018 at 1:45 am
Dear Lisa,
I am still struggling with the appropriate sizes on Instagram. We started posting pictures in a 8×10 format, which is approximately 1000×14000 px, that you suggested. However as the thumbnails are squares the pictures always get cut off in the feed, which doesn’t look good. I haven’t found any way to edit the view of the thumbnails.
Do you have any tipps how I could solve this?
Thank you for your help!
Warm regards,
Karin
Lisa Michele Burns
June 2, 2018 at 5:30 pm
Hi Karin,
As far as I know there’s no way to change how the thumbnail will appear in your feed. That said, I’ve read most people will visit via an individual image though so won’t see your entire feed straight away anyway.
The width I crop my images at is 1500px and then I adjust the height depending on the composition. Online it says the correct size is 1080px x 1350px for portait images.
I tend to guess now how the thumbnail will appear…it’s usually the bottom 2/3 that appear.
Ian
June 2, 2018 at 5:25 am
Hey Lisa, good post! I’ve always found tip #4 to be one of the most difficult things to do. For me there’s always that anxiety that most of the photos I’ve made are special and so deserve to be kept or edited. But the pain of endlessly editing my photos has taught me to be much more ruthless in deleting those sub-par shots. A heuristic I use is to first specify an insanely small percentage of photos to retain, and when it becomes extremely difficult to think of a reason – whether stylistic, technical etc – to delete additional ones, then I know I’ve got a good crop of images. I pair this with being ridiculously demanding of my photos’ quality for them to pass muster. Doesn’t always work, but it’s helped on several occasions. Thanks once again for the post! 🙂
Lisa Michele Burns
June 2, 2018 at 5:21 pm
Great reasoning Ian! I’m the same, I’ll make a small folder of good shots “to edit” then usually during the editing process I start to see which of those are the real keepers. I can’t delete any though, I’ve got every image in storage haha.
Nice to hear you enjoyed this article!
Ashley Murphy
January 14, 2020 at 11:19 pm
instagram.com/beyondthelinestudio
Thank you so much for all the information on this site!
gokhan
March 4, 2020 at 10:54 am
Hi,
Thanks for the post!
My problem is about colour theme. I cant use same filter for all the photos. for example with sunset and daylight or night photos how can i put same filter ? or i shouldnt share even the photos are great and only share same tepe of photos which is suitable for filters?
Thanks
team koderey
March 5, 2020 at 6:55 pm
Hey there, you provided many great tips on your blog. I found your article really insightful. Bookmarked this, just wanted to say thanks 🙂
tanja willekens
March 7, 2021 at 4:04 am
So glad I found your site!
my instagram: willekenstanja