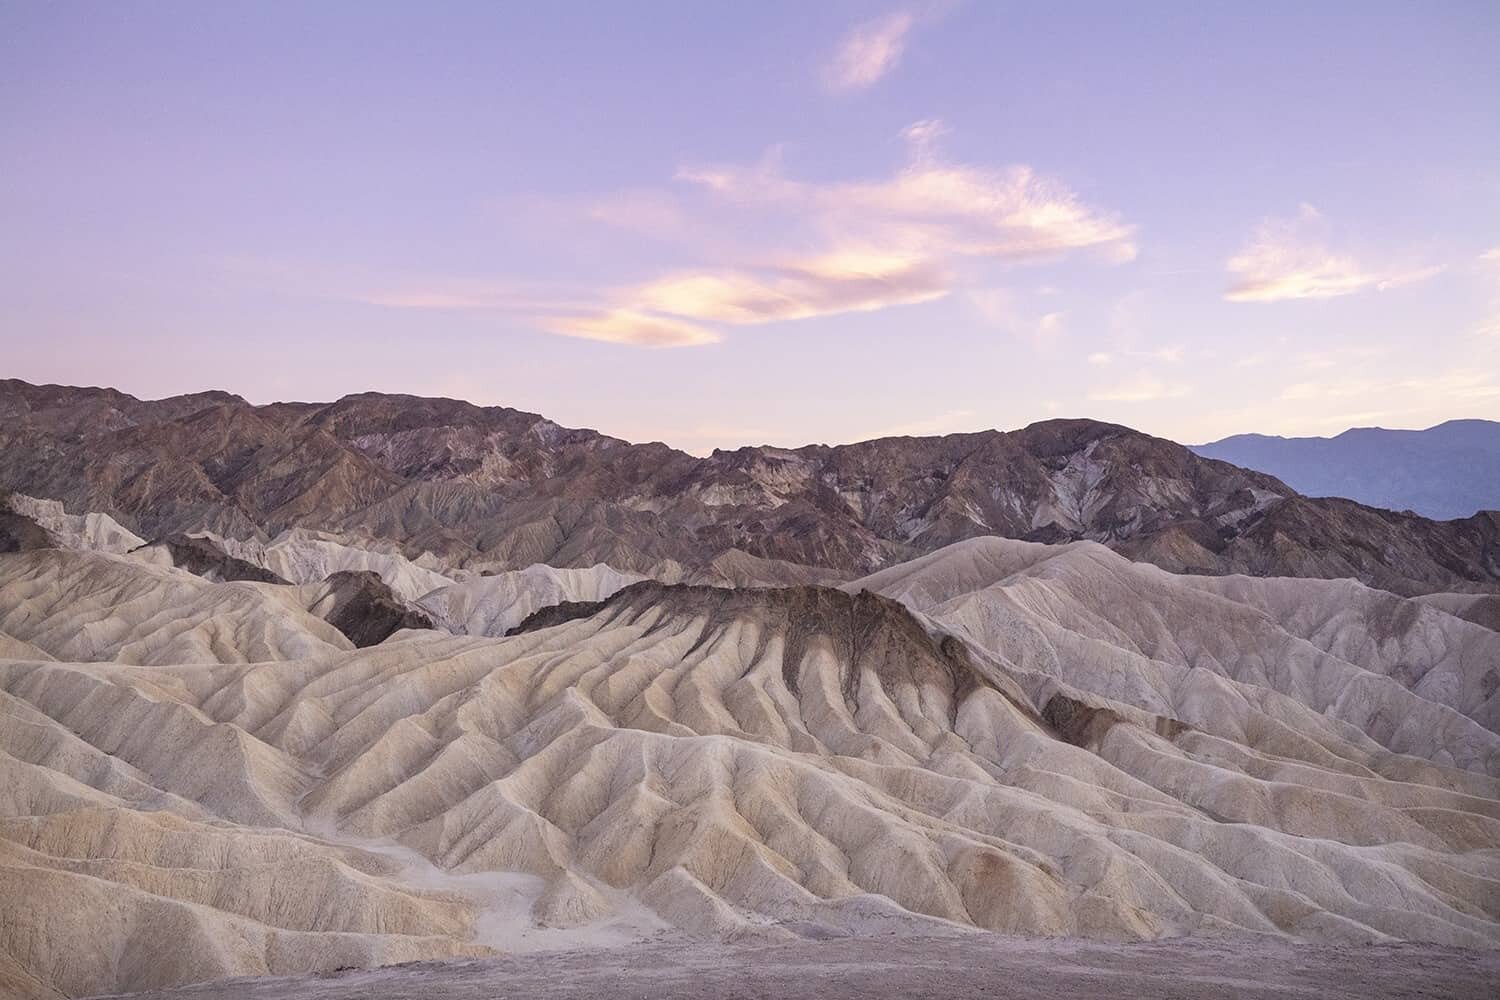
Death Valley National Park
Where to Photograph + Things to do in Death Valley
Planetesque landscapes await within the depths of Death Valley National Park, officially home to the hottest place on earth and surprisingly accessible. Within two hours from Las Vegas and a little closer to four hours from the coast of California, this other-worldly region of dunes, deserts and salt flats is somewhere you need to visit with your camera.
Back in 1913 a temperature of 57degrees (134F) was recorded at Furnace Creek and once you’ve experienced the heat in Death Valley, it’s actually not that hard to believe this is possible. To describe this place in one word it has to be harsh. Harsh in every aspect from the landscapes to the conditions and somewhere that needs to be taken seriously when visiting, it’s called Death Valley for a reason and that’s so evident when you’re standing in 40+ degree heat with nothing around for shade.
While Death Valley National Park is one of the most inhospitable places, happens to be one of the most photogenic. With salt flats, sand dunes, mountain ranges and volcanic lava filled hills, it’s hard to put your camera down…unless of course you’re about to faint from the heat and need a dose of air con!
So, without further chatter let’s get to it. Below you’ll find five of the best photography locations in Death Valley that I personally visited in June. All images featured within this guide were captured in while temperatures were reaching 43 degrees during the day and hovered at around 37 in the early evening. In the winter months I believe it would be possible to wander further into the dunes and landscapes but throughout the summer months, I strongly advise you stay quite close to your vehicle because the heat really creeps up on you.
But, as you’ll see below, it’s worth it.
Death Valley National Park
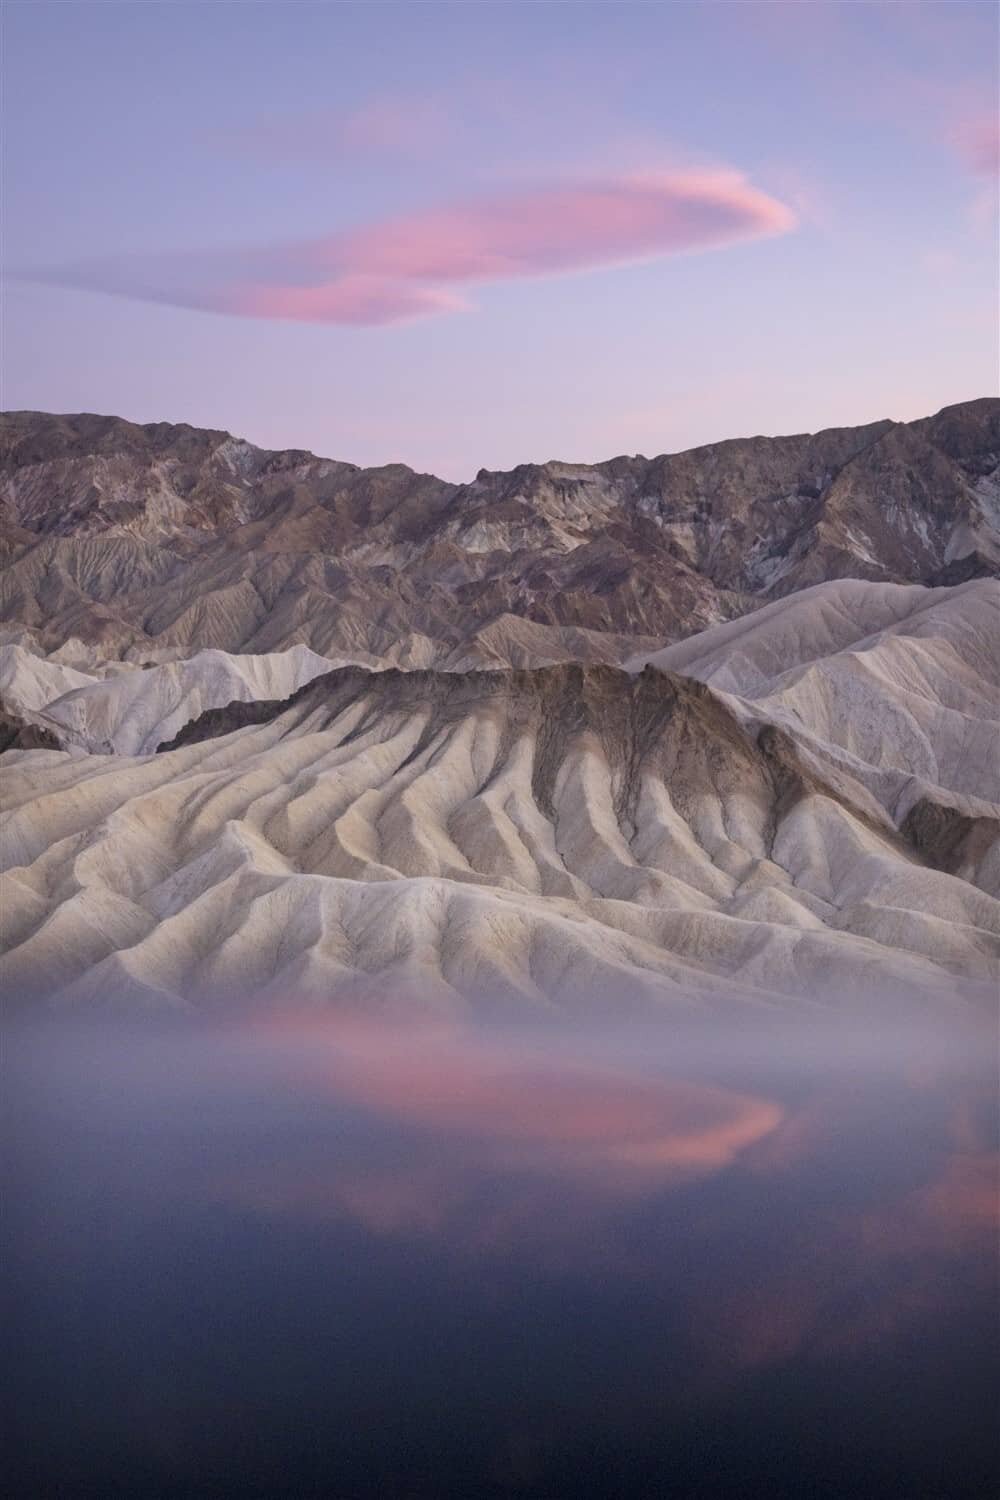
#1 Zabriskie Point
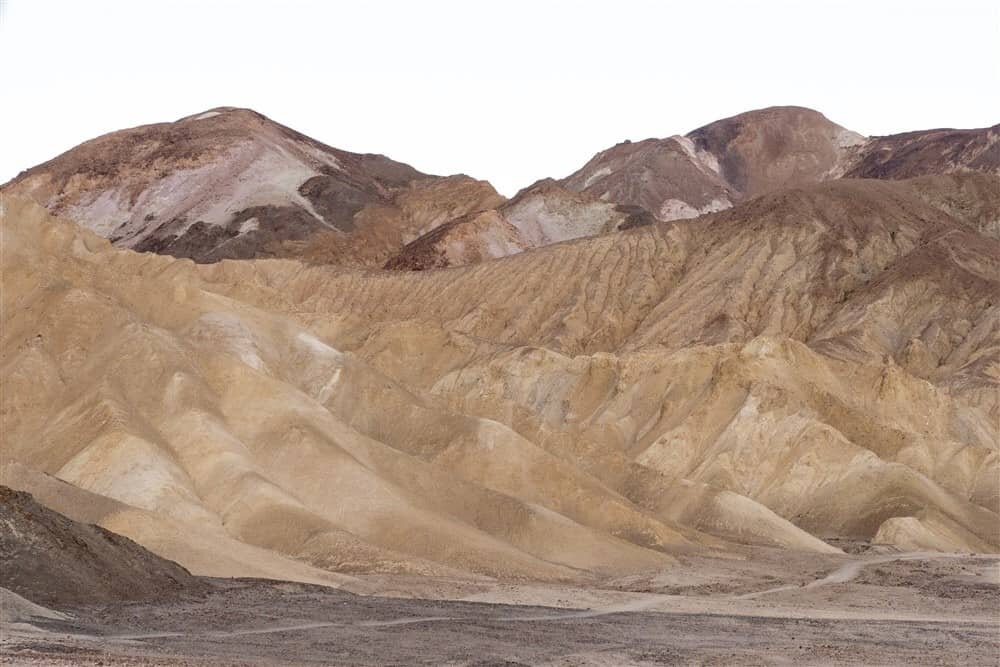
One of the first sights you’ll come to when driving from Las Vegas, Zabriskie Point is worth visiting not just once but as much as possible in varied light. Originally a lake within a mountain valley over 3 million years ago, the area has been heavily influenced by volcanic activity which unearthed the lava and minerals you see forming the landscape today.
It’s such an inspiring canvas and landscape to photograph with textures, tones and shapes visible in all directions. Allow plenty of time to really soak it all in and work out the best composition. Keep your eyes peeled for leading lines and work with the patterns to form an image, it’s quite addictive once you start seeing how it all blends together beautifully.
If it’s quite windy, you’ll find the gusts whip up the valley to the viewpoint making it near impossible to hold your camera still. I was photographing with my Olympus E-M1X that has 7 stops of stabilization and found it was absolutely necessary to have that capability because my camera was being blown around even when holding with two hands and trying to be rock solid. Shooting with a tripod in the wind there would be impossible and dangerous for your gear!
When photographing Zabriskie Point be prepared for extreme heat if visiting in the summer months from May – September. Due to the black asphalt path that leads to the viewpoint from the carpark, the temperature rising from the ground can be almost 40% hotter, which when added to the already 40+degrees makes it super uncomfortable!
Zabriskie Point Photo Tip: Stay nearby at The Oasis at Death Valley and you can pop up to Zabriskie Point to photograph at sunrise, sunset and during the evening to photograph some astrophotography (if it’s not windy!). The area is known as one of the gold-tier dark sky reserves of America, one of only 8 and this means you’ll be able to see the Milky Way with your eyes, let alone the magic you’ll be able to capture with your camera.
Read more – Mastering Landscapes: Wide Angle Landscape Photography Tips
#2 The Artist’s Drive
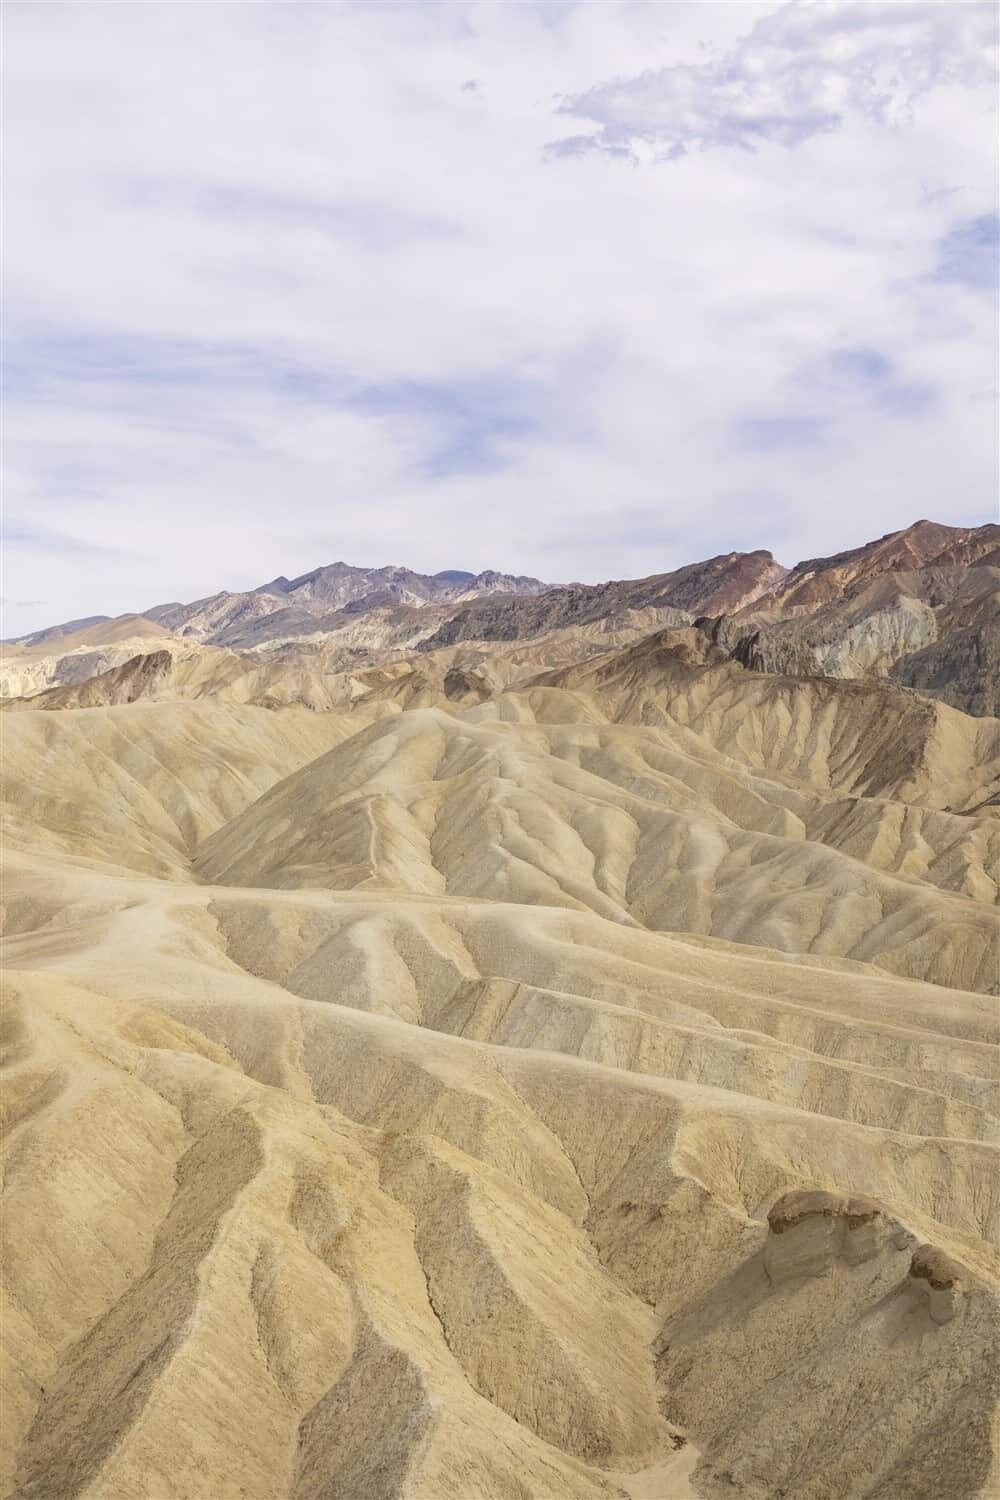
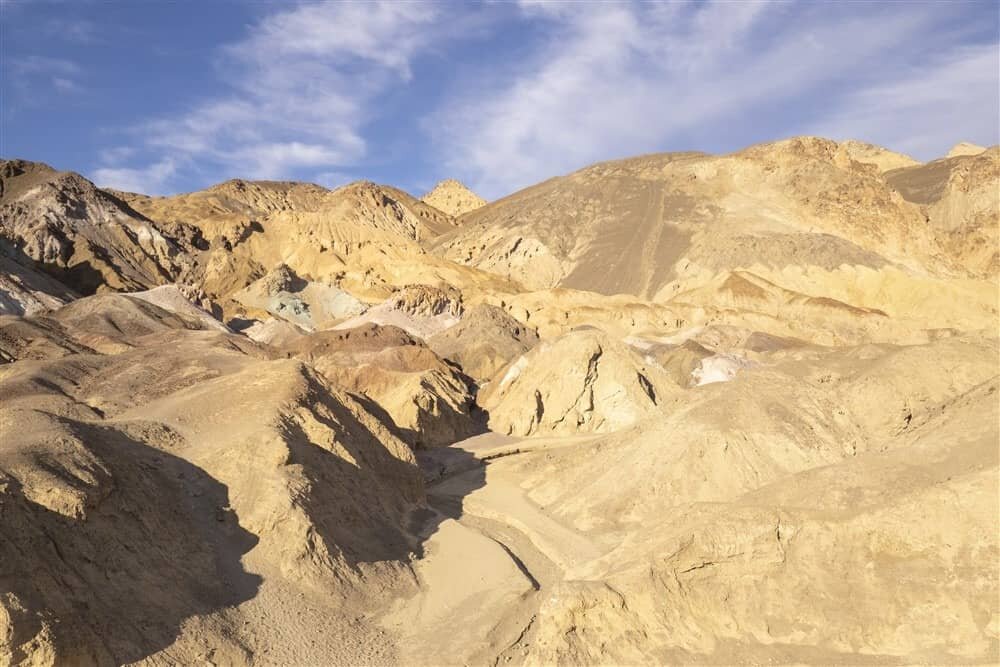
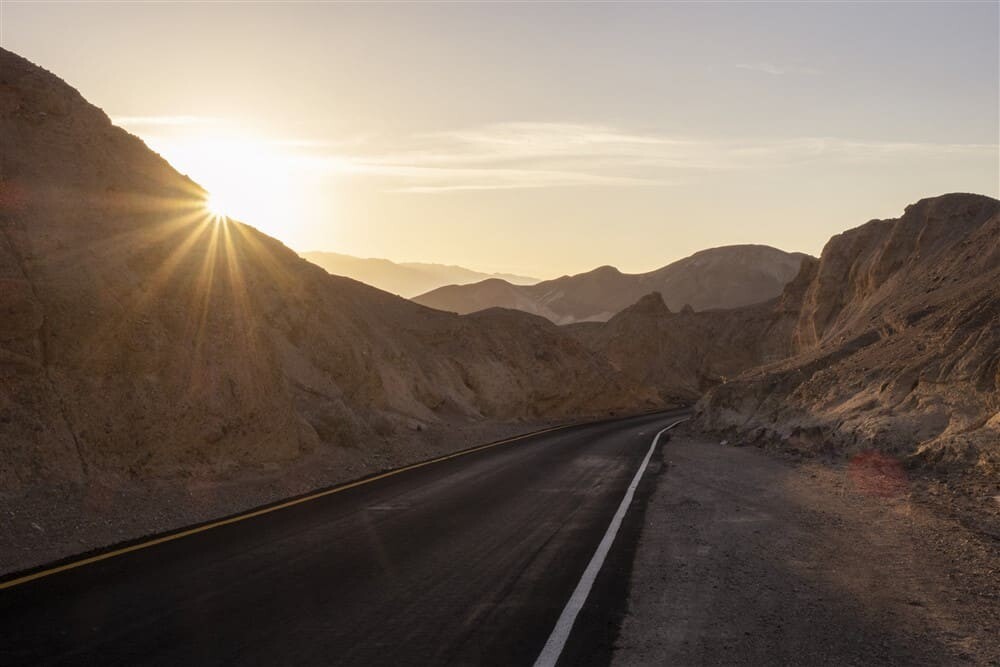
Colourful canyons line the route on this one-way natural wonder that winds through some of the most beautiful landscapes you’ll ever see. Similar to Zabriskie Point, minerals create various tones within the scenery with colours ranging from pink and teal to beige and oranges.
The speed limit is restricted to just 15mph making it a relaxing drive and one with plenty of pull outs so you can stop the car and capture your shots. One point in particular that’s worth stopping, and featured in a lot of Instagram images is the Artist Palette.
Colours are visible from the parking lot but if you’ve got time, it’s worth a little wander to really get amongst the landscape. This is one location where it helps to have a person in your shot to give perspective to how immense this area truly is.
Photo Tip: The afternoon light adds an extra oomph to the Artist’s Drive and visiting a few hours before sunset will allow you to watch as the changing light reveals new shadows and tones. Sunset here doesn’t work very well though as shadows will put the coloured areas into shade but pre-sunset, definitely!
#3 Badwater Basin
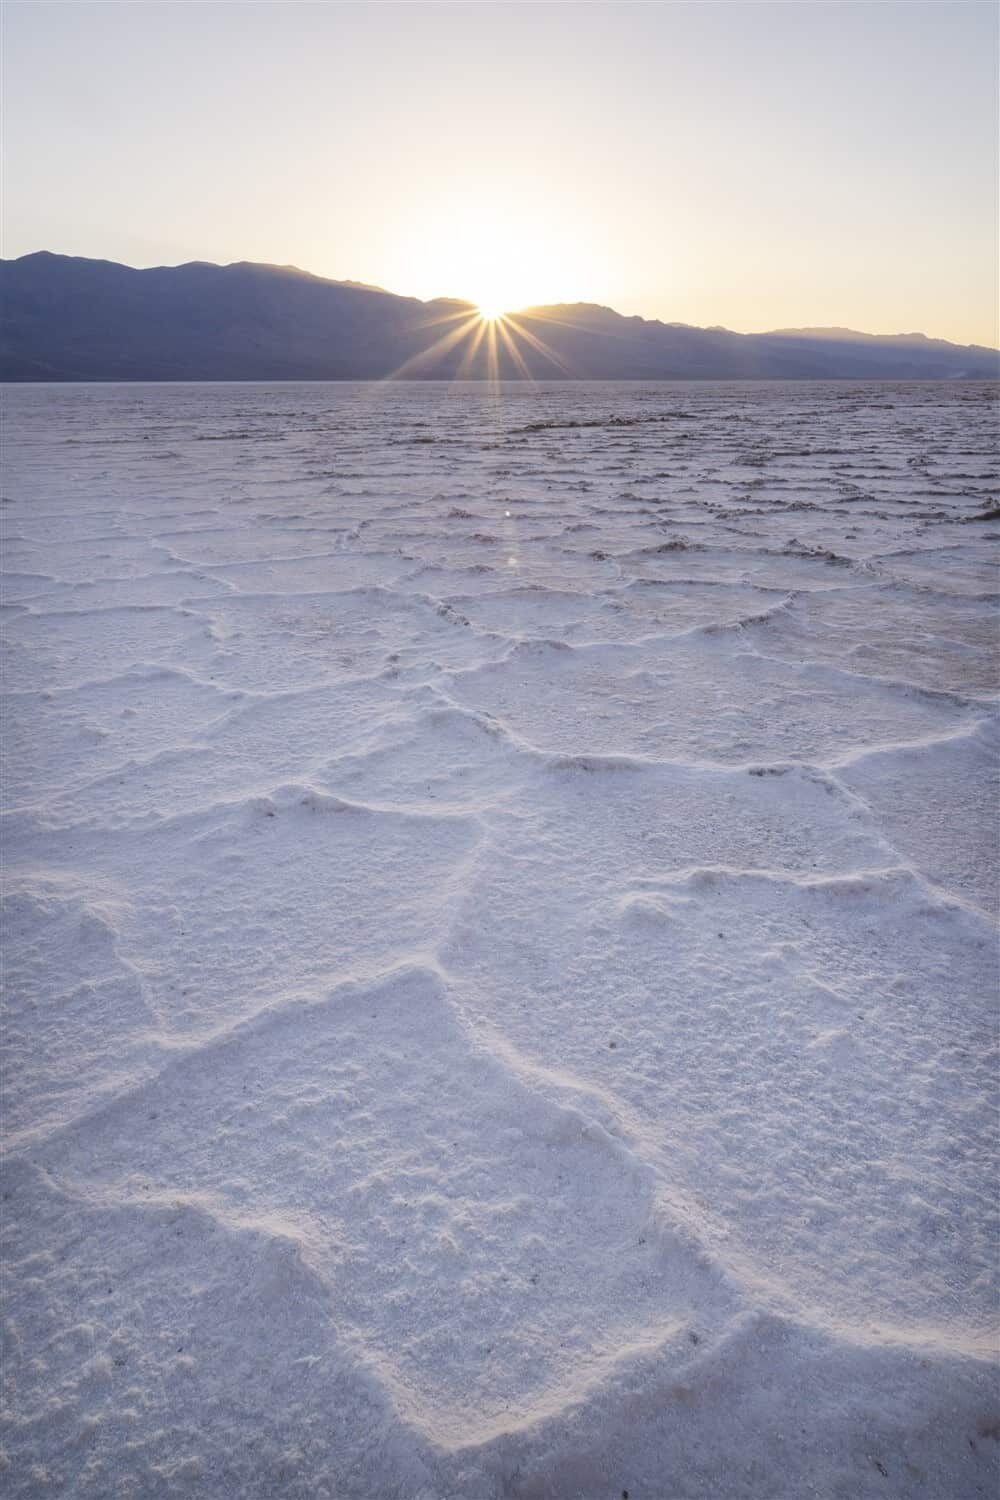
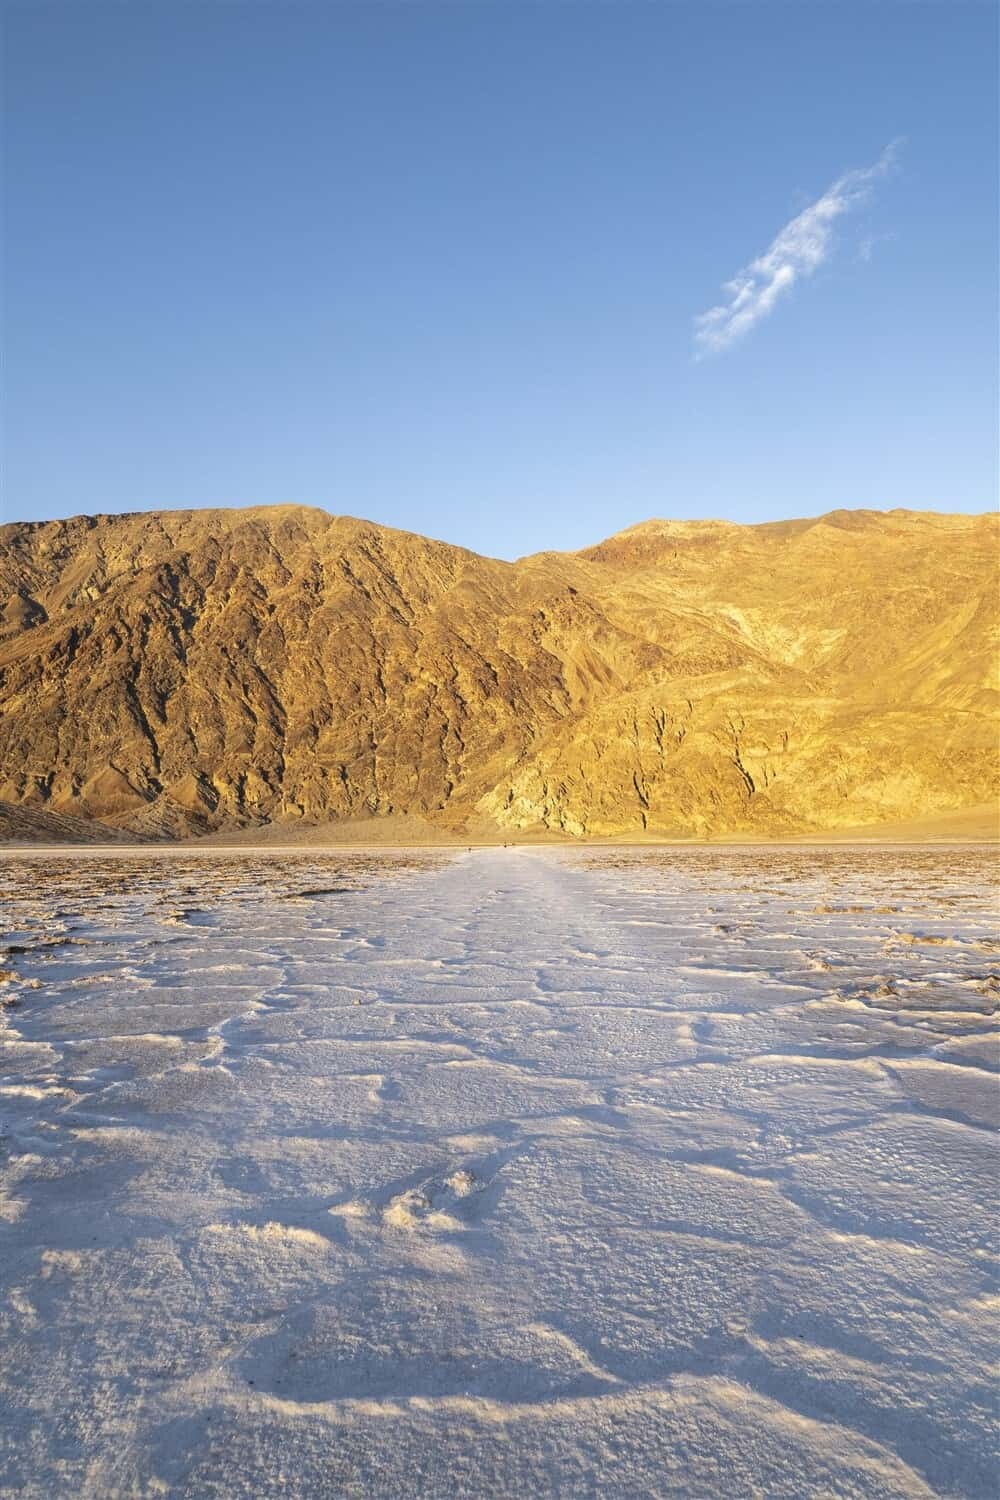
This beauty is the lowest point in North America with an elevation of -282ft, 82metres below sea level. Here you can walk out onto the salt flat and experience how the harsh climatic conditions here really carve this landscape.
Crusted salt, soggy salt, salt craters…if you want to photograph salt, this is the place to go! You can park your car and walk directly out onto the salt flats but to really get to the good section, you’ll need to prepare for at least an hour. Take plenty of water, like a lot of water because once you’re out on the salt flats if it’s as hot as I experienced, the dry air really hits hard.
Sunset on the salt flats is one of the best photography experiences you can have in Death Valley. Arrive early enough so you can walk out onto the flats and find some great salt formations shaped like polygons. I was photographing with a 7-14mm f2.8 wide angle lens to really highlight the formations of the salt whilst still including the surrounding mountain range. At sunset the sun will dip behind the Panamint Range and Telescope Peak so be sure to capture sun stars by using an aperture of f/14 or smaller…you also need to arrive at least an hour before sunset to time this well too!
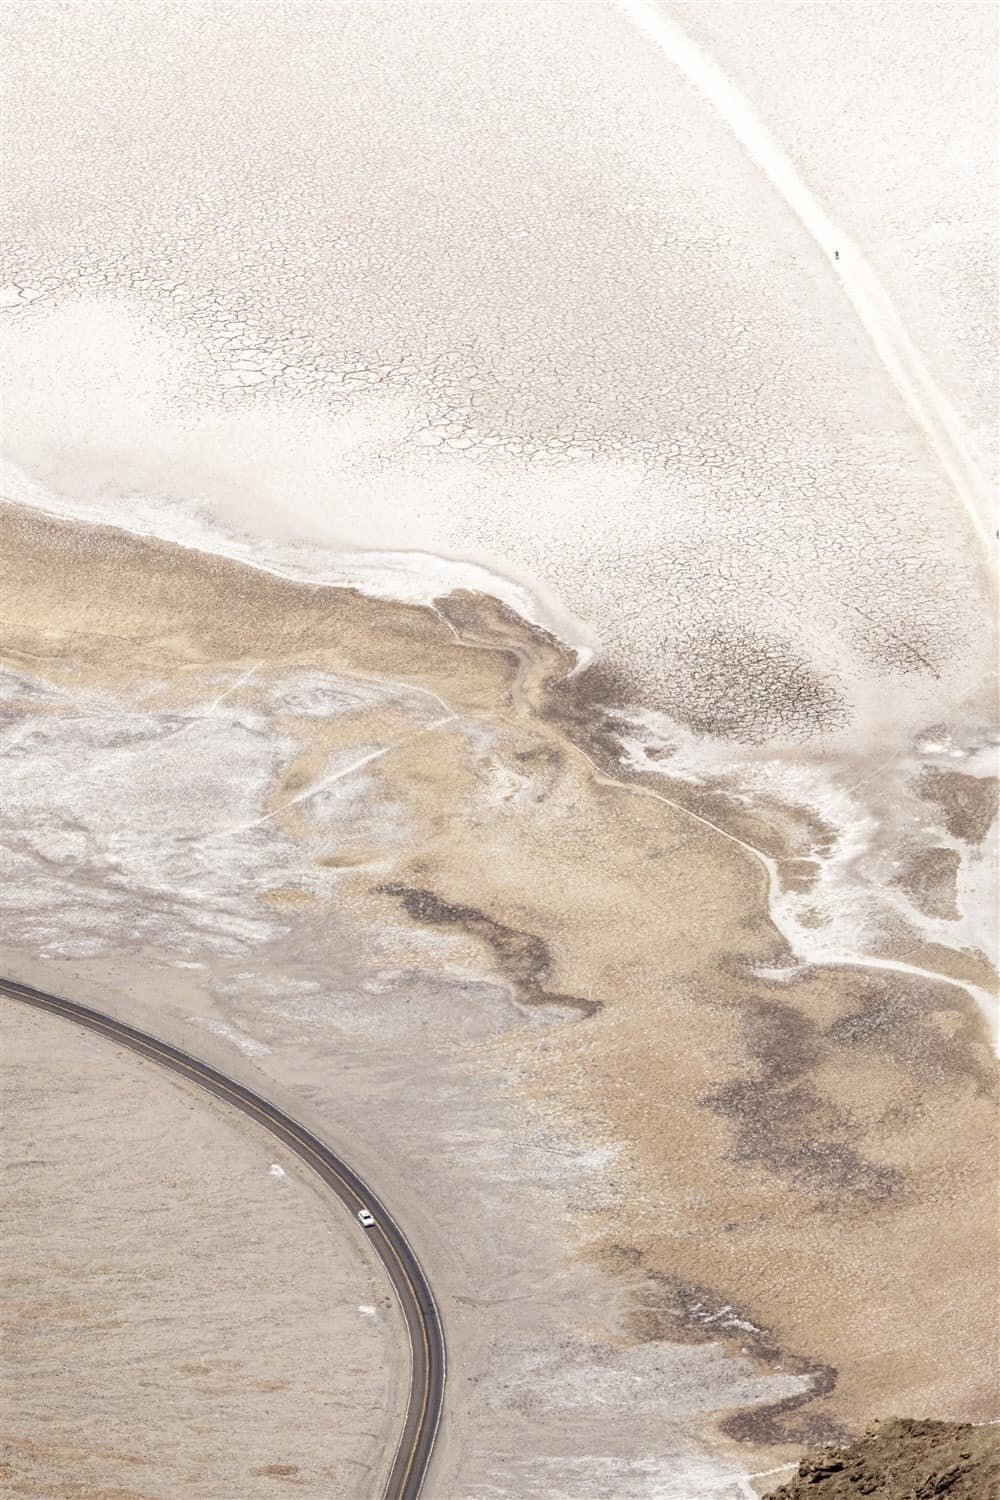
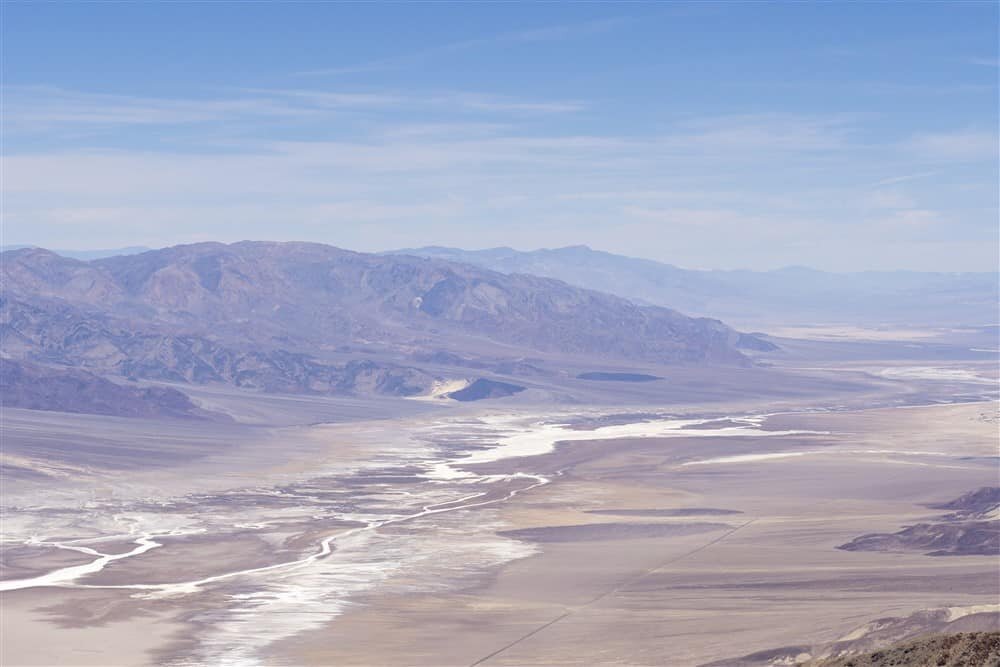
Death Valley National Park Photo Tip: While you can photograph on the salt flats, I’d highly recommend driving up to Dante’s View for an even better view of Badwater Basin. The patterns are absolutely striking from this viewpoint and experiencing both will enable you to really capture the beauty of this location. The drive between both location takes roughly one hour. See next location for sample photos!
Read more – How to Creatively Compose Your Images
#4 Dante’s View
Expansive, panoramic views await at one of the most impressive lookouts I’ve ever visited. From the spine of the Black Mountains, you’re standing at an elevation of 5,476ft (1,669m) a massive contrast to Badwater Basin below. Before the elevation puts you off I’ll share the good news…you don’t need to hike up here, there’s a road that leads right to the top making it SO much easier to access in the extreme heat.
Photographing from Dante’s View provides the opportunity to get a great overview of Death Valley and capture the immense scenery in landscape imagery both wide angle and more detailed. Shooting with the Olympus 300mm f/4 PRO lens enabled me to focus in tight to the patterns and textures on the salt flat below so I’d very much suggest having a zoom lens when you visit Dante’s View.
Sunrise is stunning from the top with the morning light slowly revealing new areas and valleys in all directions, plus the altitude means it’s nice and cool in comparison to the areas at sea level. Take a picnic breakfast and photograph for hours as the colours change. Read more about sunrise photography tips here.
Photo Tip: Use the lines and patterns below to compose your image and if you can get close enough, the Badwater Basin area makes for a great subject with people appearing teeny tiny as they walk out onto the salt flats.
Dante’s View of Badwater Basin
#5 Mesquite Flat Sand Dunes
Be prepared for the word wow to slip from your mouth over and over as you climb across the sand dunes of Mesquite Flat. Landscape photographers will find it hard to contain themselves because this scene is so inspiring and the further you wander into the dunes, the better it gets.
For 14 square miles, the dunes dip and rise in a natural playground surrounded by mountain ranges. The location within Death Valley has a unique collection of textures with the sand meeting rocky mountains and in the afternoon light this creates magic in terms of depth and patterned beauty.
Read more about Photographing Mesquite Flat Sand Dunes in Death Valley National Park here.
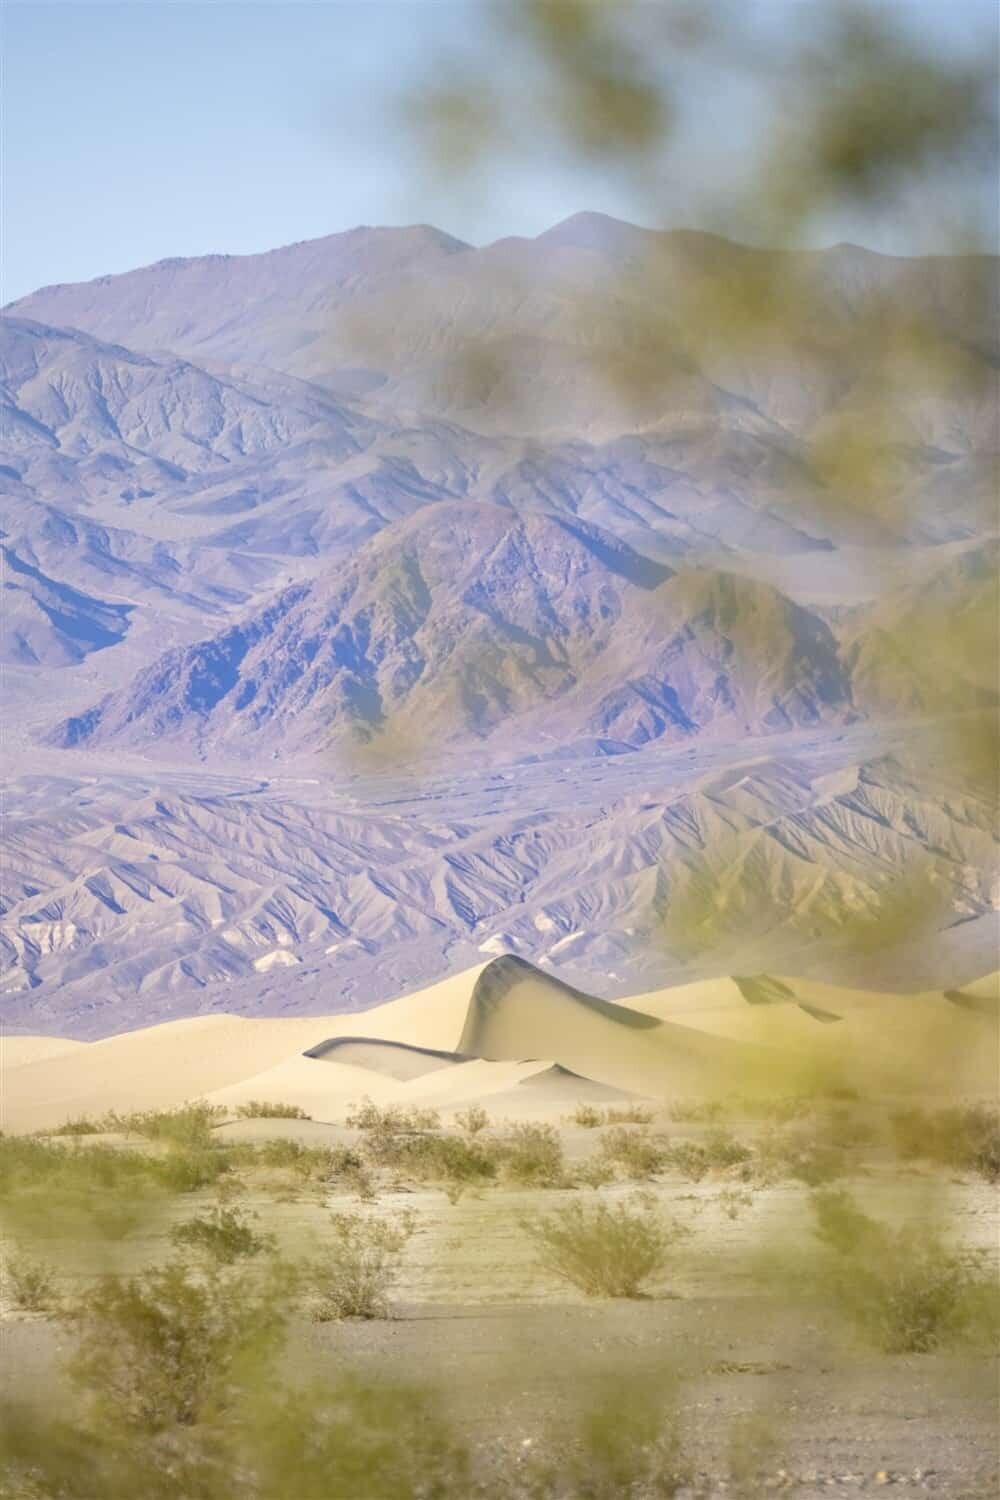
To photograph the sand dunes, you can park in a designated area just east of Stovepipe Wells and make your way into the dunes. Be warned that in the heat you will need to prepare with food and water because it’s very easy to get lost or inspired and wander further than you realise. The tallest dune is roughly one mile from the carpark but walking one mile in sand is a lot different than on solid ground. It can also be nice to capture the tall dunes from afar especially because their shadows fall across the other dunes offering incredible shapes and shades.
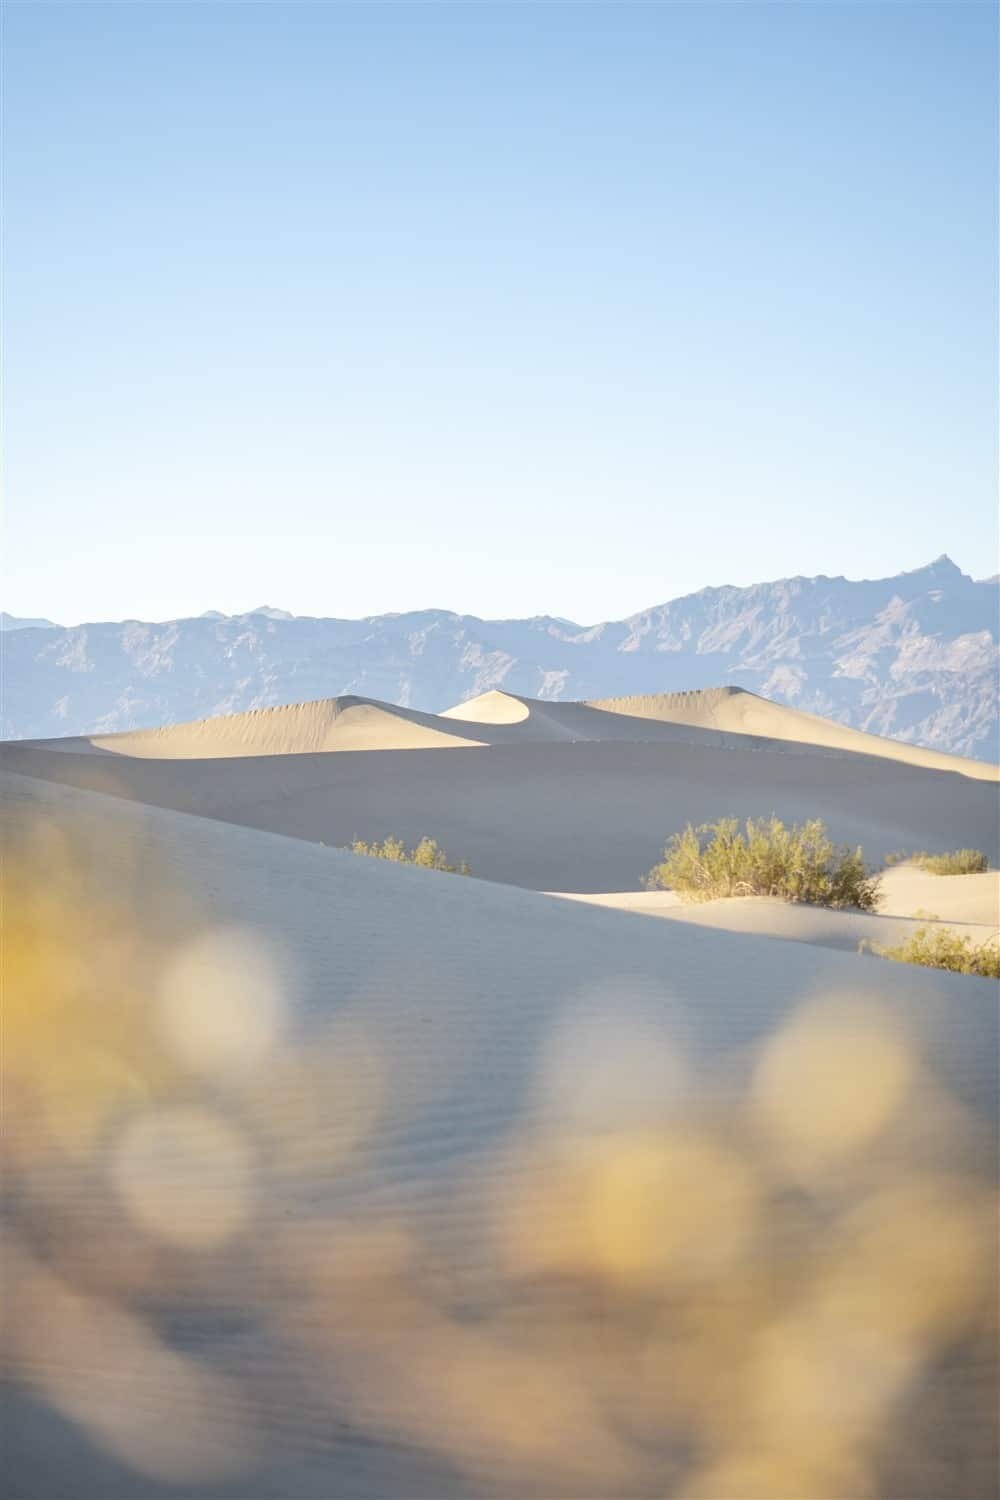
Sunset at the dunes offers ideal conditions for photographing the changing light as it falls across the valley. Arriving about 1-2 hours before sunset will give you plenty of time to capture the contrasting blue skies above the earthy scenery then the dusky pinks and purples as the light progresses into the evening.
Photo Tip: There’s sand, a lot of sand and this will get into your camera regardless of how much you try to keep it out. If it’s windy, try to protect your gear as much as possible because sand is really tricky to get out of the nooks and crannies of your lens and body. I photographed with my Olympus gear that’s weatherproof and dust proof so it’s just a matter of brushing it off but when photographing in dunes previously with other equipment know it’s a nightmare to remove.
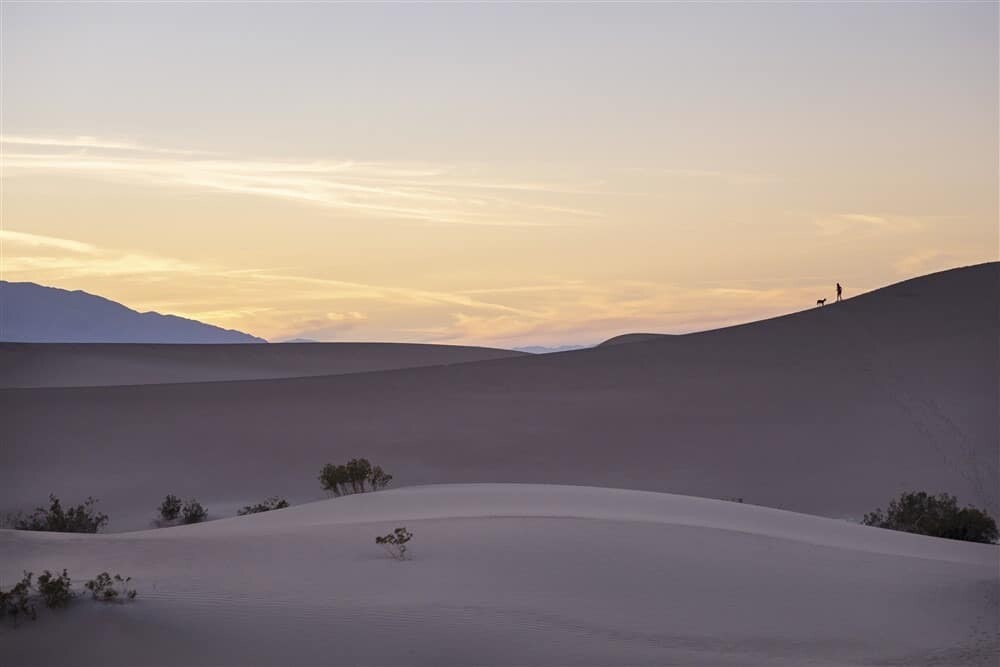
PS – If you know a woman who went hiking with her dog (which wore yellow booties) at Mesquite Flat Dunes on June 8th, I want to give them this photo!
Best Camera Gear for Death Valley National Park –
Due to the harsh conditions of Death Valley I highly recommend having weatherproof gear to make the most of your time here, or at the very least, an air brush to make sure that you can remove any dust or sand particles that get in and around your lens.
The gear I used is noted below:
Olympus OM-D E-M1X (read my review of this camera here)
M.Zuiko 7-14mm f2.8 PRO lens (Badwater Basin)
M.Zuiko 12-40mm f2.8 PRO lens (Zabriskie Point, Mesquite Flat Sand Dunes + The Artist’s Drive)
M.Zuiko 40-150mm f2.8 PRO lens (All locations noted within this guide!)
M.Zuiko 300mm f4 PRO lens (Dante’s View)
Having versatile lenses will allow you to carry less when wandering out onto the sand flats or into the sand dunes, a huge bonus in the heat so something like the 40-150mm range I found was absolutely ideal. As I mentioned previously, during strong winds it’s near impossible to have a tripod set up so you’ll have to rely on hand-held images unless you get lucky and have calm conditions.
Read more –
How to Use Your Camera in Extreme Climates
How to Plan a Travel Photography Adventure
Where to Stay in Death Valley National Park
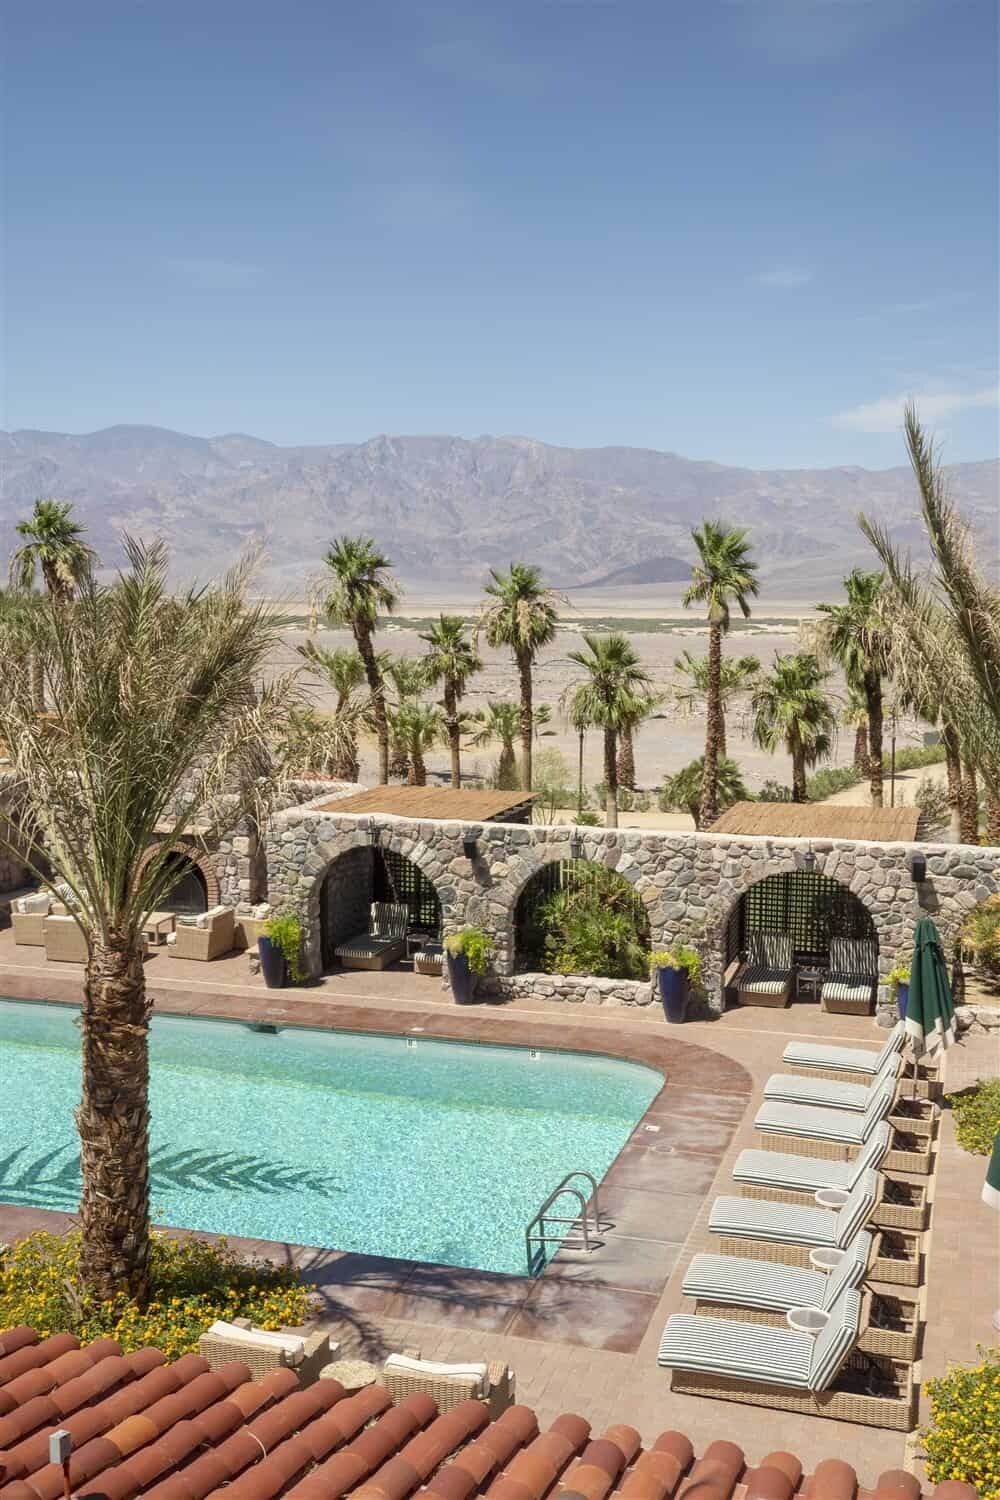
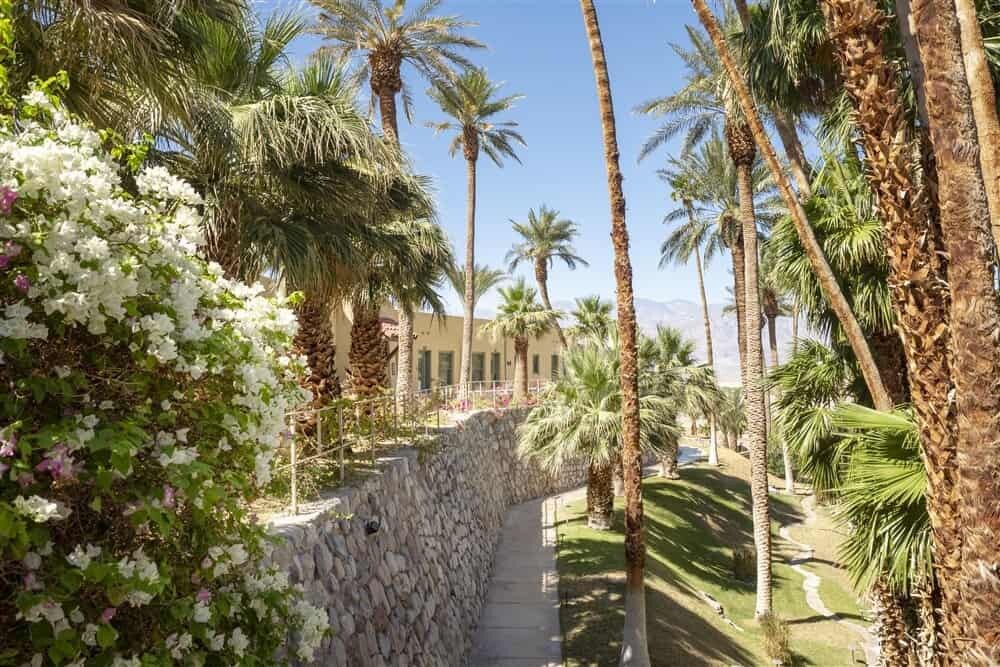
You can read my review of The Oasis at Death Valley which I think is ideally located for photographing the highlights of Death Valley. From Furnace Creek where both The Inn and The Ranch (both properties within The Oasis) are located, you have Zabriskie Point, The Artist’s Drive, Badwater Basin and the Mesquite Flat Sands all within a 30min drive…Zabriskie Point is just a 5minute drive up the road!
Stovepipe Wells is an alternate location if you’re arriving from Los Angeles and if you’re wanting to focus primarily on the Mesquite Flat Sand Dunes which are located right beside it.
Both Stovepipe Wells and Furnace Creek offer a general store and gas station, Furnace Creek however has a few more options for restaurants and I found the selection of sandwiches, drinks and snacks to be much better too!
Reserve your room at The Oasis at Death Valley here.
How to Get to Death Valley National Park
You’ll find this natural beauty in California, USA. It’s about a two hour drive (140miles) from Las Vegas, and a 4.5hr drive (260miles from Los Angeles), a popular stop on the way to explore Yosemite National Park or to cross from one metropolis to another on the way to the Grand Canyon or further afield.
To make the most of your time in Death Valley it’s best to have a car because the photography locations are miles between one another and the heat will literally kill you if you tried to hike it without training or extensive preparation. There are buses that make a stop at Furnace Creek travelling from Las Vegas but once you’re there, there’s no shuttle services taking you to the various locations so it really is best to arrange your own transport.
Below is a map noting the locations mentioned within this guide, the photography locations, places to stay and main visitor centers.
MAP: Death Valley National Park Photography Locations
There is a $30 park fee that’s payable at kiosks when entering the park or the visitor centre. The pass allows entry for 7 days in a single vehicle.
Visit the Death Valley National Park site for updated road closures and information.
Hello! I’m the founder and photographer behind The Wandering Lens.
With 19+yrs experience as a professional travel and landscape photographer, all advice found on this site is from my personal experience, or that of contributors, on the road. I hope it’s useful for your own travels and would love to hear in the comments about your trips and experiences around the world.


Blog Comments
Emma
June 27, 2019 at 9:32 pm
Wow sounds like such an extreme adventure! Beautiful photos!!
Barrie Jolliffe
September 26, 2020 at 3:08 am
What a great blog. Full of useful and precise tips. Thanks.
Eric L
October 14, 2021 at 12:31 pm
Thank you for your information regarding Death Valley its is very helpful as I am planning to go tomorrow for just one day and your info helps me plan my photo itinerary