
Fushimi Inari Shrine, Kyoto for Photographers
Fushimi Inari Shrine aka Fushimi Inari Taisha is that oh so photogenic place where bold red torii gates weave their way into the foothills of Kyoto’s Higashiyama Mountains. It’s popular for a reason and a must-see destination for any photographer visiting Japan. While you can simply rock up and photograph it whenever you like (for free!), those hoping to capture iconic images and have a little time to compose their shots will want to plan their visit in advance.
Having visited Fushimi Inari at least 10 times and guided photography tours throughout Kyoto, I wanted to write this guide to provide some tips and great photo spots that I’ve discovered after numerous visits. I can’t tell you how many times people have written to me and said, ‘oh, but there were so many people it’s not worth going’…it absolutely is and with a little preparation, it might just end up being the highlight of your trip to Japan!
Read more – Take a peek at my guide to ‘The Best Photography Locations in Kyoto’.
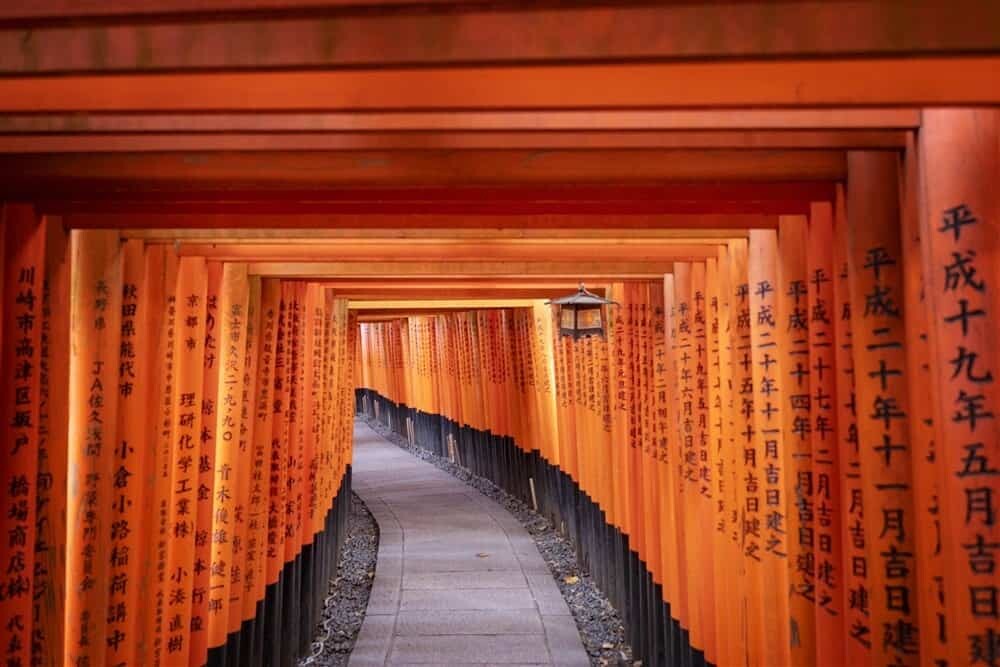
When to Visit Fushimi Inari?
As a photographer you’ll be dreaming of those crowd-free shots of the torii gates, preferably with a kimono clad woman walking by or a priest disappearing into the distance. It’s the iconic shots here that work best and unfortunately, more often than not these are only possible very, very early in the morning…don’t worry, I prefer sleep too but trust me, it’s worth it.
Due to its popularity, Fushimi-Inari is somewhere you NEED to visit at sunrise in order to capture those iconic shots. Plan a sleep-in for the following day or a lazy afternoon if you’re not good in the mornings but trust me when I say, a sunrise here is worth every rub of your tired eyes.
Using a weather app or my guide to weather forecasting for photographers, check what time sunrise is due on the date you’re planning to visit then arrive at least 30 minutes before this. It sounds a little intense but having time to wander through the gates without crowds is an experience in itself, not to mention how many beautiful shots you’ll be able to capture in this time.
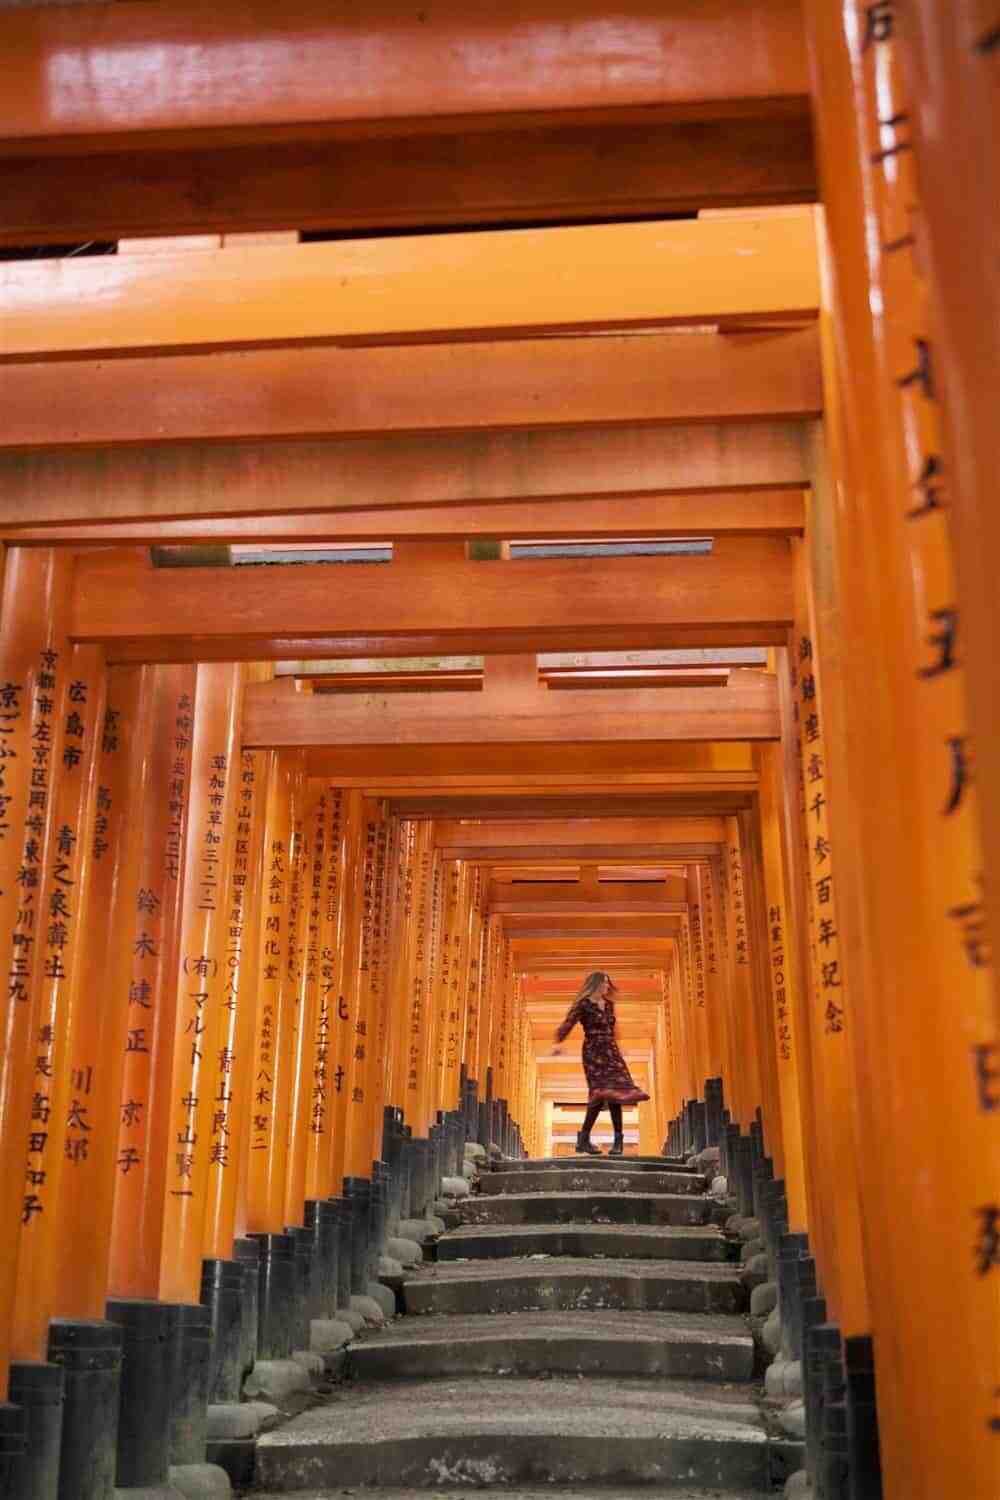
What is Fushimi Inari?
Inari is the god of rice, prosperity, patron of business and god of sake and Fushimi Inari is the head shrine of Inari. The red torii gates that stretch for up to 5km into the hillside have actually been donated by local businesses to worship the god of business, merchants and manufacturers. It’s quite interesting to use your Google Translate app and with the photo/live text option you can begin to read the names of some of the businesses who have donated Torii gates.
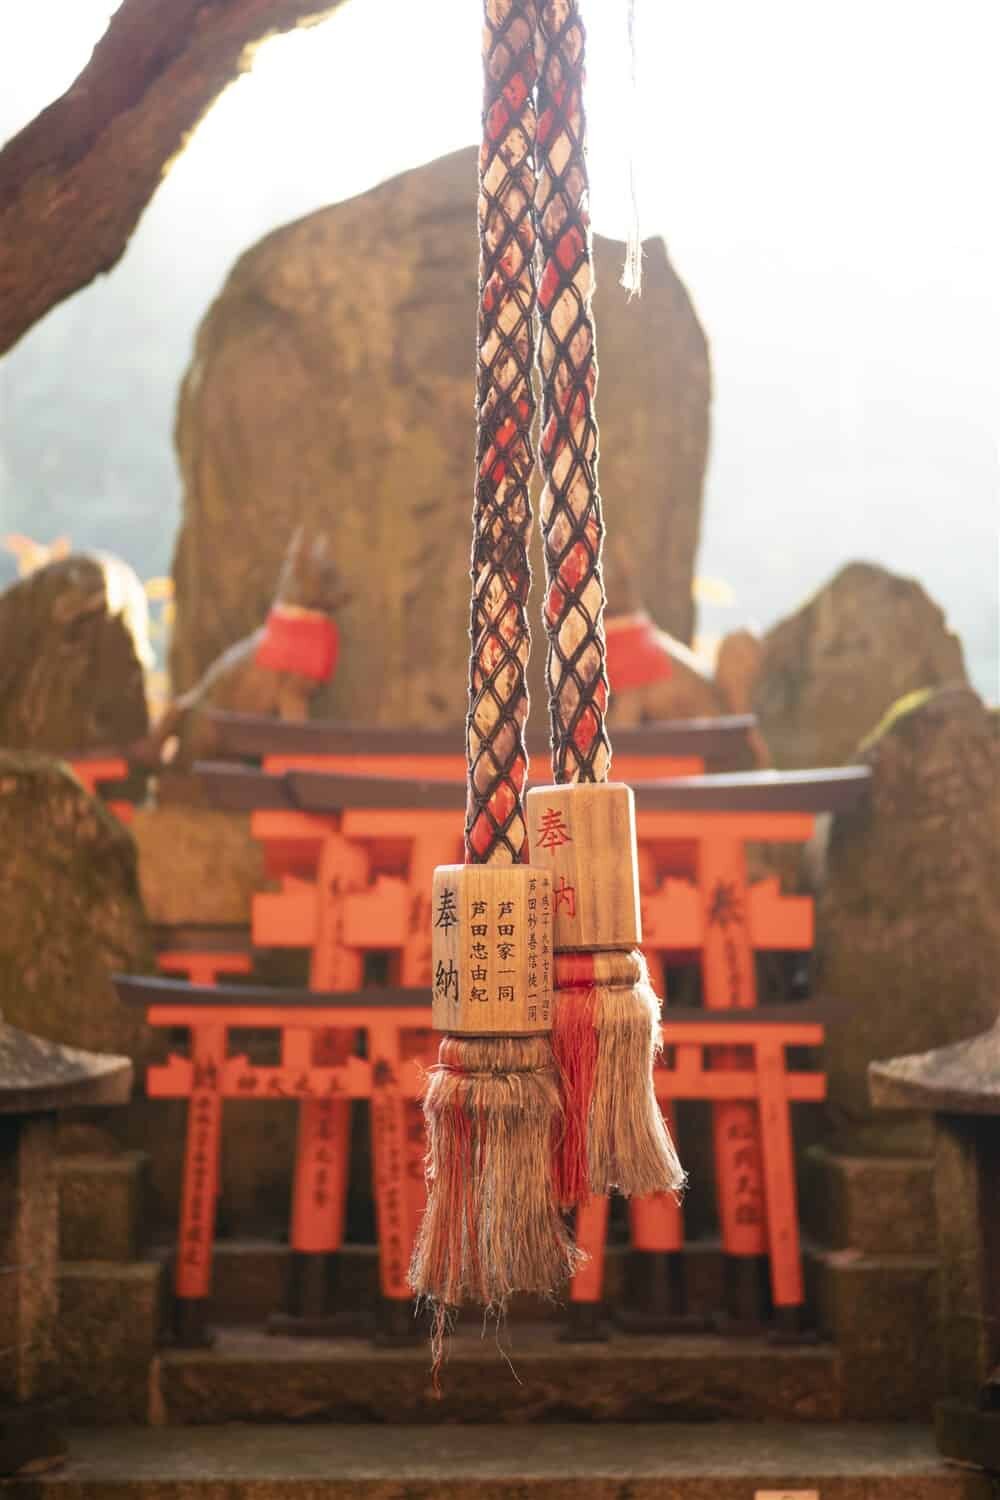
The shrine was raised to the highest level of Shinto shrines in 942 with the large shrine complex built in 1499. Upon visiting you’ll notice there are a number of smaller sub-shrines scattered throughout the hillside trail and if you’ve got time, it’s well worth wandering slowly through the entire area.
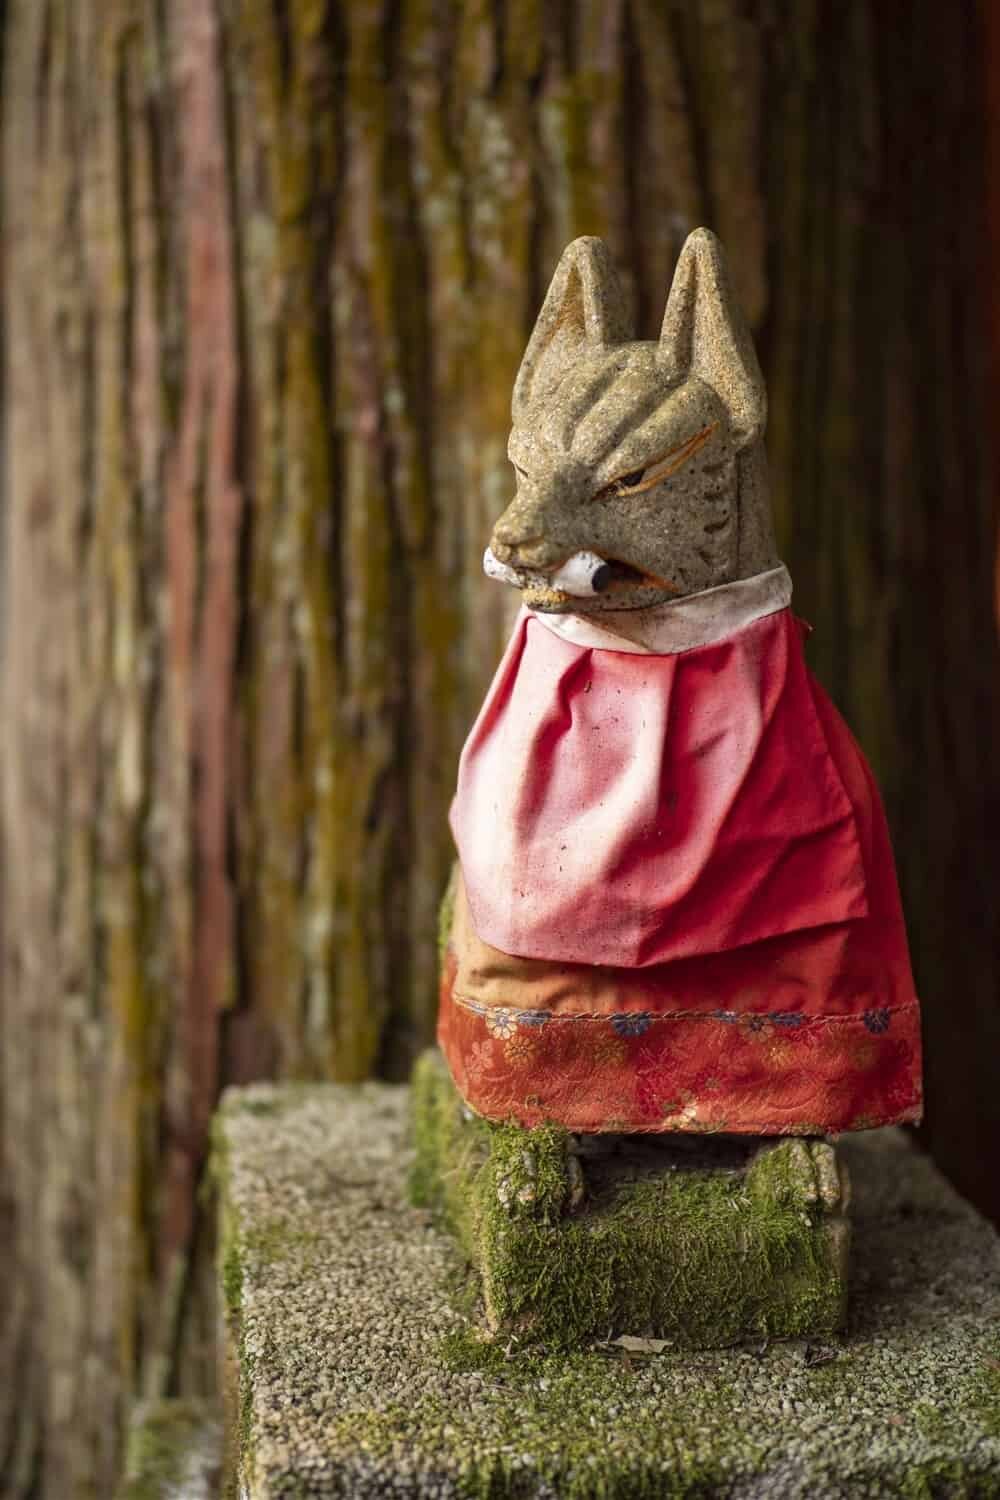
One thing that’s worth mentioning is the presence of Kitsune or foxes. Especially once you reach the lake side area at the top of a steep staircase, you’ll notice hundreds of fox statues protecting the shrine as they’re thought to be the messengers of the gods.
Tips for Visiting Fushimi Inari Shrine
- Arrive early, even if it’s dark the shrine is open 24hours so it’s better to be there before sunrise than after with all the crowds.
- Pack a wide-angle lens (eg. 7-14mm f2.8) and a standard zoom (eg. f2.8) in order to capture a variety of shots within the complex
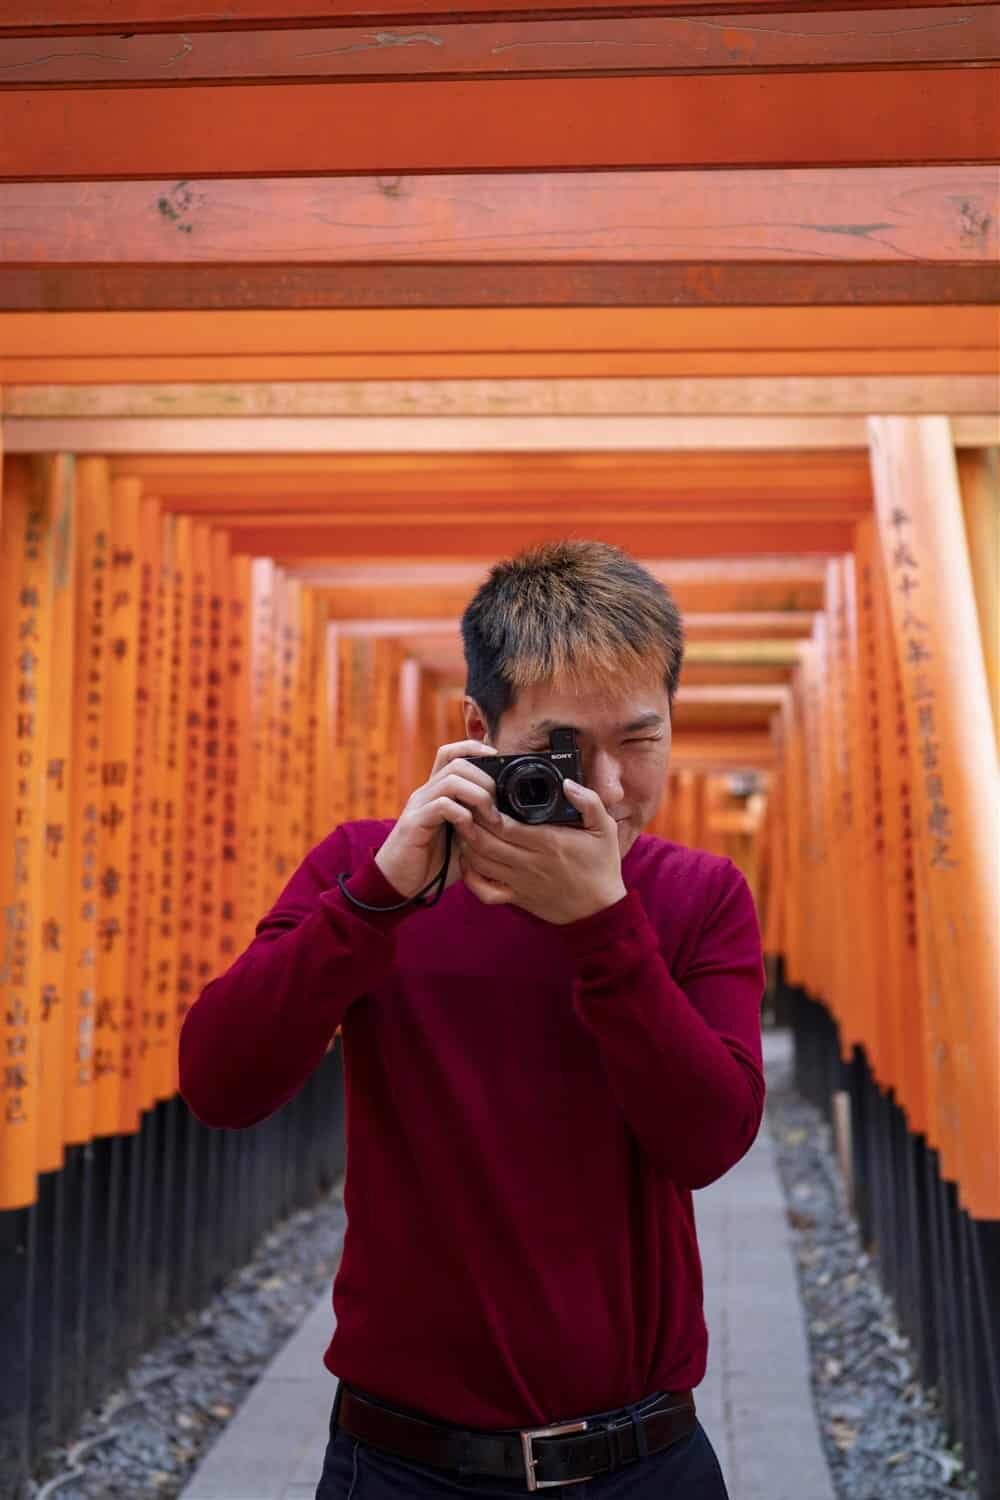
- If you’re planning to photograph portraits, avoid wearing bright red (maroon works well still!) and black so you don’t blend into the torii gates! Opt for something bright like white, yellow or even dress up in a colourful kimono you can rent in nearby Kyoto.
- Relax and don’t get frustrated by people walking through your shot. They’re enjoying the same space you are and no good photos were even taken while cranky 😊
- The path can get a little cramped in some places so be respectful of others and hopefully they’ll do the same for you so you can take your shots!
- Leave at least 2hours in your schedule to visit Fushimi Inari Shrine, more if you’re planning on completing the entire trail up the hill.
- Entry is free so you can wander through the shrine and torii gates anytime!
- After a sunrise wander, stop by Vermillon Café for great coffee + huge delicious breakfast
Best Photo Spots at Fushimi-Inari Shrine
Once you’ve located the red torii gates of Fushimi Inari Shrine you’ll want to take a few shots at the entrance where the path leads left and right (see example below). The path on the right leads in the correct direction, the path on the left is for people exiting the next area of the shrine…although you will see others walking the wrong way and they do both arrive at the same spot. Officially you’re supposed to only walk in one direction and then exit in the sign posted locations so be sure to always turn around and look behind you as you walk through because sometimes the best angle is right there!
Also it’s important to note that the characters appear on the back side of the gates so turning around results in a totally different perspective.
Below are a series of images in order of how you’ll discover them along the path. Their locations are noted in the corresponding descriptions and also in the following map which you can open in Google Maps and take with you!
First image shows a map of the torii gate trail…please note this isn’t to scale and while I’ve attempted to follow it in the past, it’s more a rough guide than anything!
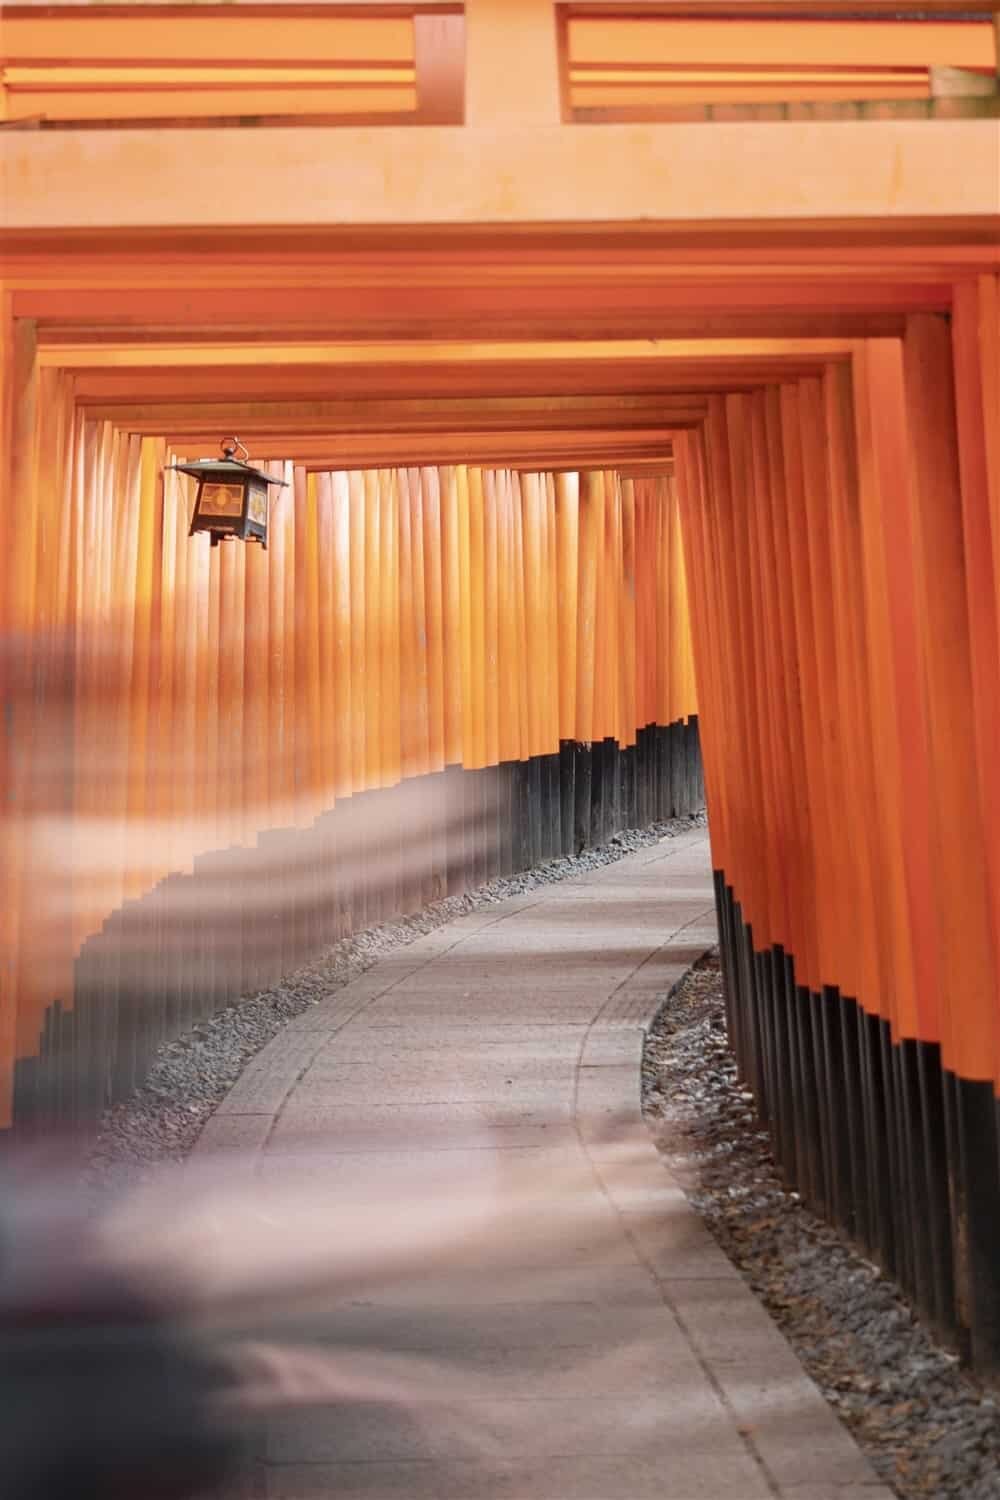
Location – Where the two paths split at the entrance of the torii gate path.

Location: Looking back down the tightly compacted path at the entrance.
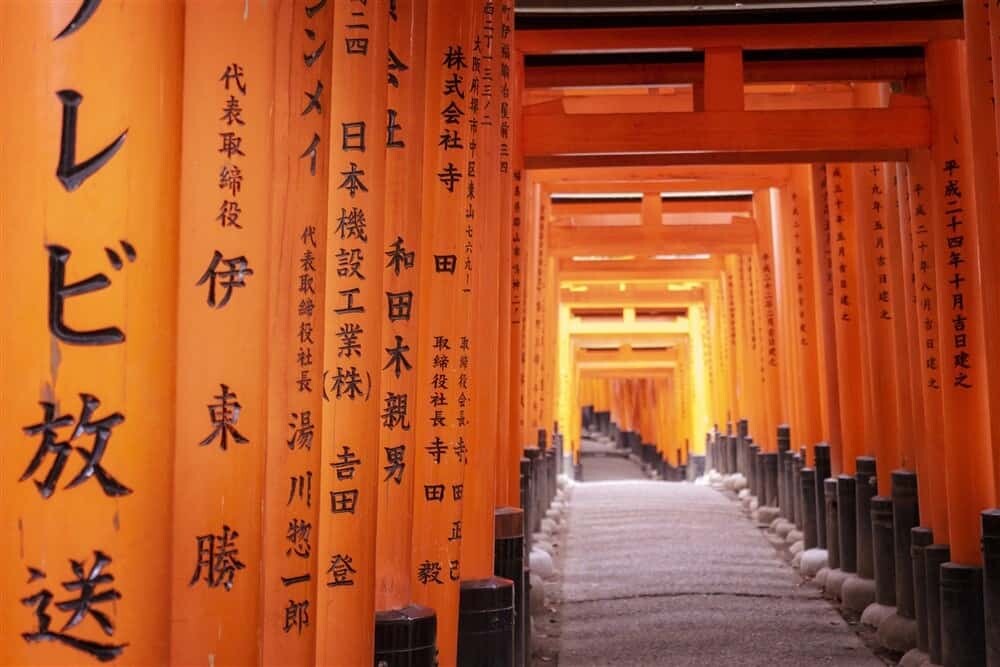
Location: As the path meanders up and down small hills just after you join the single path from the small shrine.
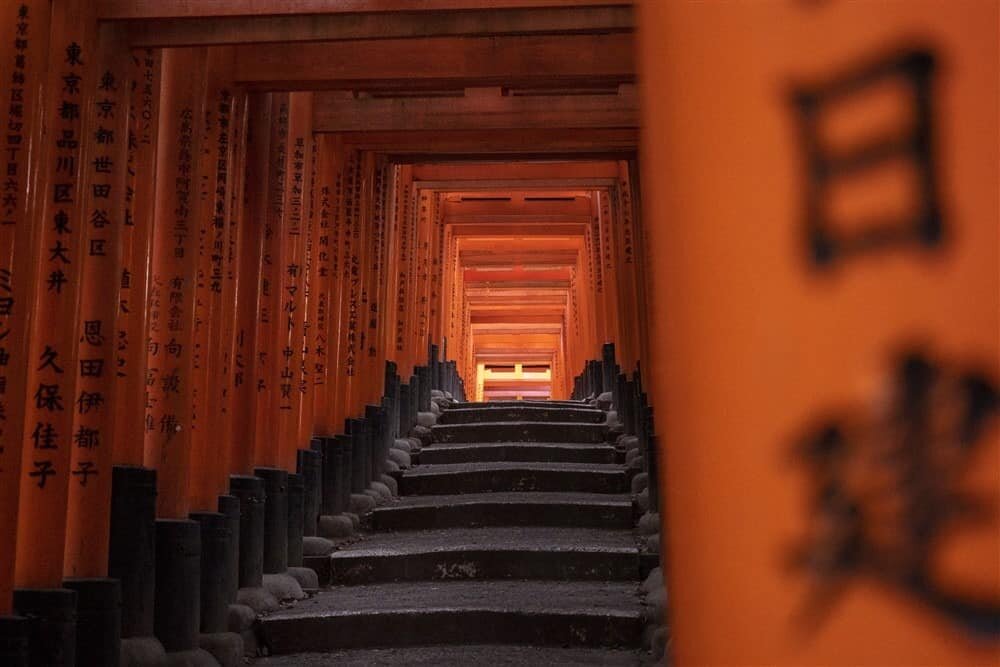
Location: Along the one-way path located just after the Fushimiinaritaisha Okusha Hohaisho shrine.
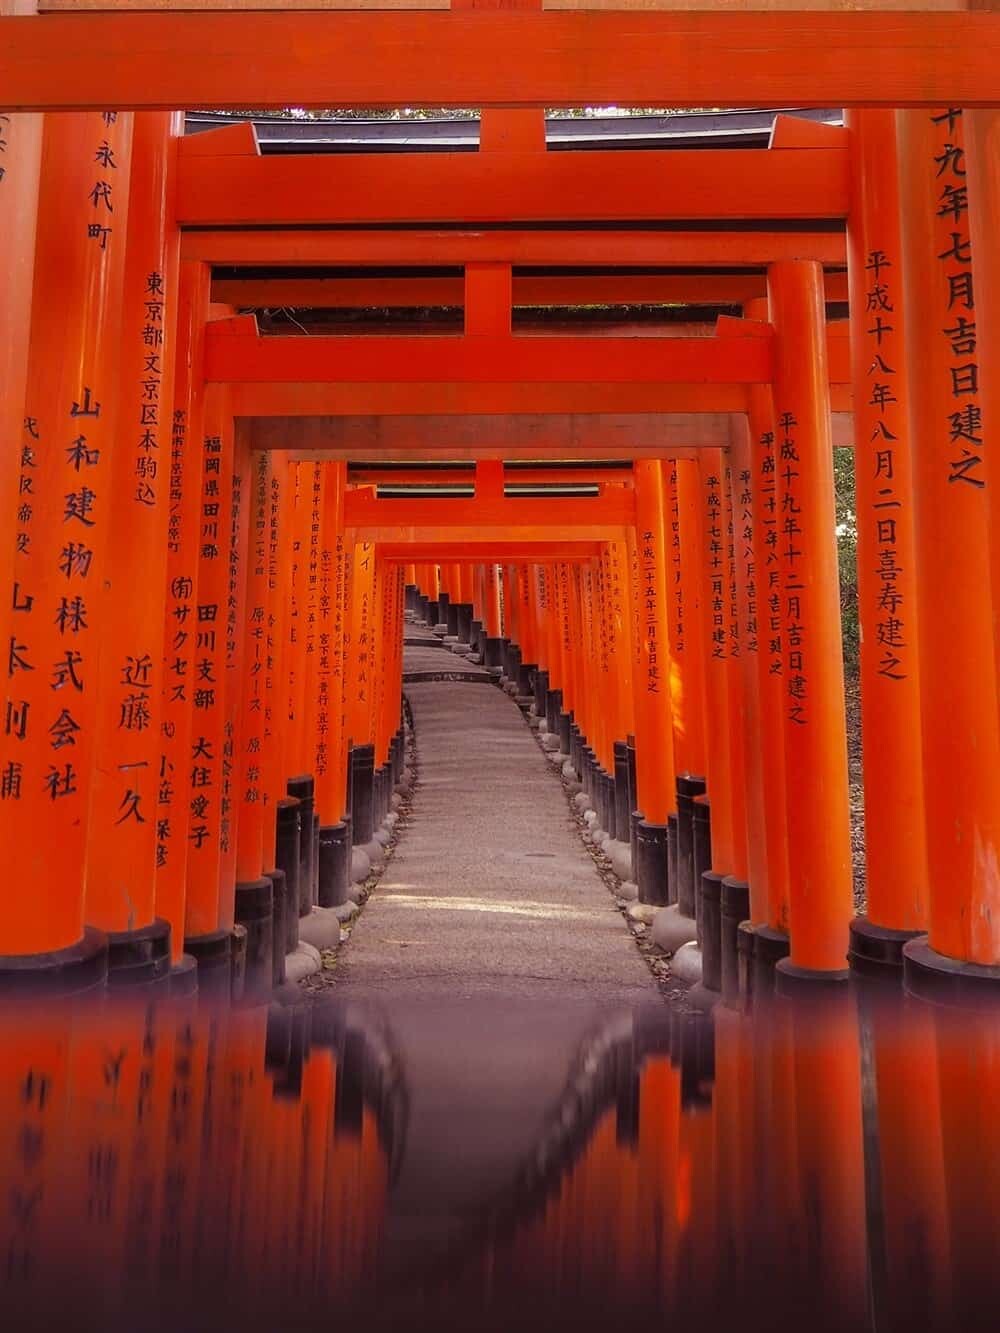
Location: Just before you reach the end of the one-way path, turn around and you’ll see the path venture up the hill.
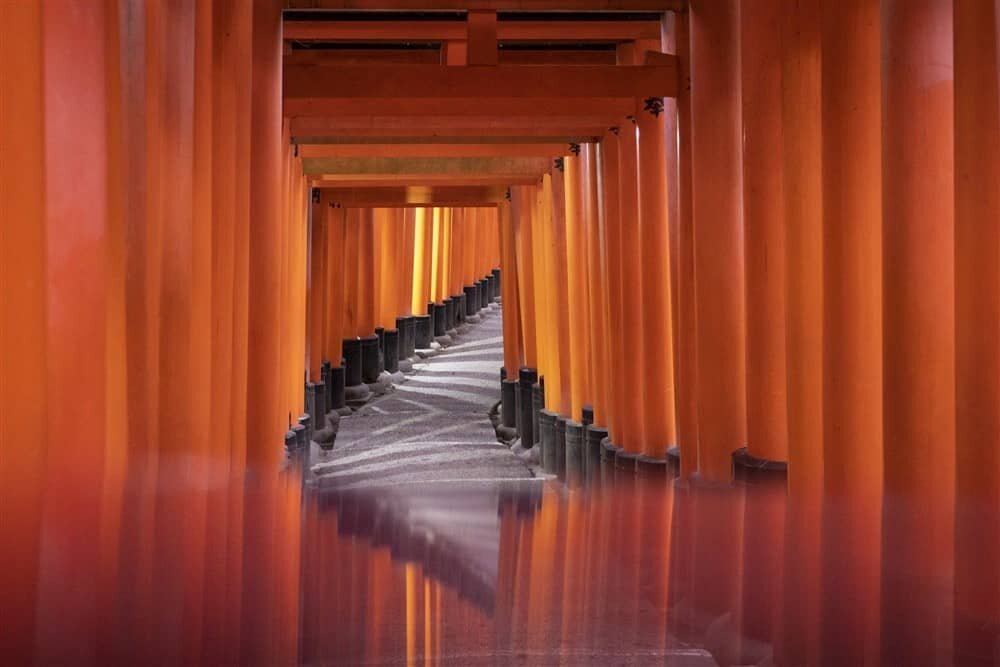
Location: The same spot as the previous image but in the opposite direction without characters.
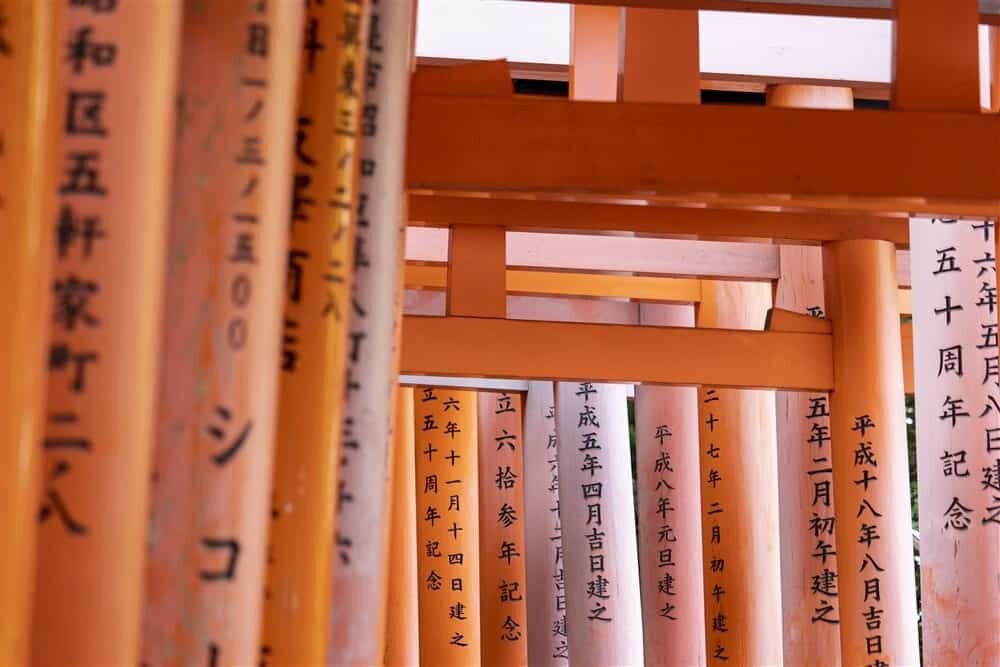
Location: Closer to the toilet complex about 1/4 of the way along the path you’ll see the torii gates are stained from the sun resulting in pinks.
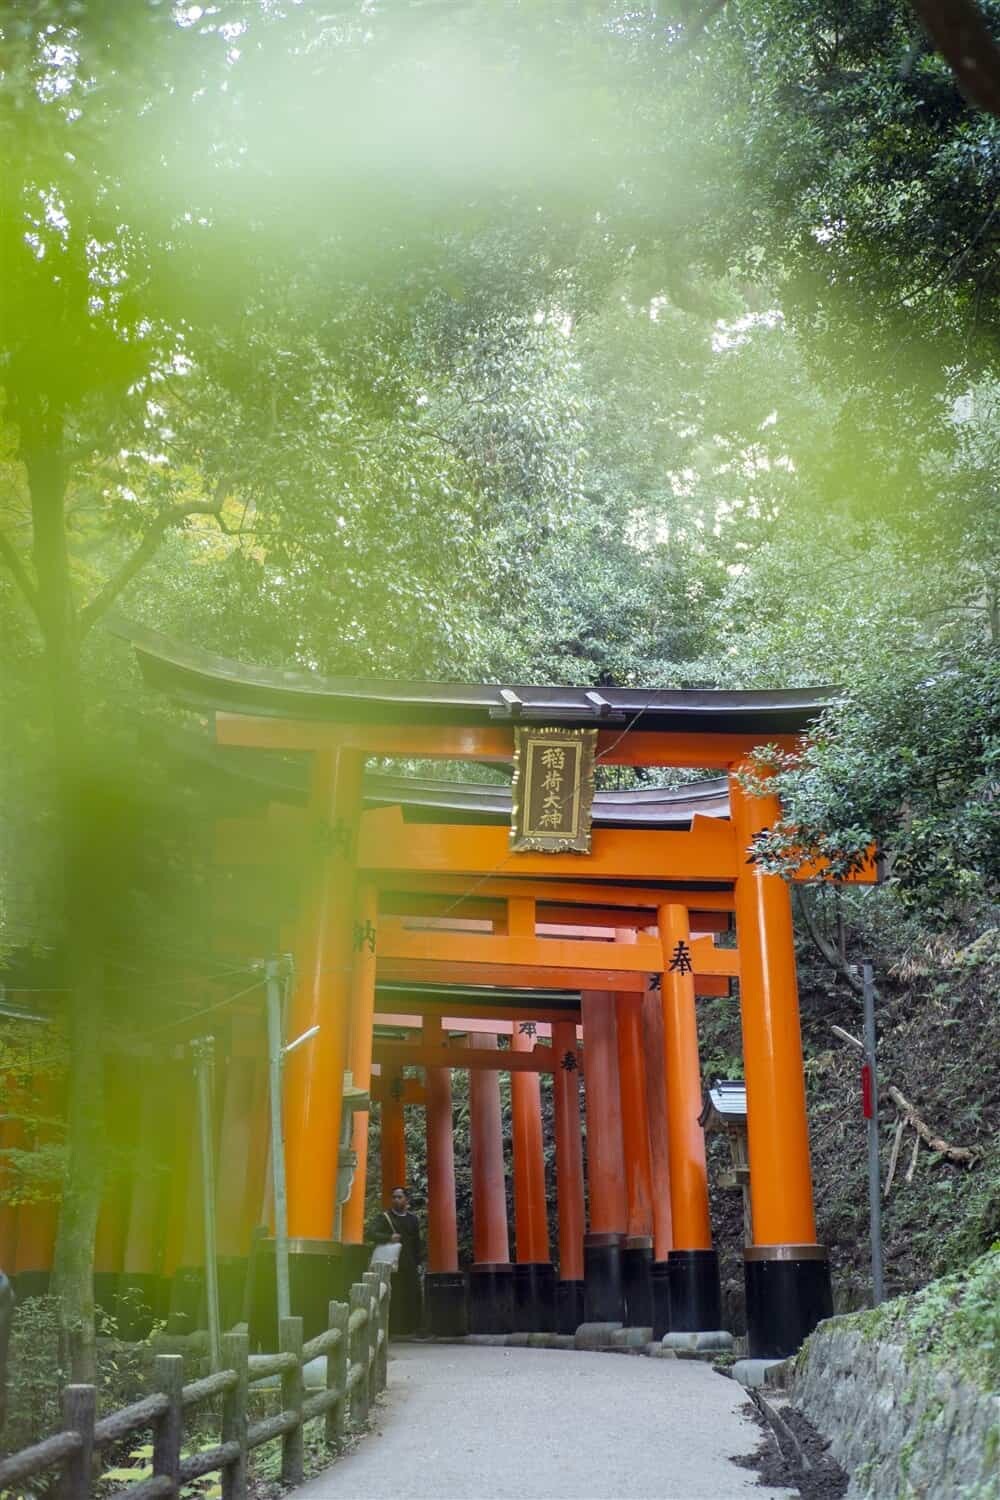
Location: After the toilet block, the torii gates grow and blend more with the surrounding greenery.
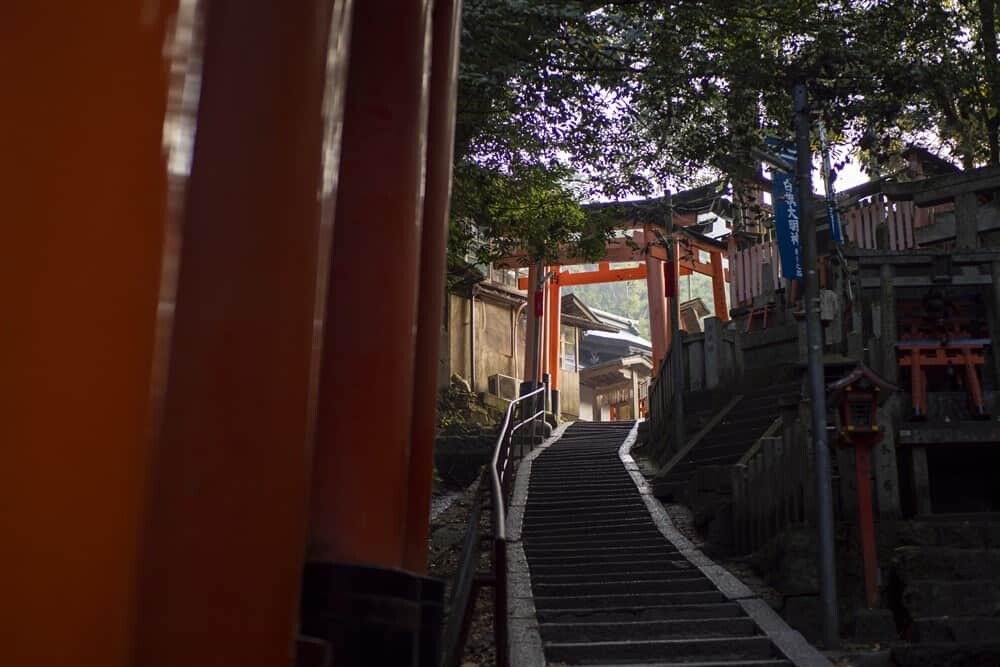
Location: The staircase leading towards Shin-ike Pond and Shrine.
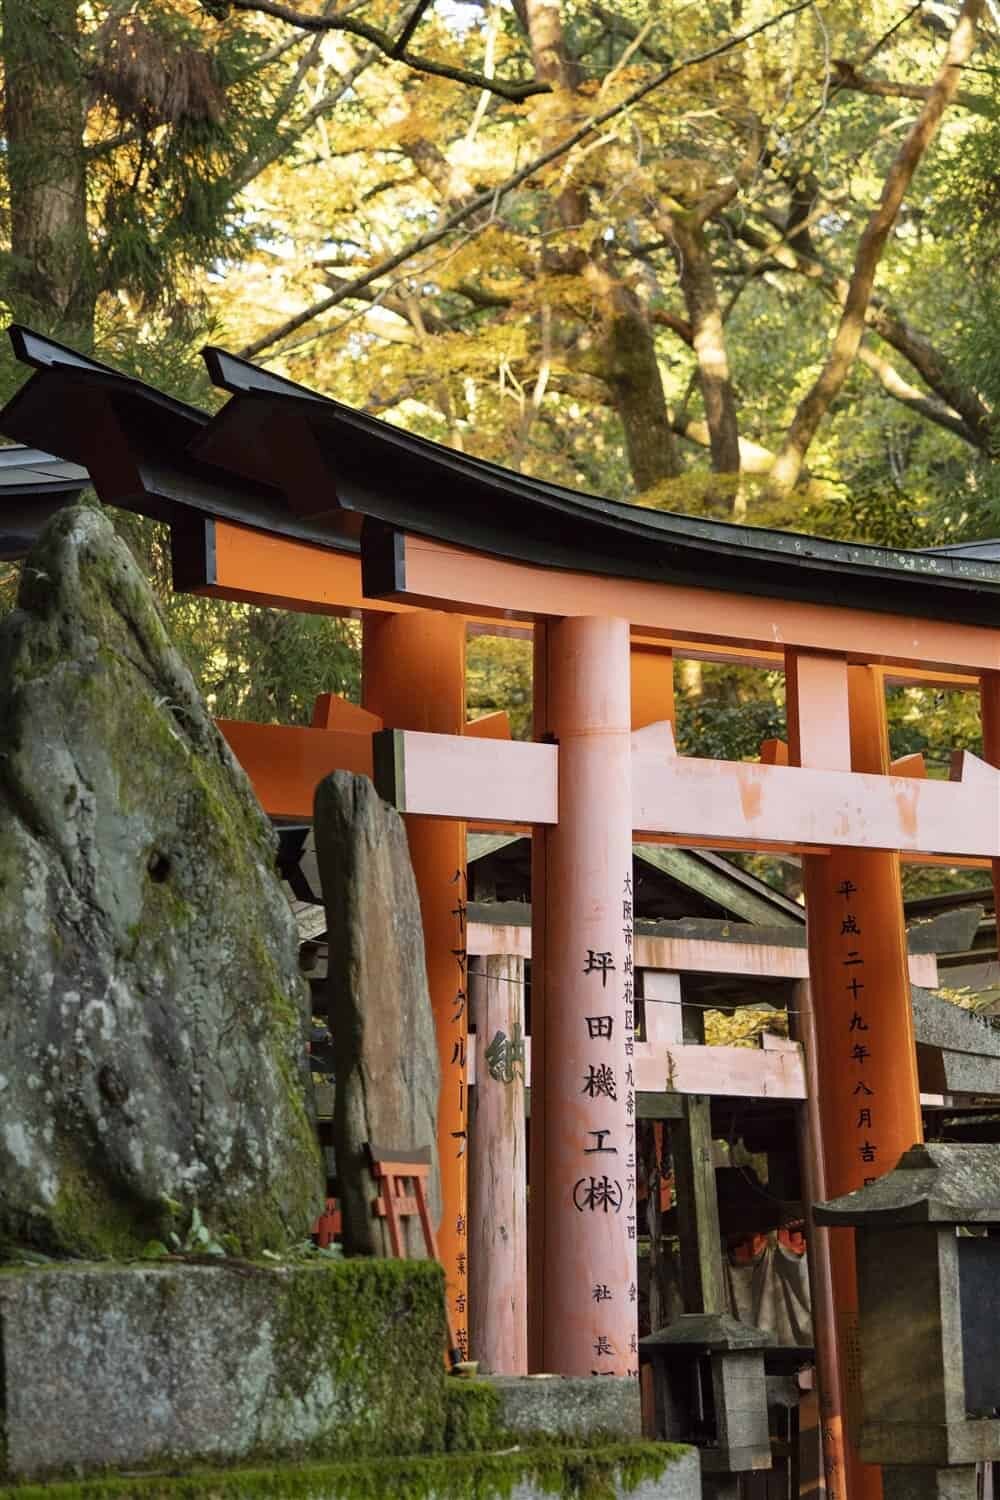
Location: Surrounding the pond you’ll find torii gates piled upon one another, Kitsune (fox) statues and varied colours.
How to Get to Fushimi Inari Shrine?
It’s a short 15-minute train ride from the Gion district of Kyoto on the Keihan Main Line. Jump on at Gion-Shijo Station and jump off at Fushimi Inari Station then walk towards the east and at the end of the road you’ll find Fushimi-Inari Shrine.
You can also take the JR Line directly from Kyoto Station. If you’re travelling on a JR Pass this will mean your fare is covered and you’ll need to exit the train at Inari Station. From there it’s a straight walk up to the shrine’s entrance.
Once you reach the shrine complex, continue up the staircase on the left side of the Romon Gate and entrance to the shrine. The staircase will venture up and then slightly right and you’ll start to see the red gates appearing as you get closer. Allow for about 10-15minutes to walk up to the gates from the train station.
Continue reading about Japan with these guides below…
A Photographer’s Guide to Tokyo, Japan
Autumn in Japan – Seasonal Photography Tips
Shooting Sunrise at Senso-ji Temple, Tokyo
A Complete Guide to Kyoto Photography Locations


Hello! I’m the founder and photographer behind The Wandering Lens.
With 19+yrs experience as a professional travel and landscape photographer, all advice found on this site is from my personal experience, or that of contributors, on the road. I hope it’s useful for your own travels and would love to hear in the comments about your trips and experiences around the world.



Leave a Comment