
Photographing in the Snow
Your Quick Guide to Taking Snow Photos
Photographing in the snow should be pretty easy because typically you’re just working with one colour tone, white. Right?
While white landscapes might sound simple, it’s actually quite tricky and it’s important to have the correct settings to ensure the tones are correct and your image doesn’t end up washed out and grey.
White means bright even on a dull day so you won’t need to worry too much about low light settings or shooting with a tripod unless you’re shooting long exposures or in the evening. Most of the time the landscape will be lit up by the snow, allowing you to focus more on composition once you’ve got your settings spot on.
Keep scrolling to read about –
– Camera Settings for Snowy Scenes
– Snow Composition Tips
– Gear you need for snowy conditions
and tips on planning the location and also how to focus on a subject that’s lacking contrast.
Snow Photography – Planning the Location
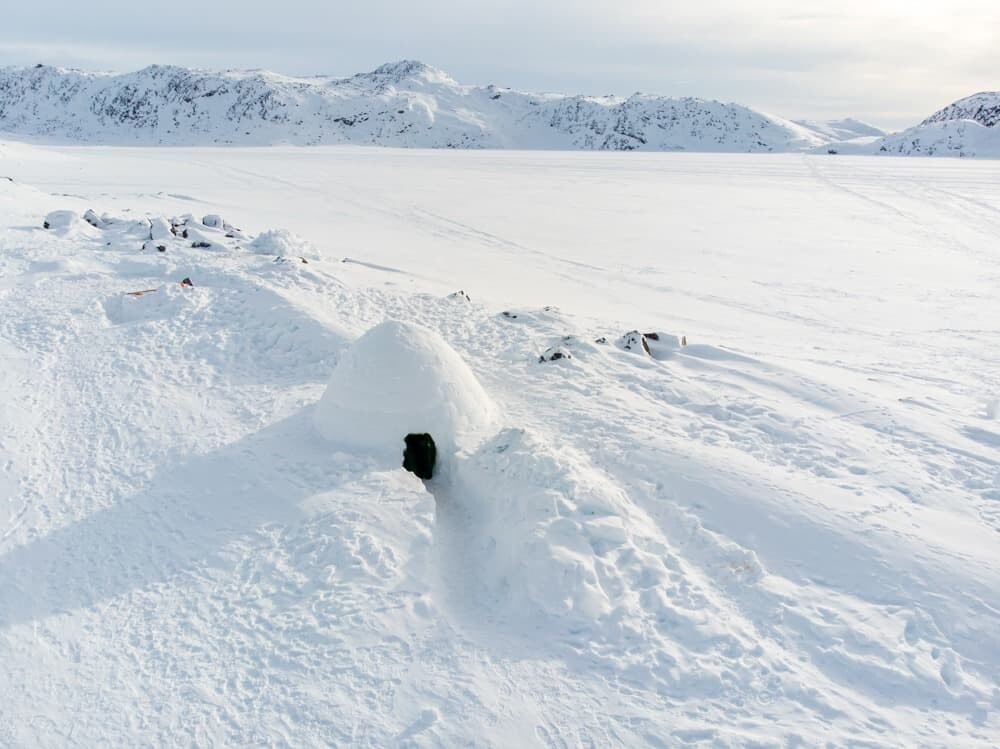
Photographing snow doesn’t require as much location planning as sunrise or sunset however you will find you get shadows so keep an eye out for the position of the sun. Shooting in sunlight and snow will result in shadows being cast if the sun is behind you so it’s always best to angle yourself so you don’t end up in your own photo!
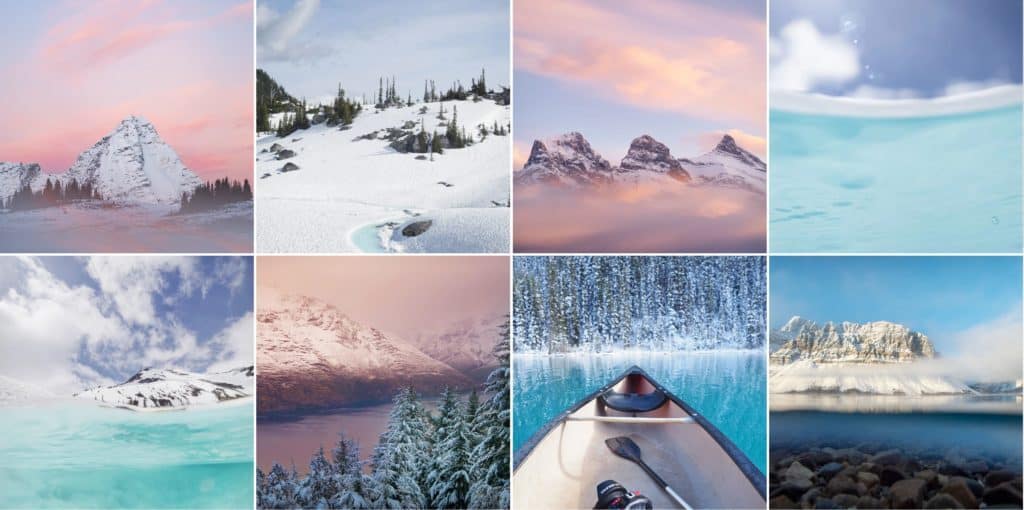
Depending on the result you’re hoping to achieve, look for locations that offer a variety of composition opportunities. Popular landscape shots with snow include lone trees in a field, deep in the forest with snow covered pine trees or more minimalistic images of white snowy mountain tops and a colourful sky.
Photographing Snow – What Gear You Need
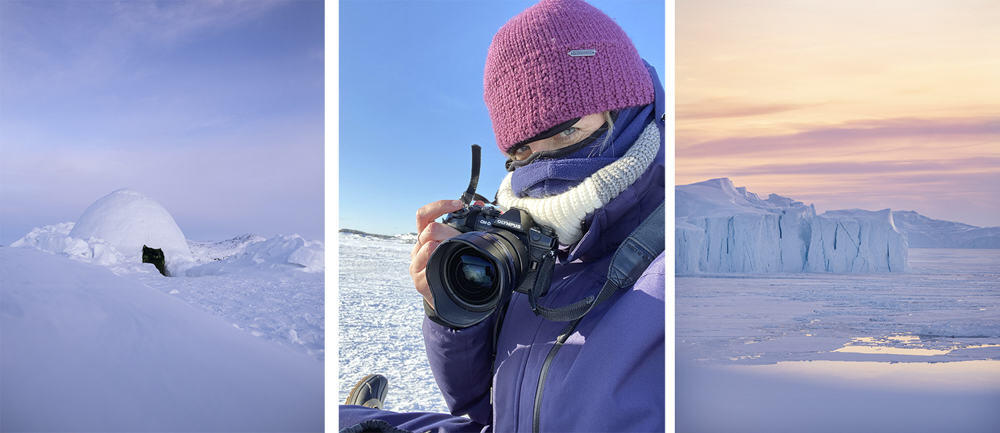
If you’re as clumsy as me on snow then you’ll want to carry as little as possible to avoid slipping over and crushing your gear. As I’ve mentioned in previous articles I’ve recently started shooting with the Olympus OM-D E-M1 Mark II which is weatherproof and can sustain freezing temperatures making it perfect for shooting in snow. Make sure your gear is weatherproof to avoid any sneaky snowflakes getting in places they shouldn’t and causing you issues with your gear. Typically when I’m photographing in snowy environments I take a wide angle lens with me (M.Zuiko f/2.8 7-14mm) plus a zoom lens either my M.Zuiko 12-40mm or 40-150mm both f.2.8 pro lenses if I know there’ll be some great detail in the distance.
*Update for 2022 – I’m now using the Olympus E-M1X, Olympus E-M1 MKIII and OM SYSTEM OM-1 cameras when venturing out to capture landscapes.
To keep your gear safe from the colder conditions, have a read of my guide to camera care in extreme climates. Having a good insulated bag will keep your camera from getting wet and will also allow it to adjust to the climate slowly when you’re moving between indoors and outdoors with dramatic temperature changes.
It can be handy to have some warmer pouches with you, not only for your hands when photographing in the cold but it can help to warm up your camera as the battery will deplete a lot faster.
Read more – How to Photograph in Freezing Conditions
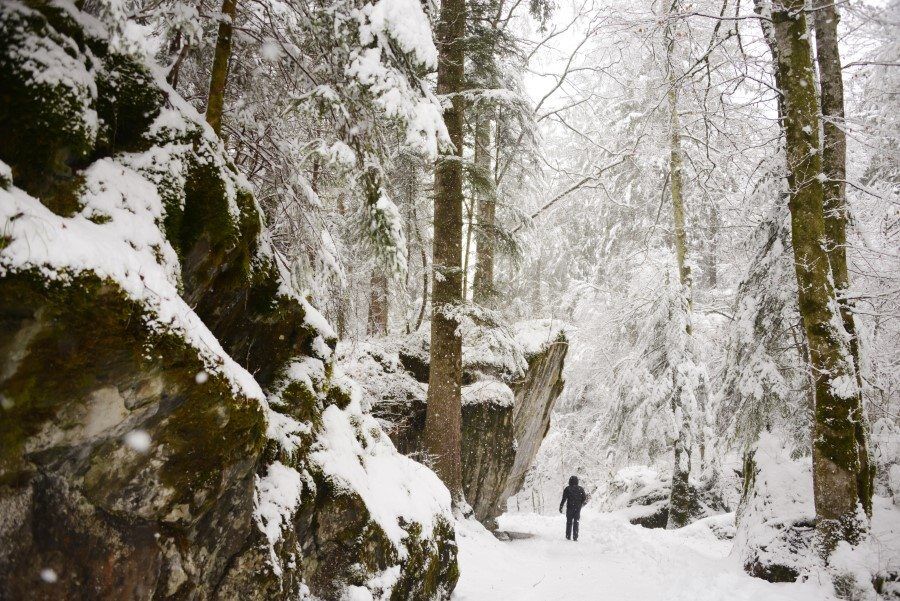
Settings: ISO 640, Exposure +0.3, f/3.5, 1/500sec.
Snow Photography – The Best Camera Settings for Snow
Treat snow the same as you would strong sunlight, keep your ISO low for crisp, no noise images and then work with the available light to achieve your results.
One of the most important settings when shooting snowy landscapes is your white balance. The wrong white balance will make or break your image and can throw off the entire tone of your photograph.
The best way to get started is taking some test shots. Try auto white balance first and see if the results are close to what you’re seeing with your eyes. If it’s not, flick it over to ‘sunshine’ or if you’re after a moody image, sometimes the ‘incandescent’ setting can work wonders. In the early or evening hours I personally like to use the ‘cloudy’ white balance but this is to achieve a warmer tone rather than the stark white…it’s really personal choice.
Do be careful with auto white balance though, if it’s a cloudy day it may increase the blue tones and bring out a bluey tinge that’s hard to remove in post processing.
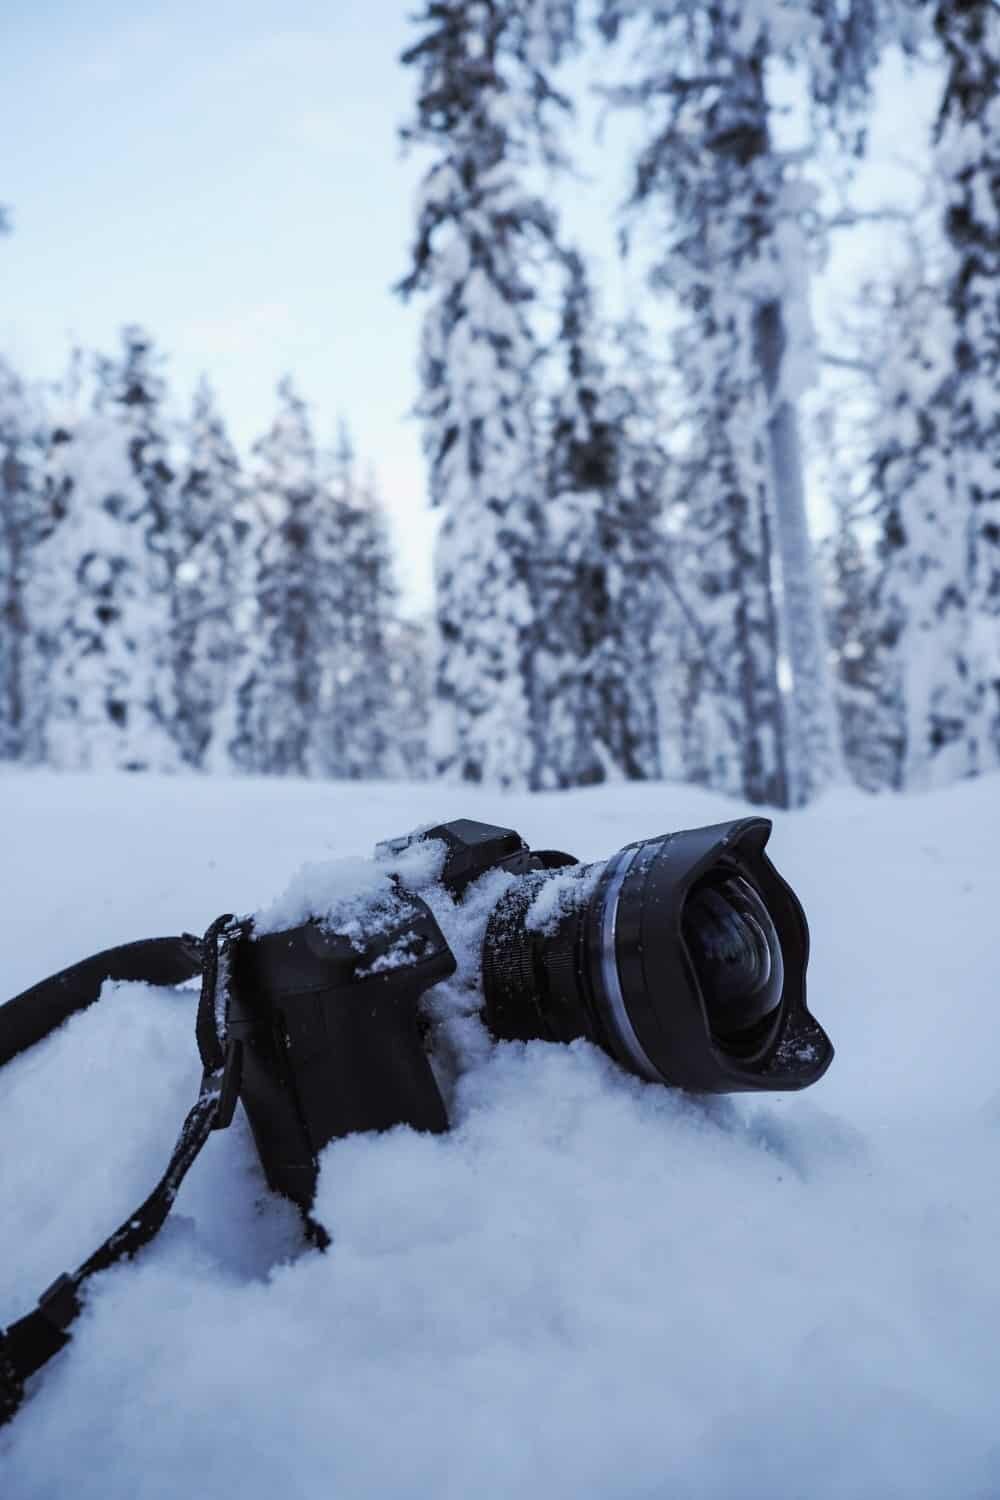
After falling in a hole the camera continued working despite it’s new snow covered coat in -20 degrees.
QUICK SNOW PHOTOGRAPHY TIPS –
Increasing your exposure is a good way to avoid greyish results in your images.
Try putting it at +0.7 or +2 to see how white and bright you can get it without overexposing.
Below are some settings to get started with, as always take a test shot and then adjust as necessary.
Snow + Sunlight: ISO 64 to 100 (or as low as your camera will allow), Exposure +1, Shutter Speed 1/40sec to 1/2000sec (depending on if you’re looking to blur running water or keep it super quick)
Snow + Low Light: ISO 400-640, Exposure +0.7, Shutter Speed 1/400 – 1/1000sec
Snow + Darkness: Take a peek at my guide on how to photograph the aurora and astrophotography. With the white foreground in the evening you can illuminate it by quickly flashing a torch across the snow or by creating shapes with letters and long exposures.
*The above settings are to be used as a starting point only, play around with your settings to achieve the results you’re aiming for based on what light conditions appear while you’re photographing.
Creative Courses + Resources for Photographers: If you’re interested in discovering your creative vision and building a portfolio with the aim of finding work as a photographer, The Wandering Lens now offers self-study courses, eBooks and Workbook Bundles. The online courses and downloadable workbooks can be accessed at any time, from anywhere in the world – it’s about creating accessible resources to help you in your photography career. The bring together over 17+years of experience and lessons from working in the industry. I want to see others share their talents and get published, sell prints, find clients – to have the confidence to achieve whatever it is you want to within the field of photography.
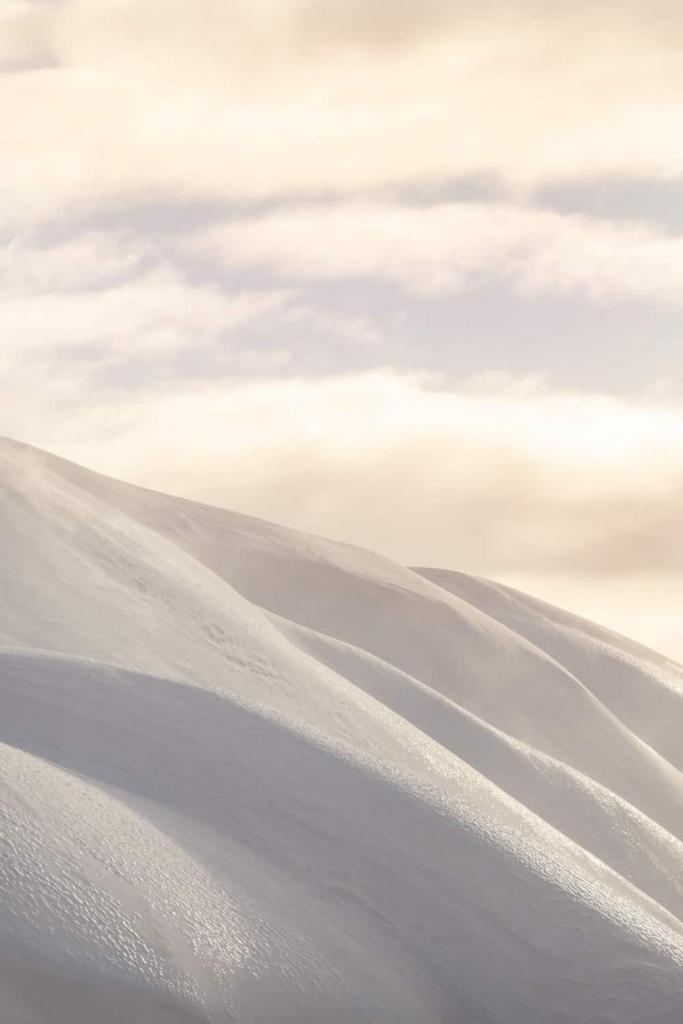
Snow and golden light can be a beautiful combination!
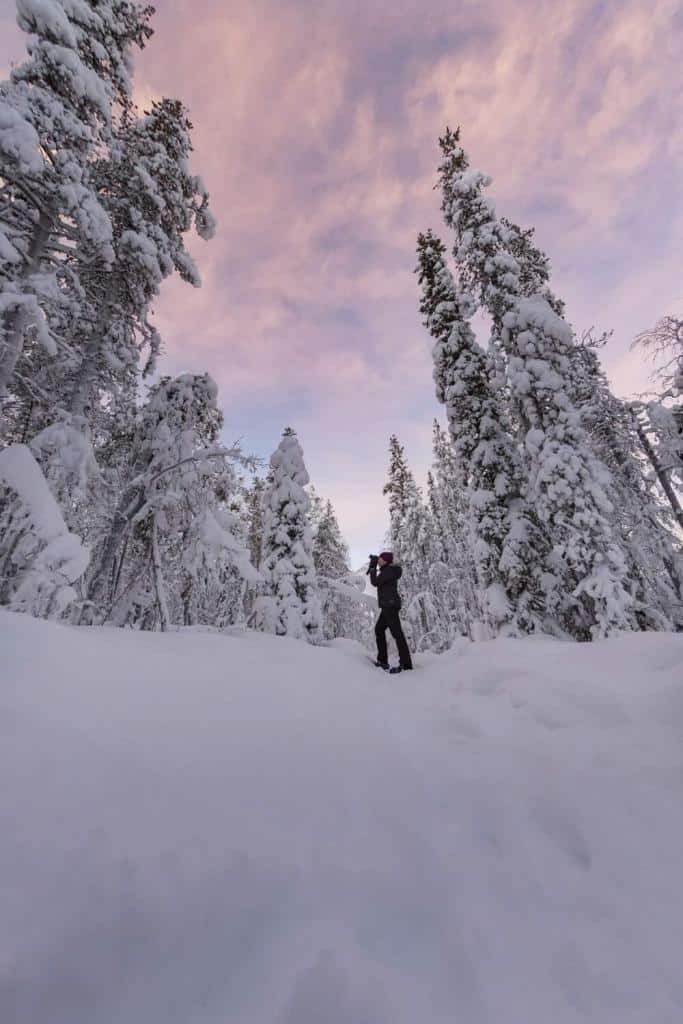
Finding focus in a Snowy Landscape:
It can be difficult to use auto focus when the scene is really white so just double check yours shots to ensure they’re nice and sharp. To focus, sometimes in snow you’ll have to find a contrasting colour, rock or building edge to focus on rather than aiming at the pure white snow.
Composing Snow Photos:
Landscapes that are simplistic in form allow you to get a little creative with your composition. If you find yourself with white snowy mountains and blue sky, it’s a matter of planning how you will compose the image to ensure maximum impact.
Trees are great subjects to use in the snow, if you’re lucky enough to find frosty branches they can work as something to frame your image, or lone trees help give perspective to the landscape.
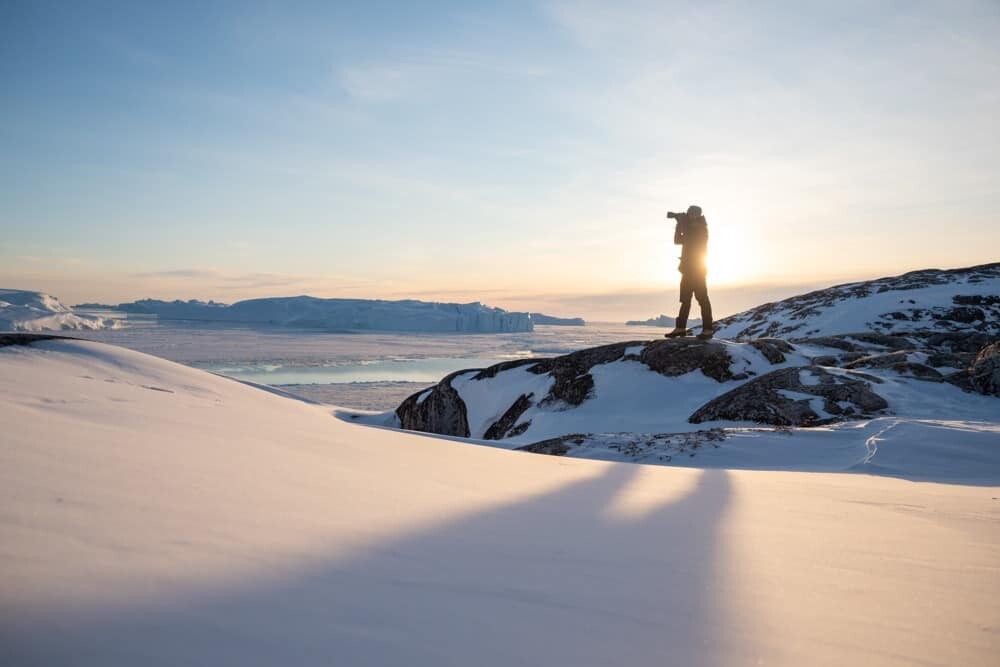
More often than not if you’re photographing snow you will be on or near mountains. Using a person in your image to create perspective is a good way to show off the surroundings and enhance their intimidating size. Either wait for a skier or hiker to pass by (acceptable stalking!) or if you’re travelling with a friend ask them to wander into the distance and then capture a series of shots from different vantage points.
Look for contrasting colours too, bold bright hues will pop against the snow!
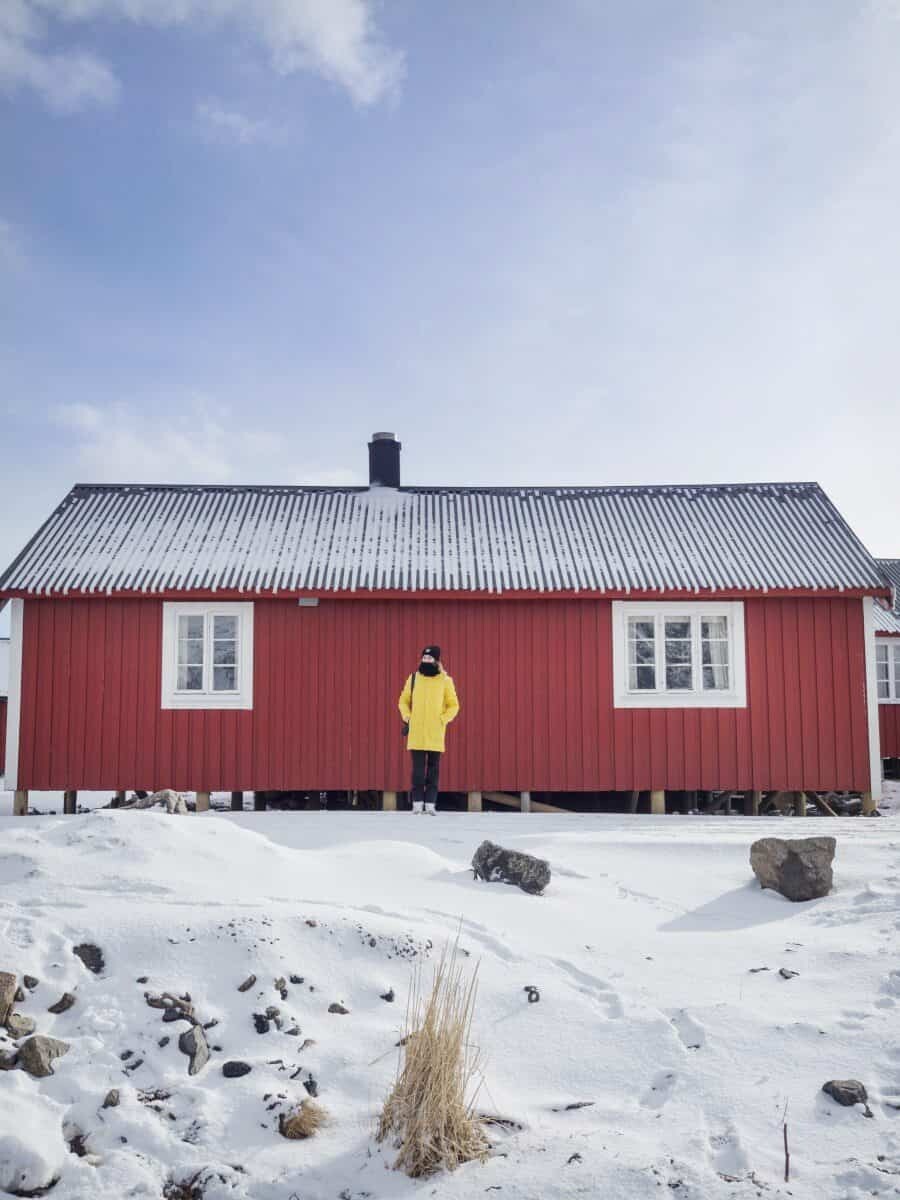
Settings: Olympus OM-D E-M1 Mark II, ISO 64, f/2.8, 1/2000sec.
One Last Snow Photography Tip:
Sure it’s important to have your camera with you and a good lens but just as important is the right clothing…if you’re cold you won’t feel like being creative and your mind will only be repeating ‘warm shower, warm shower’. Layering with a thermal base, wool or fleece then wind/waterproof jacket will mean you’re kept warm and snug while you snap away in the snow. Also make sure your shoes are waterproof too…cold toes are not fun.
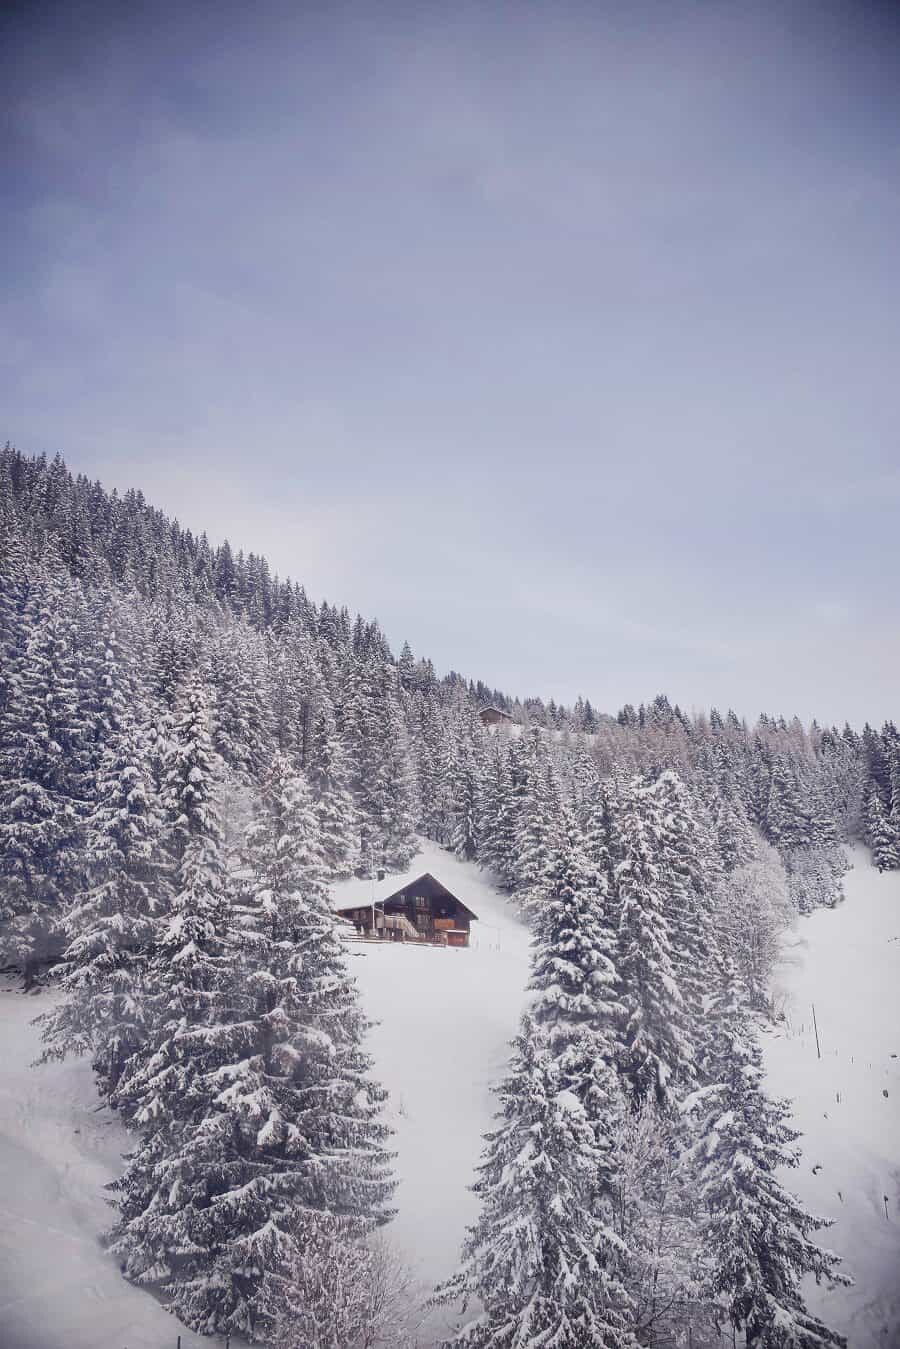
Settings: ISO 200 (this was taken from a moving ski lift), f/3.5, 1/1600sec.
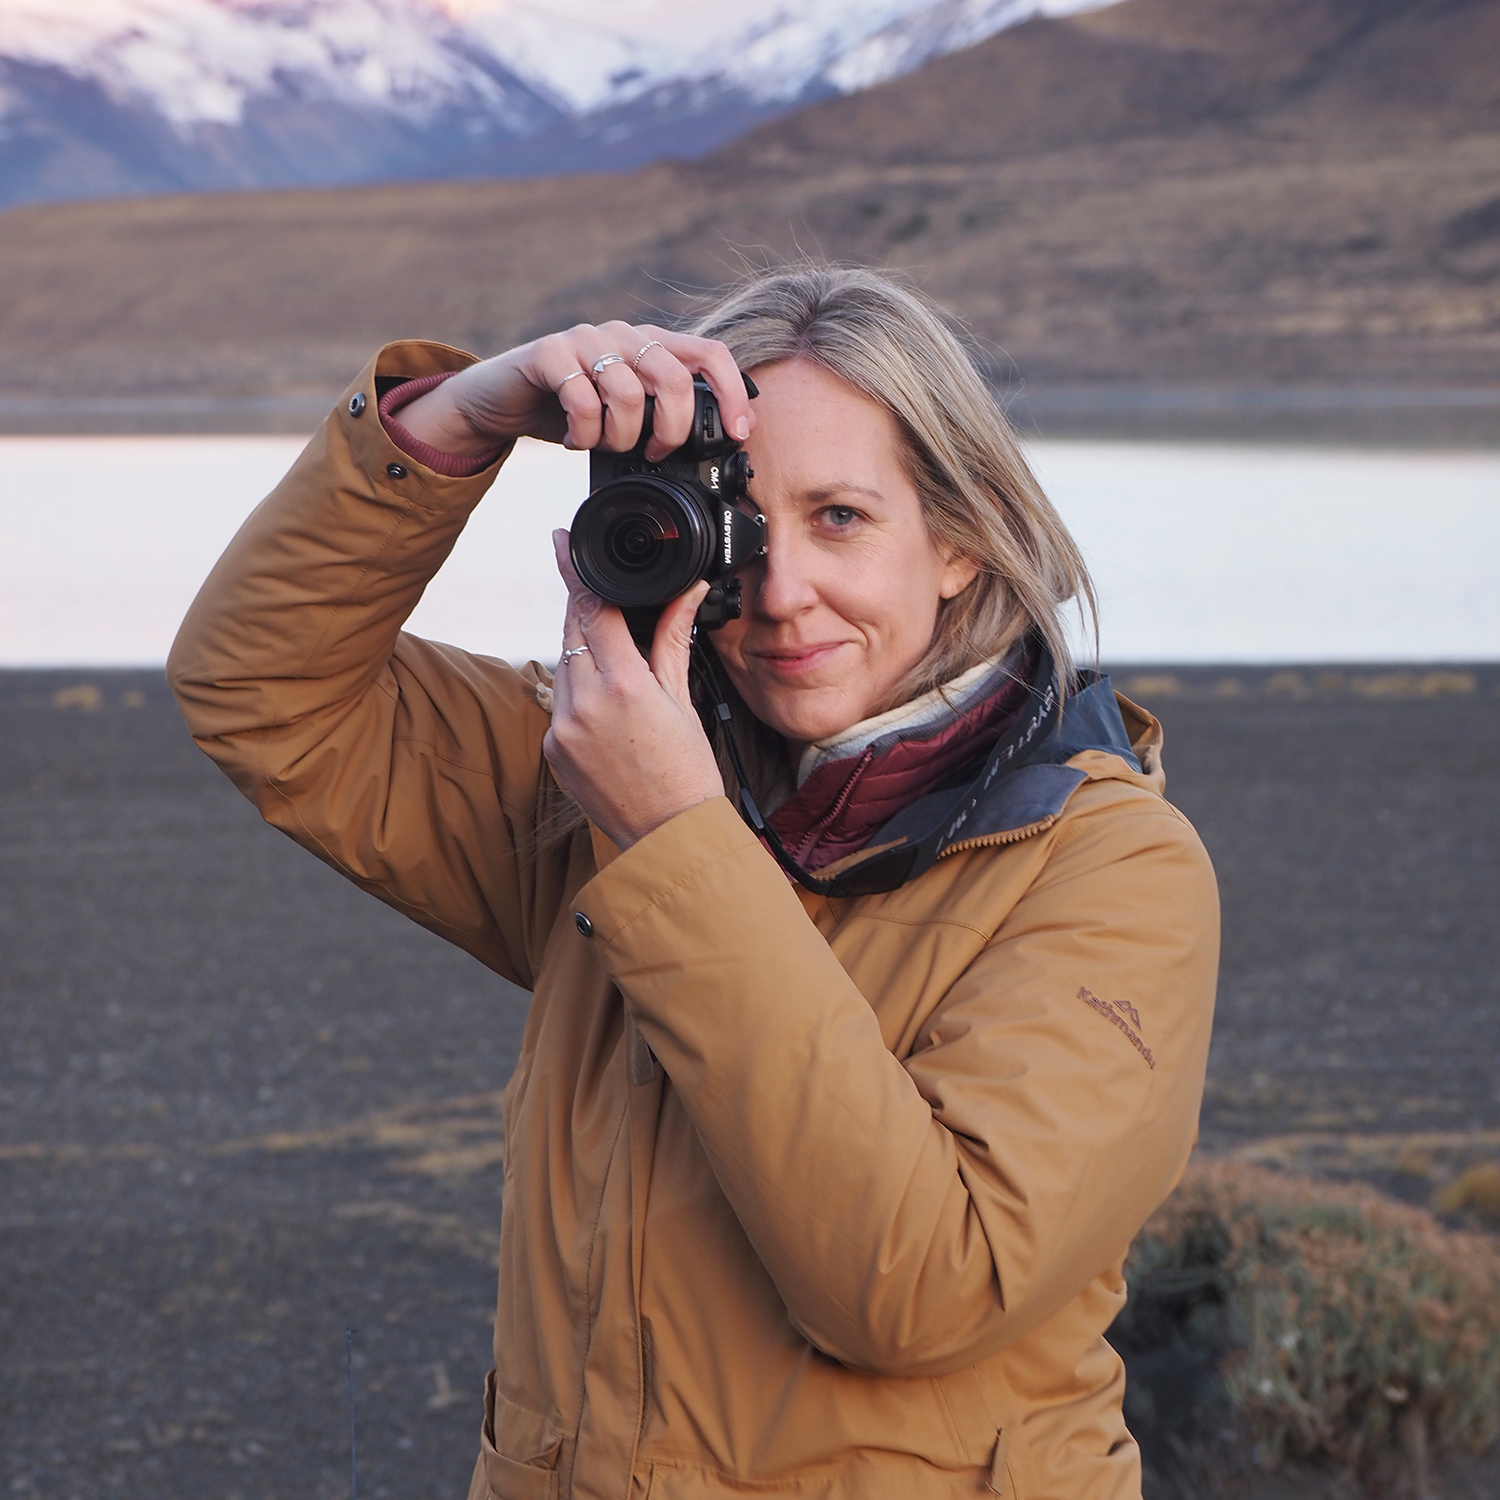
Hello! I’m the founder and photographer behind The Wandering Lens.
With 19+yrs experience as a professional travel and landscape photographer, all advice found on this site is from my personal experience, or that of contributors, on the road. I hope it’s useful for your own travels and would love to hear in the comments about your trips and experiences around the world.



Blog Comments
Trevor
April 23, 2017 at 8:48 am
If I do get the blue tinge in shots can you change it in photoshop?
thewanderinglens
April 26, 2017 at 6:54 am
Hi Trevor!
You can adjust the tones in your image using Photoshop however it is better to try and use the correct white balance in your camera when taking the shot. If you’ve got some shots with a blue tinge that you wish to tone back, use the ‘Curves’ tool, change the channel to ‘Blue’ then hold on the curve in the centre and drag it down a little until the blue tone is at a level you’re happy with 🙂
Hope that helps!
Jignesh Suratwala
July 12, 2020 at 5:31 pm
Thanks for sharing. It will be very helpful for clicking pics in Snow.