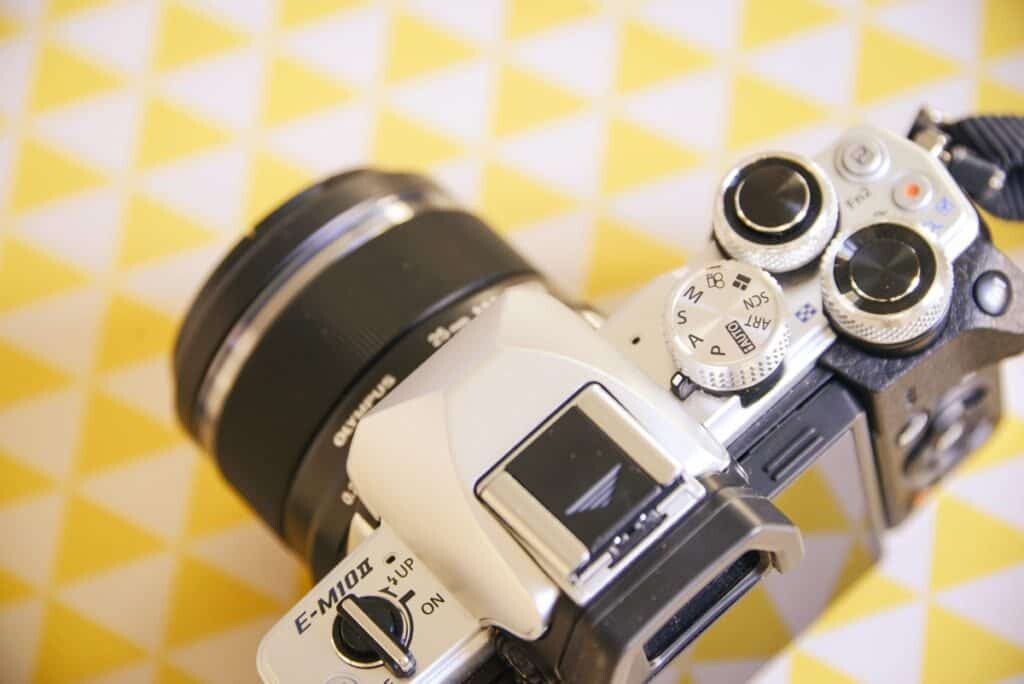
Aperture Priority – It’s Okay to NOT use Manual Mode!
When you are learning photography two words sound about as daunting as jumping out of a plane.
Manual Mode.
A lot of professional photographers will shout from the rooftops about the benefits of using manual mode on your camera. And yes, shooting in manual means you can control every little bit of the image, it’s also more time consuming and sometimes far too fiddly for a candid moment.
I’m going to let you in on one of my secrets, please don’t judge.
I love to photograph using Aperture Priority mode.
There I said it.
More often than not, especially when travelling I find myself jumping over to Aperture Priority mode and clicking away happily. It’s actually something I’ve used throughout my career shooting weddings, events, landscapes and underwater. Typically I flick over to manual for long exposures, astrophotography and anything you have the time to set up and capture.
Aperture Priority allows you to control your settings but you are also working with the camera and its intelligence (I like to assume my camera is smart and knows what it is doing). Much less pressure than manual mode! You can adjust the ISO, the exposure, white balance, aperture and the camera will control the shutter speed depending on what you select for the other settings.
Using Aperture Priority mode also creates a beautiful bokeh in your photographs, you know that gorgeous blurred effect in the background of a photo? This is how you get it!
Set your camera to the largest possible aperture and you’ll see the magic happen.
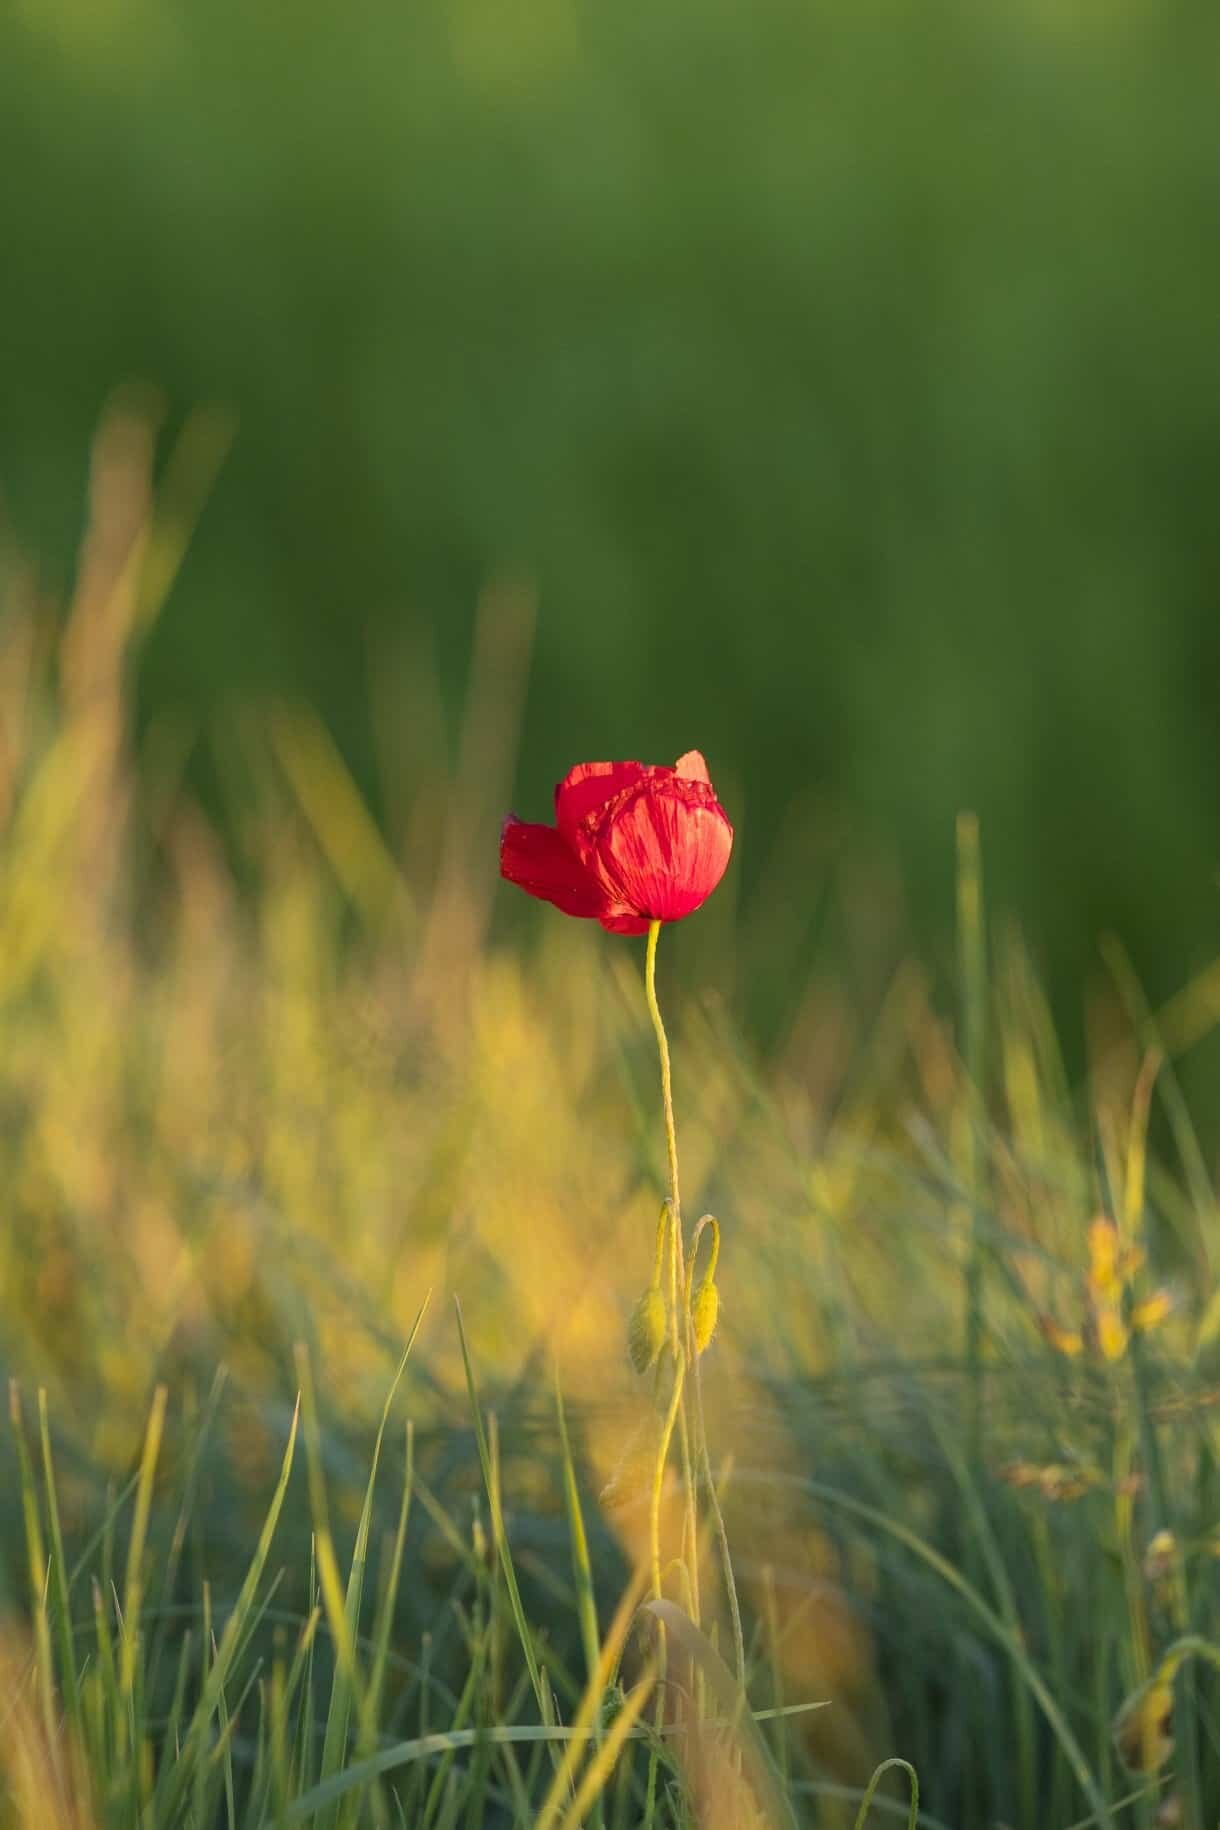
Photographed with an aperture of f/2.8.
A little note on aperture… a large/wide aperture means a small number, so if you’re looking to use a large aperture set your camera to f/1.8 or the lowest number available to your lens. A large aperture results in a blurred background or foreground depending on your chosen focal point. A small/narrow aperture for example is f/16 and means that most if not all of your image will be in total focus without the blurred background. If you can imagine the lens inside your camera opening and closing to create a hole, with the large aperture being a completely open circle and the smaller aperture resulting in a tiny hole.
Aperture is all about controlling your camera using the available light. Adjusting the ISO, aperture (f-stop) and exposure, which are all possible whilst using aperture priority, changes the way your camera reads the environment and tells it how much light to let in when you click the shutter.
Aperture Priority Mode Settings:
ISO: Adjusting the ISO will determine how much light is let into the camera. When it’s bright and sunny it’s easy to keep the ISO low to 100 or 200. The lower the ISO, the less noise is present in your image so it’s best to always keep it as close as possible to the base number (your cameras lowest possible ISO). Once you come across low light conditions or darker environments you’ll find you need to raise the ISO in order to keep the image sharp.
Exposure: A simple way to increase or decrease the brightness of your image. This can be used to personal choice, I typically shoot with an exposure of +0.7 to keep it a tiny bit brighter than normal. It’s best not to overdo it with the exposure levels as it can remove detail from your shot that’s really hard to get back in post processing. Most cameras will have an easily accessible button with a +/- symbol or a dial that adjusts the exposure quickly.
Aperture (f-stop): Changing the f-stop will again change the light in your image however it’s also adjusting the shutter speed. An f-stop such as f/2.8 or f/4 will mean you achieve a more blurred background and shallow depth of field. A smaller aperture (higher f-stop) like f/11 or f/14 will mean a sharper image from foreground to background and a greater depth of field.
You can also use aperture priority mode and adjust the aperture (f-stop) when shooting long exposures, combined with a low ISO in low light, a small aperture like f/20 will create a longer exposure, helping to blur the moving subjects like water.
Once you’ve used this mode enough, it’s a super simple mode to shoot in and will allow you to focus on other important components such as composition and your subject.
If you’re struggling to take the leap to manual mode, take it back a step and learn some tricks with aperture priority mode! I won’t judge…and if people do, remember it’s all about the outcome, rock it!
Read more: Setting the Scene – Photo Tips Archives
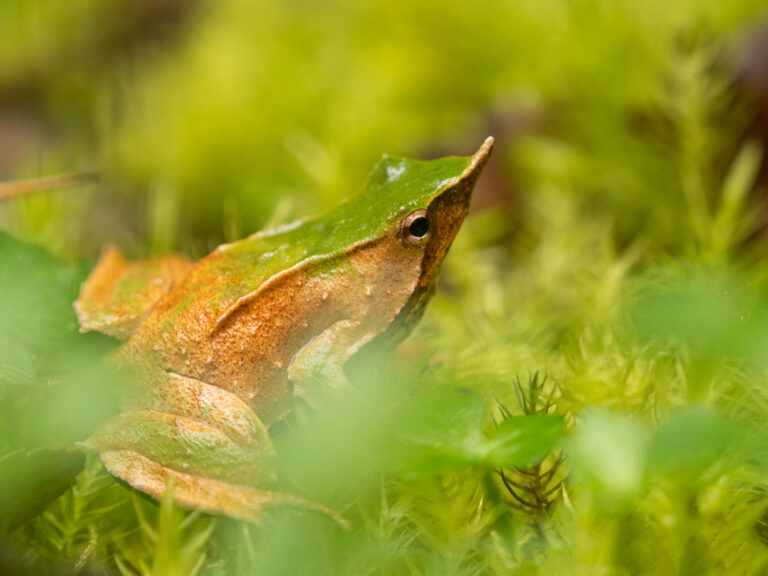
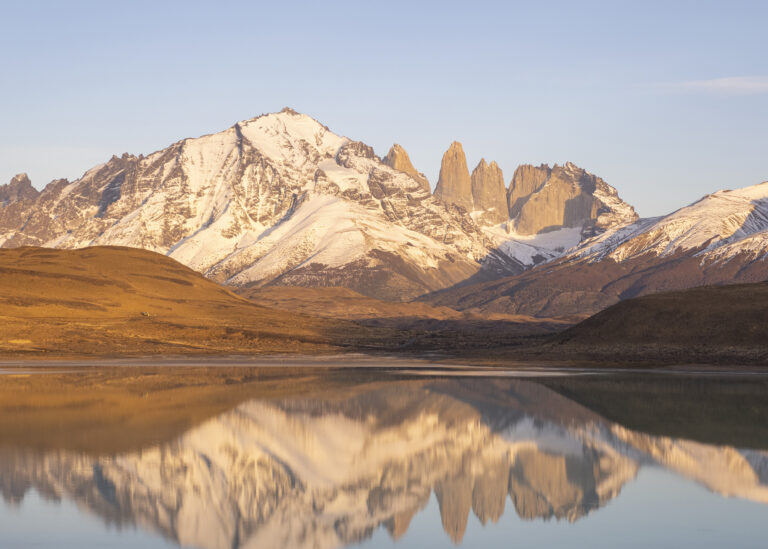
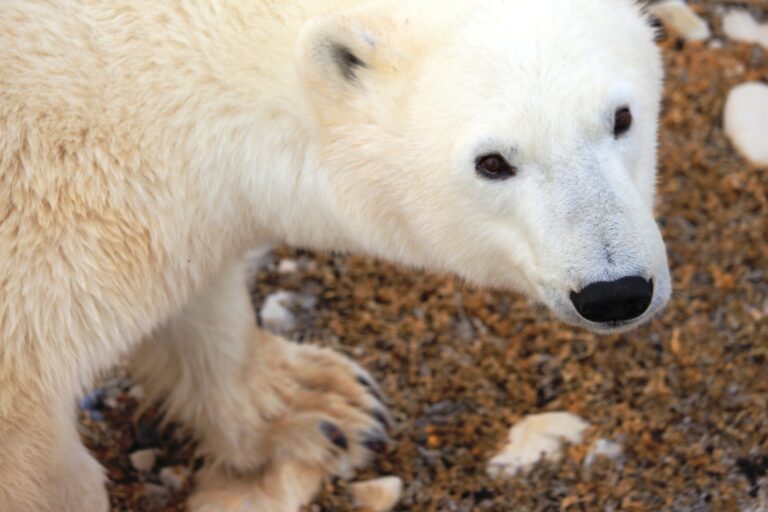
Below are some sample imagery I’ve shot using aperture priority mode, in the caption you’ll find the settings I used.
Keen to learn more with The Wandering Lens?
If you’re eager to improve your photography, explore your creative talents and even perhaps work in the industry, you’ll find self-study courses and a library of eBooks and Workbooks via The Wandering Lens Store. I’ve developed online resources for photographers, creatives, dreamers, adventurers, travellers and freelancers. If that sounds like you, maybe we should connect and chat about your photography goals! These creative courses and resources bring together my 17+years of experience and lessons from working in the industry. I want to see others share their talents and get published, sell prints, find clients – to have the confidence to achieve whatever it is you want to within the field of photography. Get in touch via hello@thewanderinglens.com if you’d like to chat about your photography!
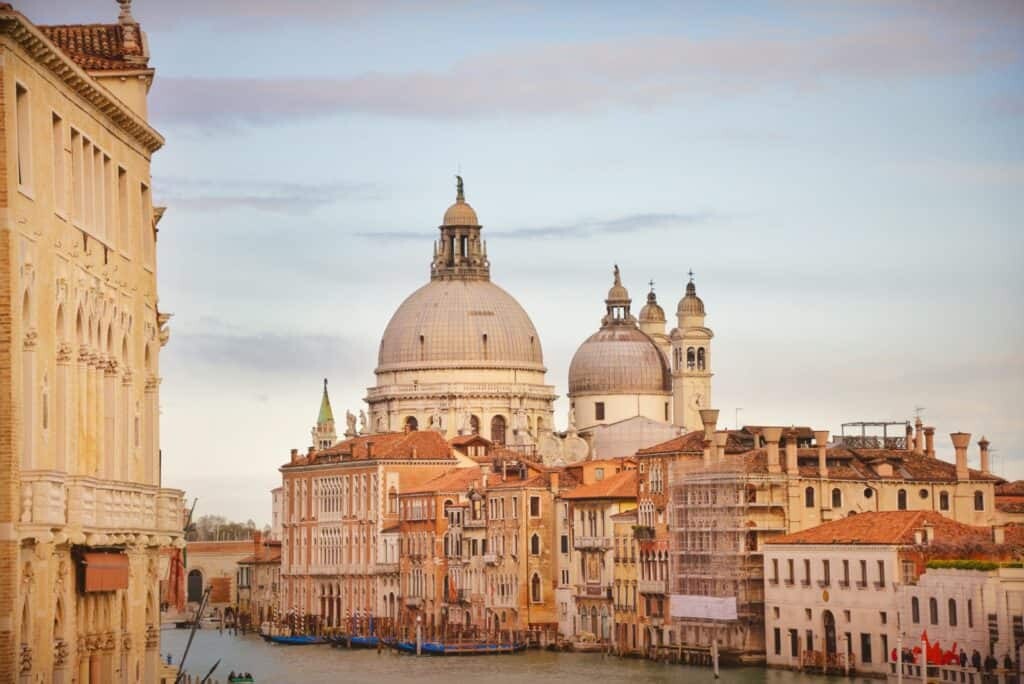
Settings: ISO 800, Exposure +0.7, f/5.3 = Resulting shutter speed 1/1250sec

Settings: ISO 320, Exposure +0.7, f/1.8 = Resulting shutter speed 1/4000sec
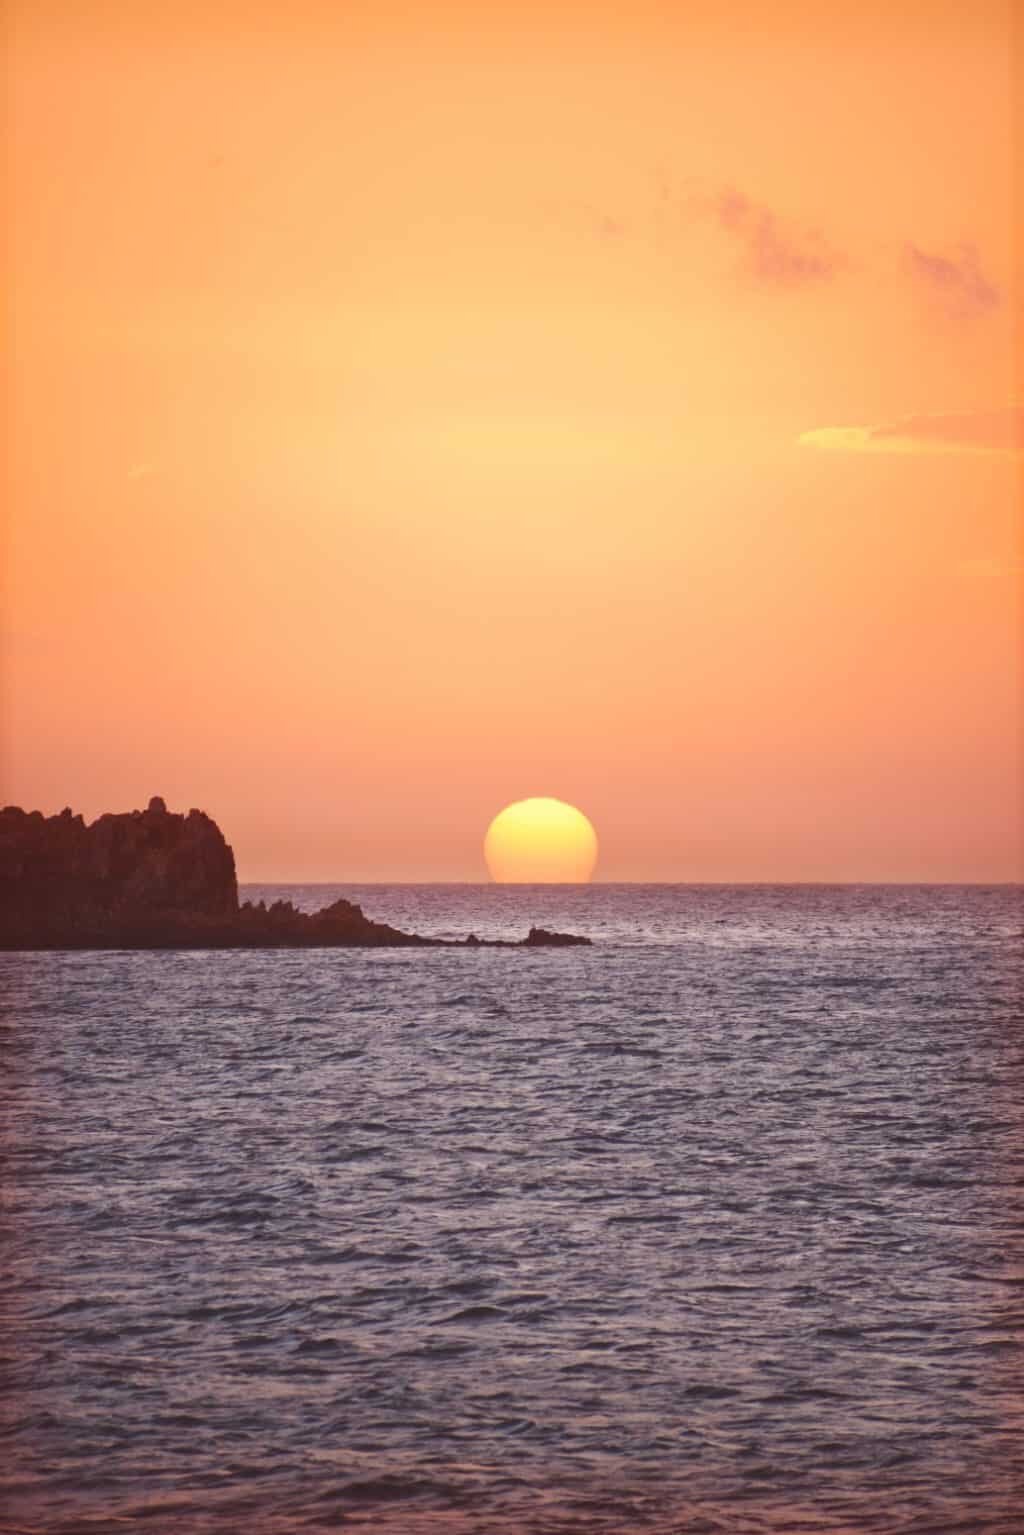
Settings: ISO 640, Exposure +0.3, f/5.6 = Resulting shutter speed 1/320sec
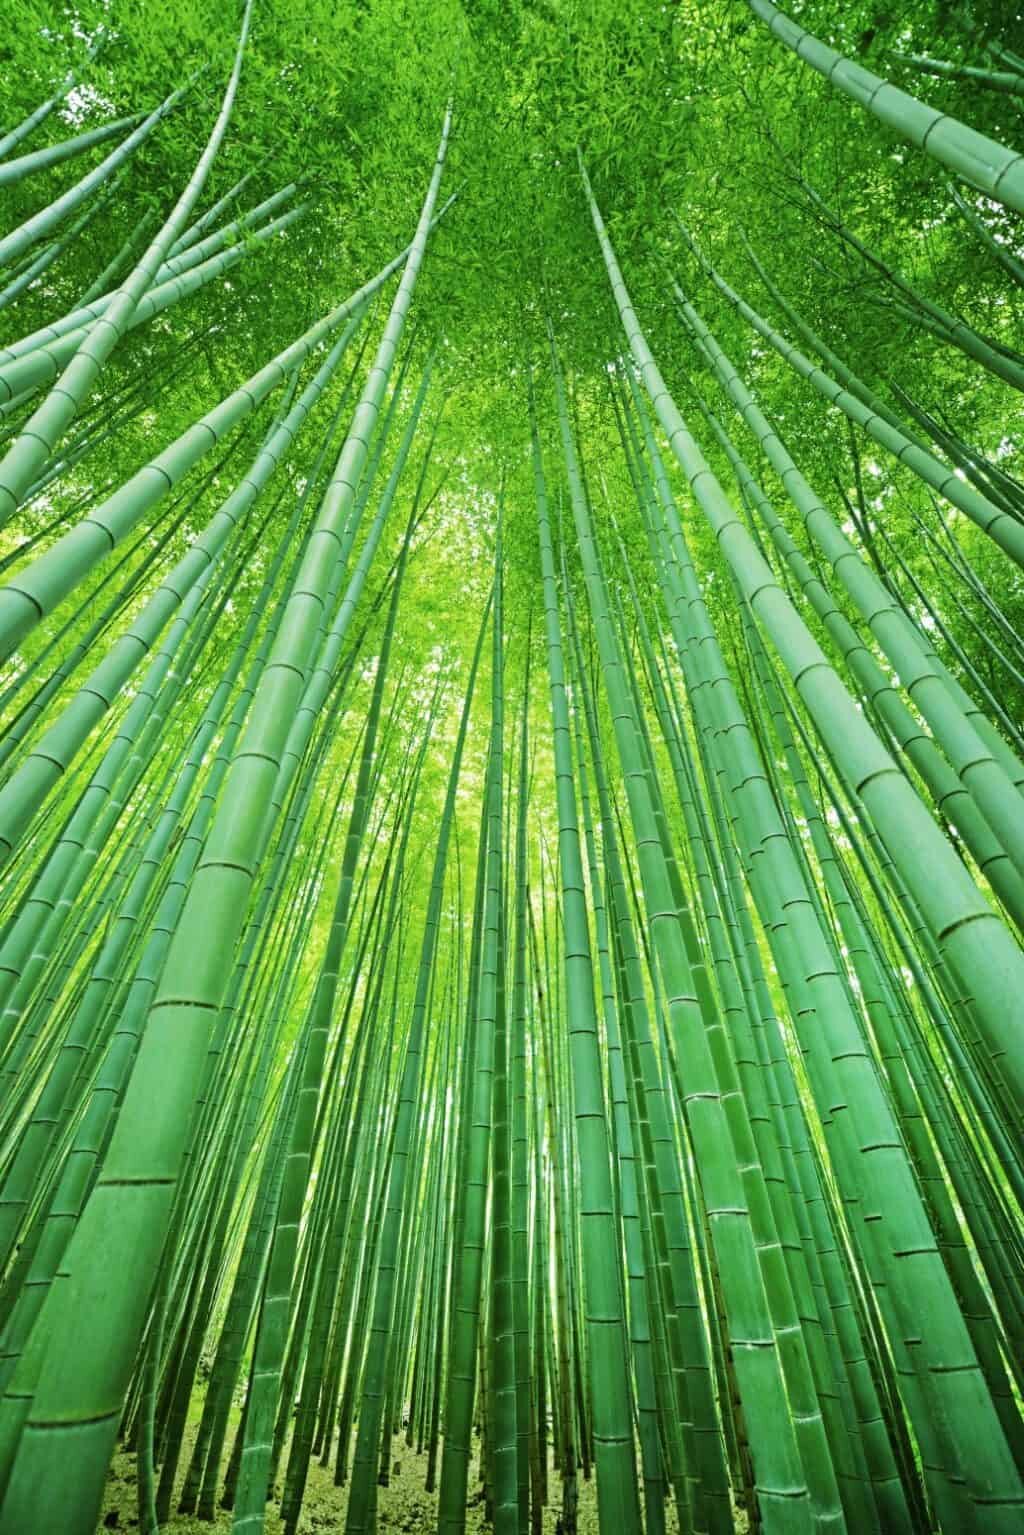
Settings: ISO 400, Exposure +0.7, f/2.8 = Resulting shutter speed 1/40sec
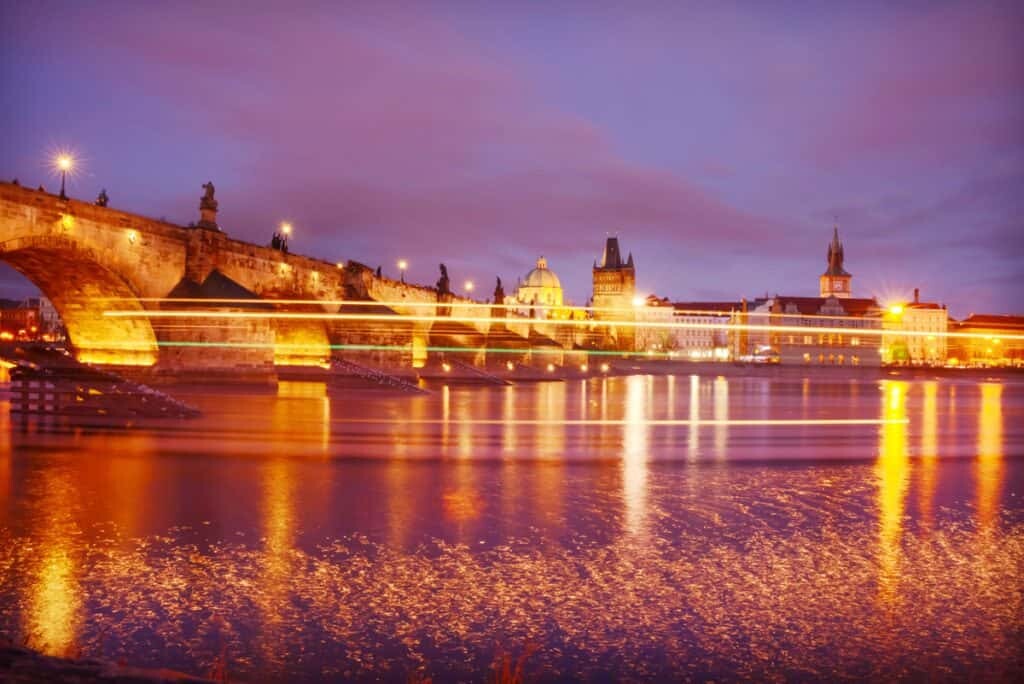
Settings: ISO 200, Exposure 0, f/22 = Resulting shutter speed 30seconds
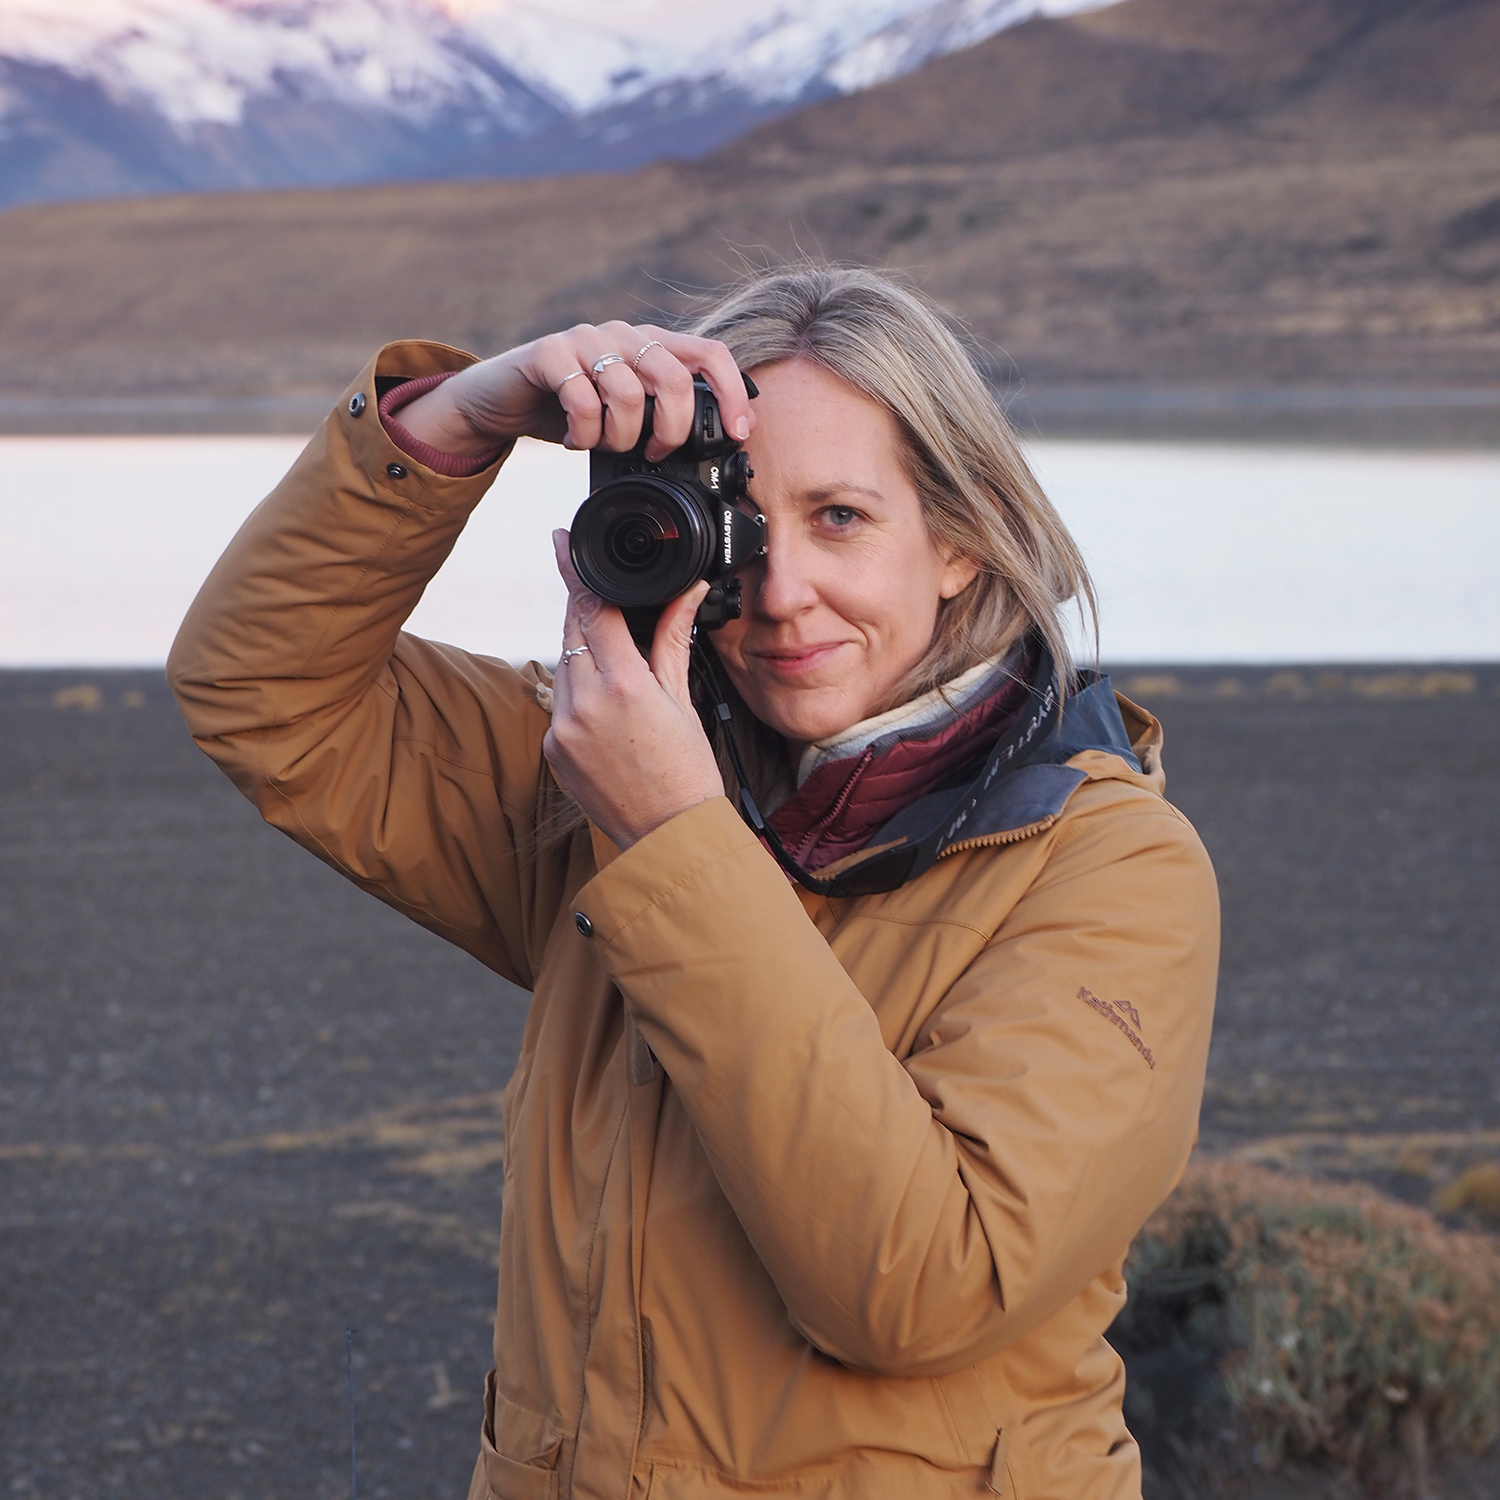
Hello! I’m the founder and photographer behind The Wandering Lens.
With 19+yrs experience as a professional travel and landscape photographer, all advice found on this site is from my personal experience, or that of contributors, on the road. I hope it’s useful for your own travels and would love to hear in the comments about your trips and experiences around the world.

Blog Comments
romeo
May 12, 2017 at 2:50 pm
I keep my cameras in this mode a lot if I’m just running around snapping away. It does take a lot of the fiddly out of it if your just trying to have fun and get a great shot. If I’m really going to work a shot obviously I go to manual but I know I would a have missed a lot of great pictures that I actually did get because my camera semi-figured it out already and was ready. There, now I’ve said it too. That feels like a load off. Thanks.
Harsh
June 12, 2018 at 7:45 pm
Just been smitten with this, found your masterpiece valuable source to begin with. How would you advise for Canon 1300D…
Shellie Rindal-Haack
January 6, 2020 at 4:24 am
HI, I love how you show pictures with the setting you used. I am a beginner photographer and this is so helpful to me. Thank you for sharing!!!
Jo
September 24, 2020 at 7:35 am
Some great advice written simply. Perfect for those (Like me) who are new to photography.