
A Quick Guide to Golden Hour Photography
As the afternoon draws to a close sunlight appears warmer, softer and so much more beautiful. This is the golden hour and you don’t want to be staring blankly at your camera not knowing what to do when it happens.
So…here is your guide to Golden Hour Photography!
Whether you are travelling the world and witnessing magical sunsets over the ocean or exploring a park in the middle of a city, the tips below will help you change the way you capture golden hour.
Golden hour is that special time of day photographers go crazy for.
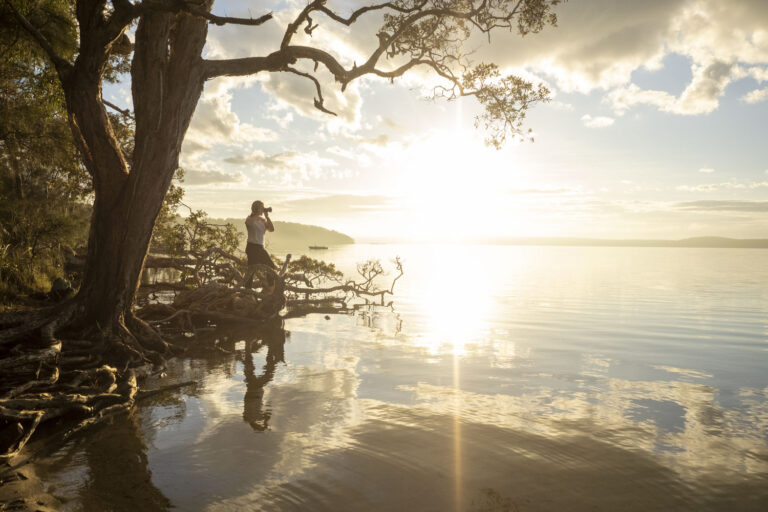
When the sun is going down and nears the horizon dispersing a gentle light and creating a magic like quality in your images. It’s roughly an hour of varying colours, warm glow and light conditions blending together to form the perfect canvas for photographers to snap away happily.
Keep scrolling for the best camera settings for golden hour, golden hour photography tips and more…
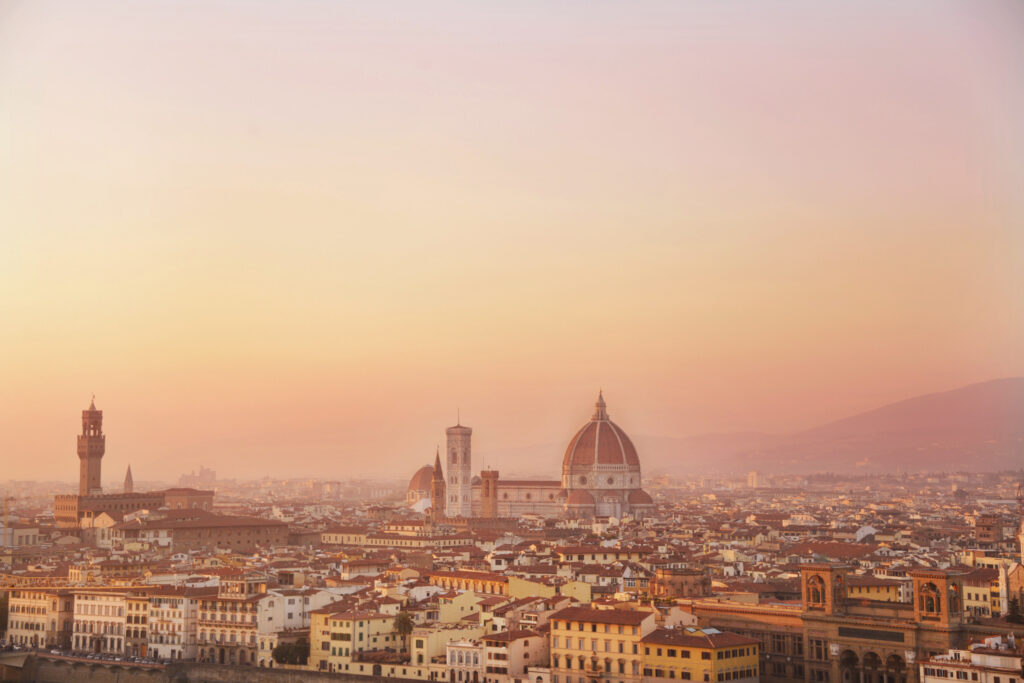
Golden Hour Photography Tips – Planning the Location:
Because golden hour passes by so quickly, it’s essential to plan where you’re hoping to shoot in order to have the best chance of capturing a range of images. Are you focusing more on the sun setting, shooting portraits or the moment lights start to turn on and the beautiful purple tones linger as blue hour begins.
Arriving five minutes too late for the setting sun is never fun. Before a sunset shoot always check the exact time the sun will set that day and be sure to arrive at least 1 hour before to make the most of the golden hour. Sometimes you’ll get amazing sun rays 15 minutes prior to sunset and the warm glow is always an ideal light for portraits too. Sunset times and the best vantage points change throughout the year based on the season so it’s essential to research for your exact location.
Read more – Weather Forecasting for Landscape Photographers
Golden Hour Photography – What Gear Do You Need:
Shooting golden hour means you’re heading toward low light so it’s one of those times that having a tripod is really handy.
For most of my golden hour shots I love to keep the composition nice and wide so typically pack my M.Zuiko 7-14mm f/2.8 PRO lens. That said, if I’m shooting a portrait or street scenes I love a beautiful glowing bokeh which is created by either a great fixed focal length like a 50mm lens or by zooming in nice and tight. I recently went out to capture poppy fields in Provence, France and found that the 40-150mm f/2.8 PRO lens stayed on my camera almost the entire shoot. See a sample below of how a zoom lens can capture the golden glow…it’s very addictive!
I avoid using flash, actually I rarely use a flash for any type of photography but particularly during golden hour as it will really darken the tones and create more of a silhouetted look.
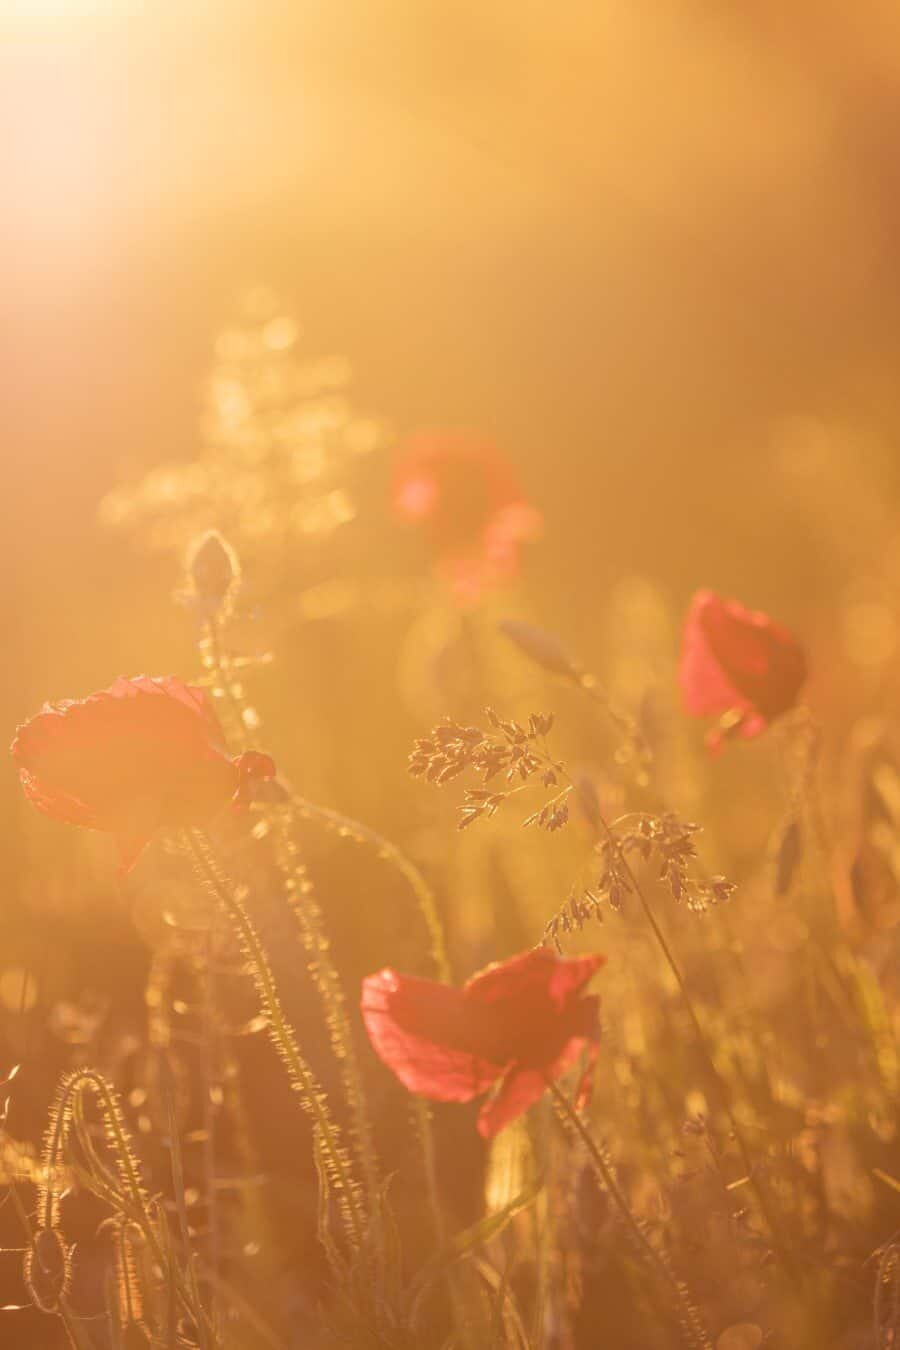
Provence Poppy Fields – Photographed with my Olympus OM-D E-M1 Mark II + 40-150MM M.Zuiko PRO lens into the sunny glow of golden hour.
Best Camera Settings for Golden Hour Photography:
To capture the warm light, first things first, always switch your white balance to cloudy mode. This will warm up the tones in your image and bring out the rich colours golden hour produces.
Keep your ISO as low as possible in order to minimise noise and keep your shots super sharp. You may need to increase your ISO once the light starts to drop so don’t be afraid to bump it up when necessary.
Starting Point –
ISO 100
Exposure +0.7
Aperture f/2.8 (if you’re after bokeh) or around f/14 if you’re after a sharp image from foreground to background.
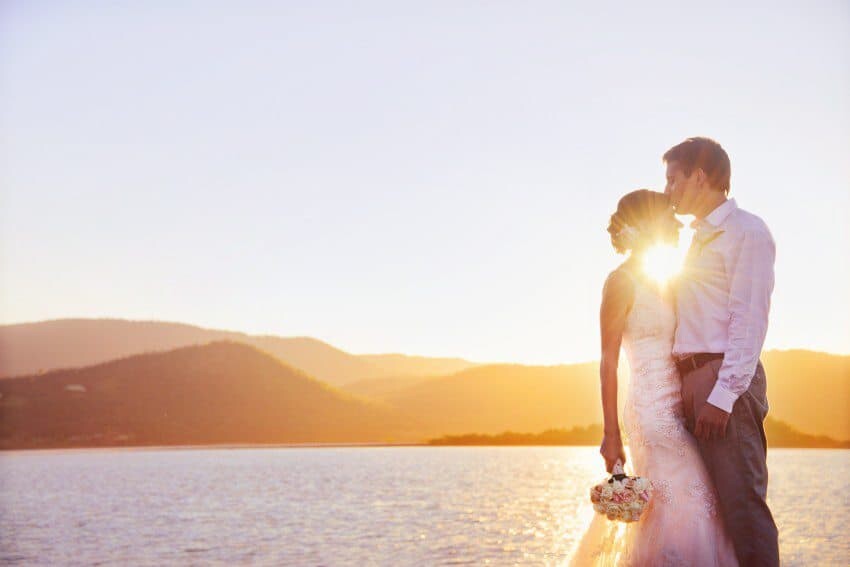
Golden Hour Portraits – When the sun is close to the horizon it’s a great chance to create sun stars your images. The portrait below was taken during the beautiful wedding of Heidi and Mahn in Australia. By setting my cameras aperture to f/14 and placing the sun between the couple with the edges just touching Heidi’s neck it created a big sparkly sun burst.
You might also be interested in reading, ‘Setting the Scene: White Balance‘.
Interested in learning more about settings for landscape photography? Take a peek at the eBook library and look for – SETTINGS: Your Guide to Camera Settings for Landscape Photography
Read more – How To Create Sun Stars
Composition Tips for Golden Hour Photography
Golden Hour Photography Tip #1 Find a Foreground Subject
I’m all for just using the colourful sky to compose your image however most of the time you’ll need to find a foreground subject to help create your photo. Whether it’s a wooden jetty, flock of birds, single tree or your travel buddy, use something that enhances the scene and adds perspective to the photograph.
Golden Hour Photography Tip #2 Look For Reflections
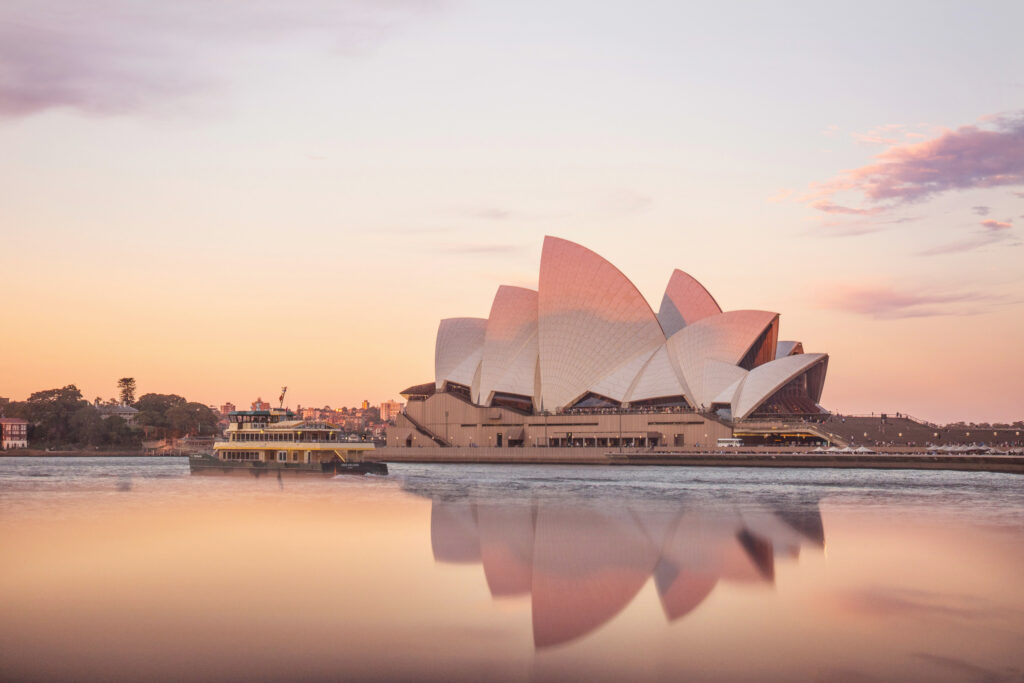
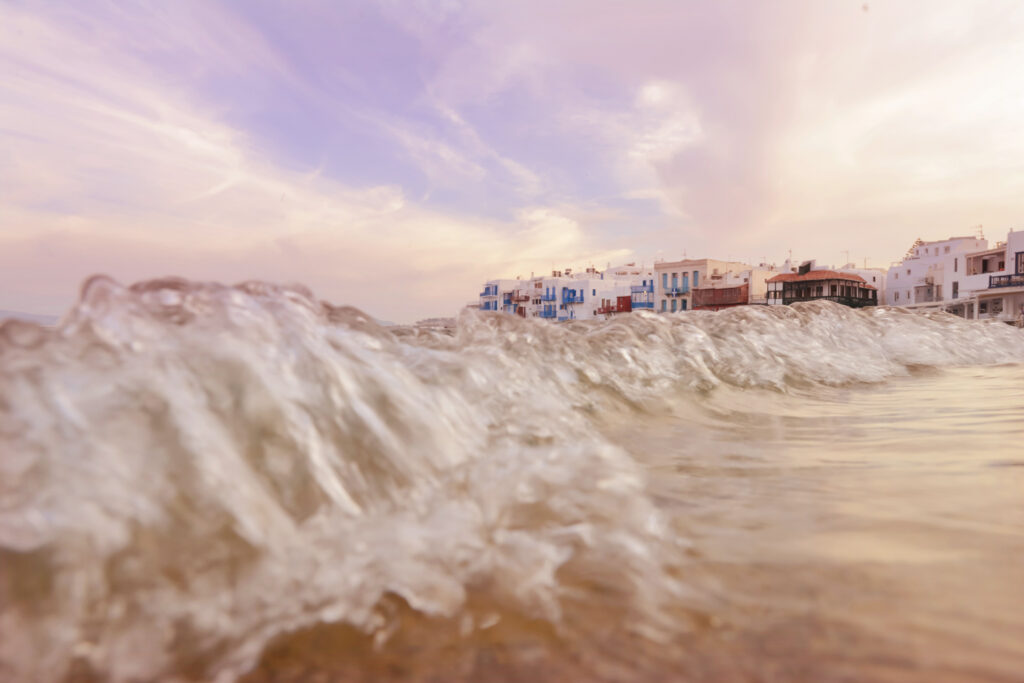
When the sky is lit up and looking fabulous it’s also a great opportunity to double the magic and reflect it in a puddle, lake, still water, flat glass bench…anything you can find to achieve a reflection. Be sure to get nice and close to the reflective source to ensure a beautiful split image that showcases both sides of the reflection.
Read more – Creative Reflections
Golden Hour Photography Tip #3 Portrait Perfection
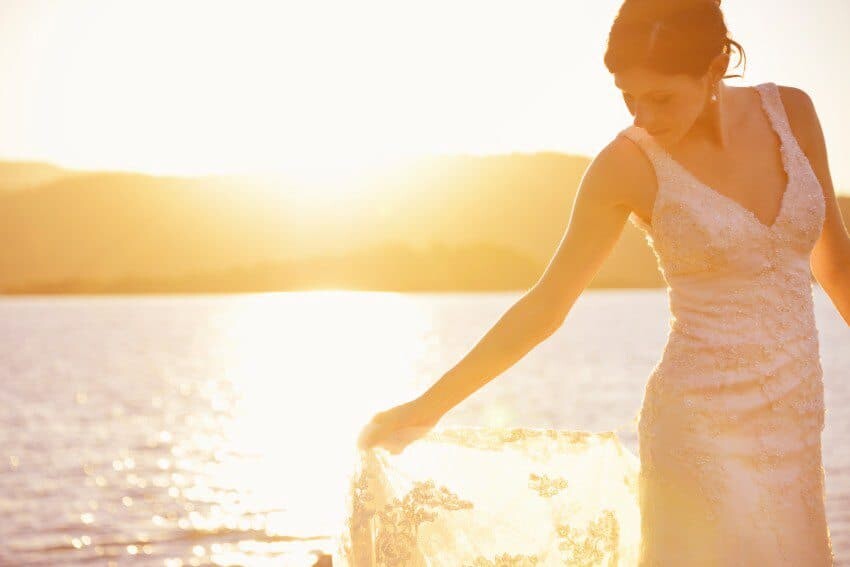
Golden hour is easily the best time to shoot portraits. Whether they are travel portraits, street scenes, weddings or families, the golden glow and soft light acts like a natural beauty filter. Shooting with a 50mm lens will result in gorgeous bokeh behind your subject and if you gently over exposure the image, your subjects face will be soft and clear.
I love to shoot portraits with the light behind the subject, this is particularly easy to do when the light is lower as you won’t get the strong shadowed effect. Alternatively, you can ask your subject to turn slightly to the side which will let the glow of the sun softly touch their features.
The best camera settings for golden hour portraits relate to your white balance and also ensuring that the brightness of the sun doesn’t take away from any details within the image. Try to keep your ISO nice and low and watch for any over exposed elements of your image. You can see on the image below that there is a tiny bit of detail lost on her dress and hand however I believe this fits with the romantic vibe of the photograph!
Golden Hour Photography Tip #4 Creative Blur
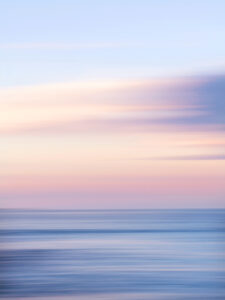
If there is a lot of colour in the sky, why not make a fine art image that displays movement and merges the colour tones together. The aim is to simply create streaky colours of movement across your image so don’t freak out if it’s a blurry mess.
Start by dropping the ISO to something low like 100 or 200, adjust your aperture to around f/16 and then take a test shot standing still to ensure the colours are still vibrant and not blown out. If they are, stand still like a tripod and click the shutter as you quickly rotate from left to right. Amazing right!? This is one of my favourites!
Read more – ICM Photography and Capturing Movement
If you’ve got a golden hour photography shot to share, use the hashtag #thewanderinglens on Instagram or come and join my private Facebook group ‘The Wandering Lens Photography Group’ and share it with a group of fellow photography lovers! Click the link above to receive an invite to join.
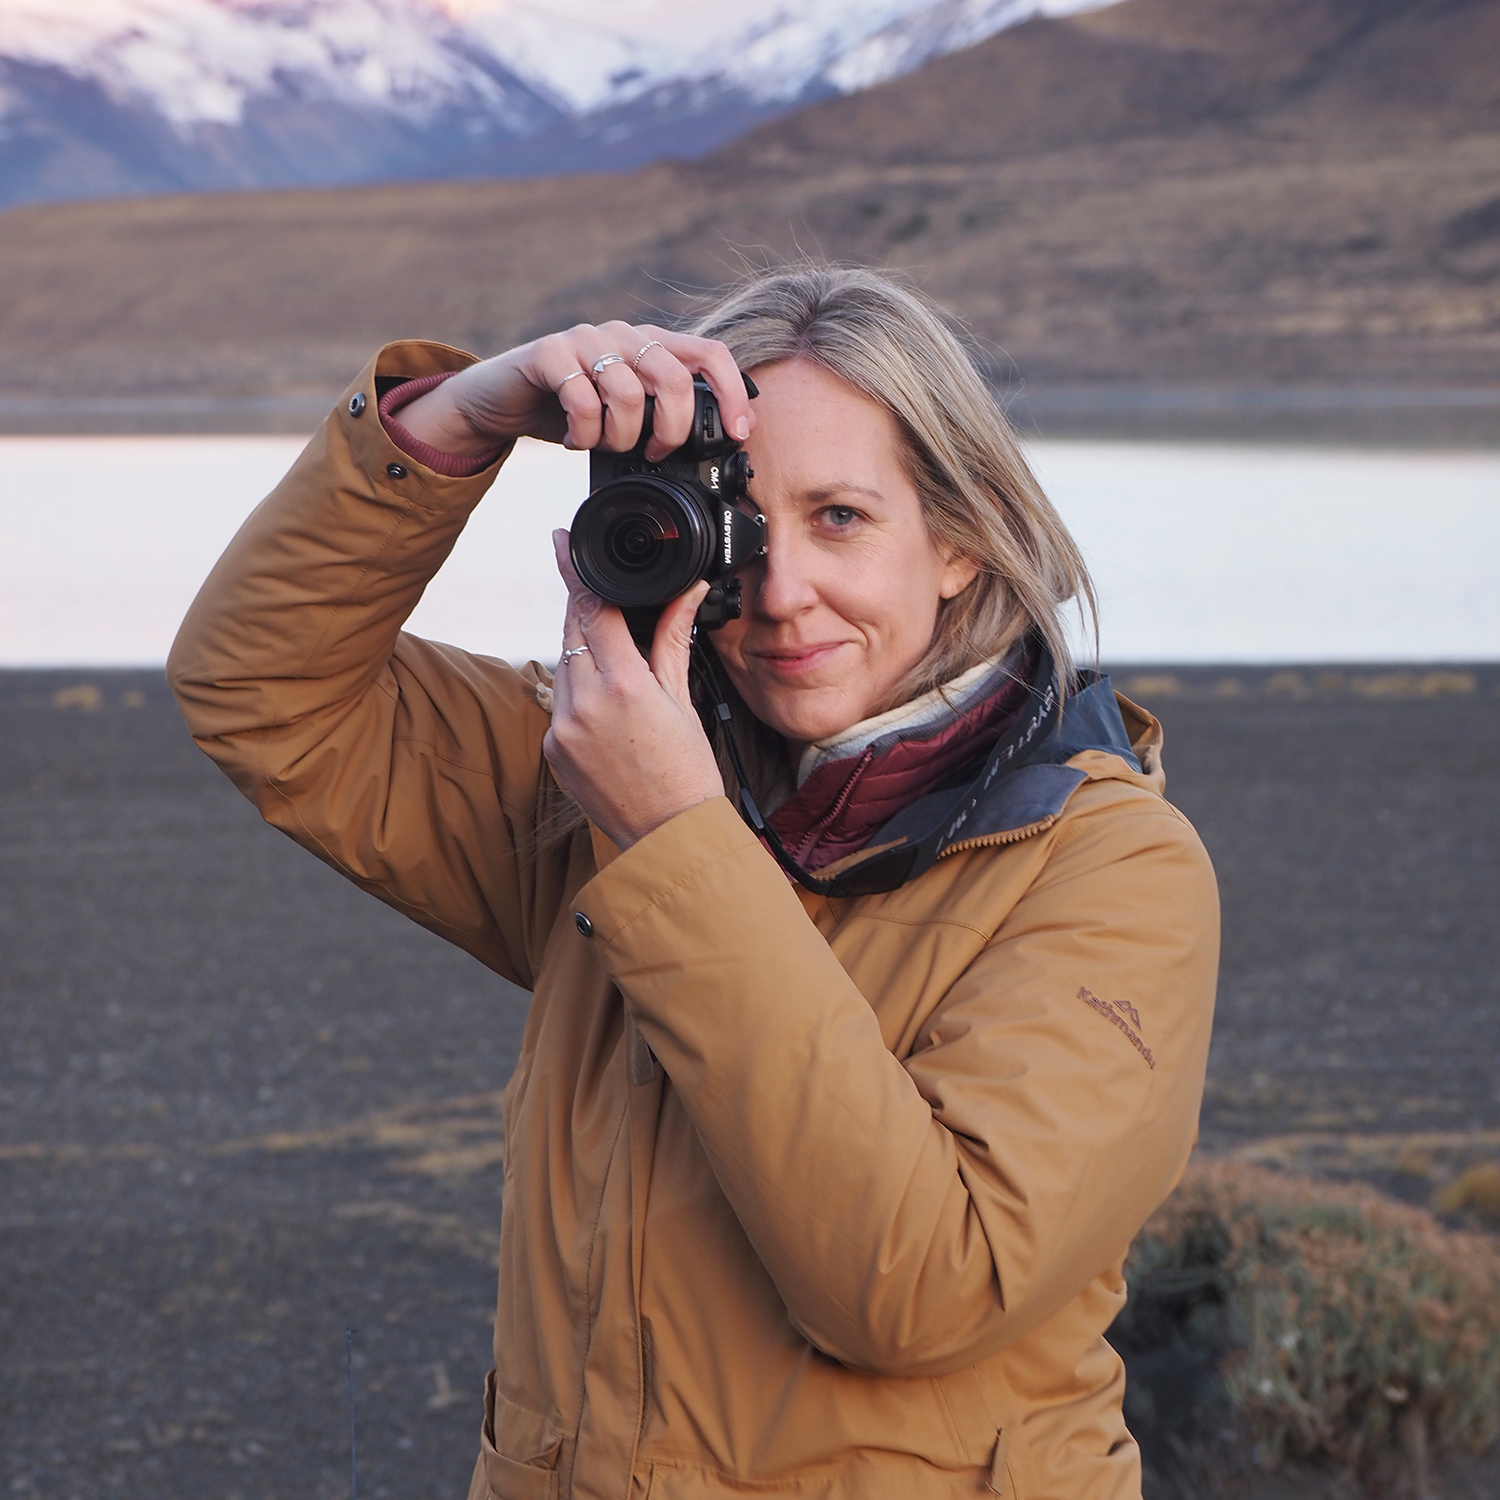
Hello! I’m the founder and photographer behind The Wandering Lens.
With 19+yrs experience as a professional travel and landscape photographer, all advice found on this site is from my personal experience, or that of contributors, on the road. I hope it’s useful for your own travels and would love to hear in the comments about your trips and experiences around the world.


Blog Comments
Trent G.
May 24, 2017 at 2:51 pm
I’ve been using SunCalc for a few months now and it really helps choose where to point the camera and set up for sunset.
thewanderinglens
May 28, 2017 at 7:57 am
It’s amazing isn’t it!? Although, it is also possible to use an old school compass too which can be fun!
Bec Tyler
May 26, 2017 at 6:12 pm
The white balance tip is so simple yet I’ve never thought to look at it before. Thank you!! *waits for sunset 😉
thewanderinglens
May 28, 2017 at 7:57 am
Great to hear Bec, I hope your sunset shoot went well 🙂
Olivia
May 27, 2017 at 7:56 am
OMG where were you when I got married! I had no idea you did wedding photos? Do you still?
thewanderinglens
May 28, 2017 at 7:59 am
Aw, when and where did you get married Olivia? I’m sure your shots were beautiful 🙂
I do still photograph the occasional wedding, I used to shoot over 100 a year but that was far too much and I got a tad burnt out so now I aim for around 5-10 destination weddings. If you have a friend getting married you’re definitely welcome to suggest me! My wedding photos are at http://www.lisamicheleburns.com
Geoff Cheshire
September 24, 2017 at 4:05 am
IF you are planning shots in advance, check out the Photographer’s Ephemeris (as an app and own the web). It really does help you understand the timings and direction of the sunset. A really excellent piece of kit
dalibro
October 12, 2018 at 12:33 am
Wow, Lisa, an hour can’t get much more golden than in the photography you’ve presented in this article! Can’t wait to try out the Cloudy mode next time – better than clicking around in Lightroom! 🙂
Benji
February 16, 2019 at 9:31 am
Lisa, your blog is amazing and inspiring. I will have to subscribe… Keep up the amazing blogs I will be creating my own soon too and I hope it can be as inducing as yours is! Really great job.
Eve
February 11, 2021 at 3:51 am
HI
Awesome article! 🙂 Thank you so much! Quick Question: Where do you usually meter in landscape photography while photographing sunsets? Usually either my sky is blown out or too dark 🙁 Thank you for your help!
Warmest
Eve
Lisa Michele Burns
February 15, 2021 at 3:41 pm
Hi Eve,
I try to balance the light and dark areas and focus around the place where these two areas meet. When there are harsh contrasts it’s best to have your lights and darks both balanced so even if you need to do some editing later, you aren’t overexposing one or underexposing the other. You could also try bracketing or changing your composition so you aren’t shooting straight towards the light and causing those extremes. I love shooting just after the sun has set 🙂