
Learn to Take Split Level Underwater Photos
Underwater photography is growing in popularity and there are so many techniques involved in capturing everything from surfers and whales to waves, the reef or simply the water itself.
For the moment I’m going to focus on split water landscape photographs because these are my favourite and are a great way to creatively showcase a destination from a unique perspective.
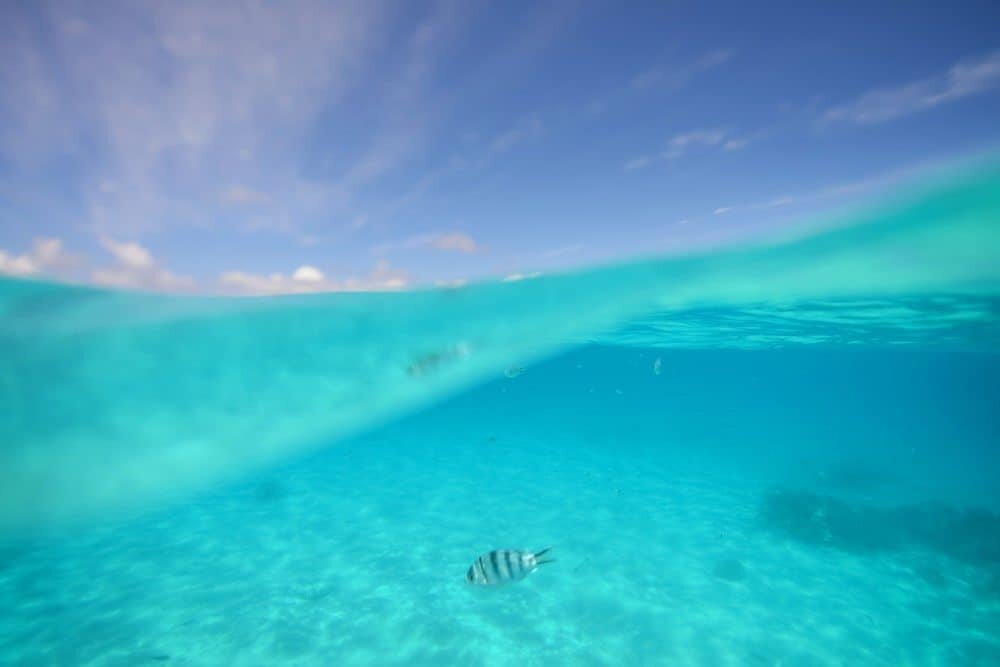
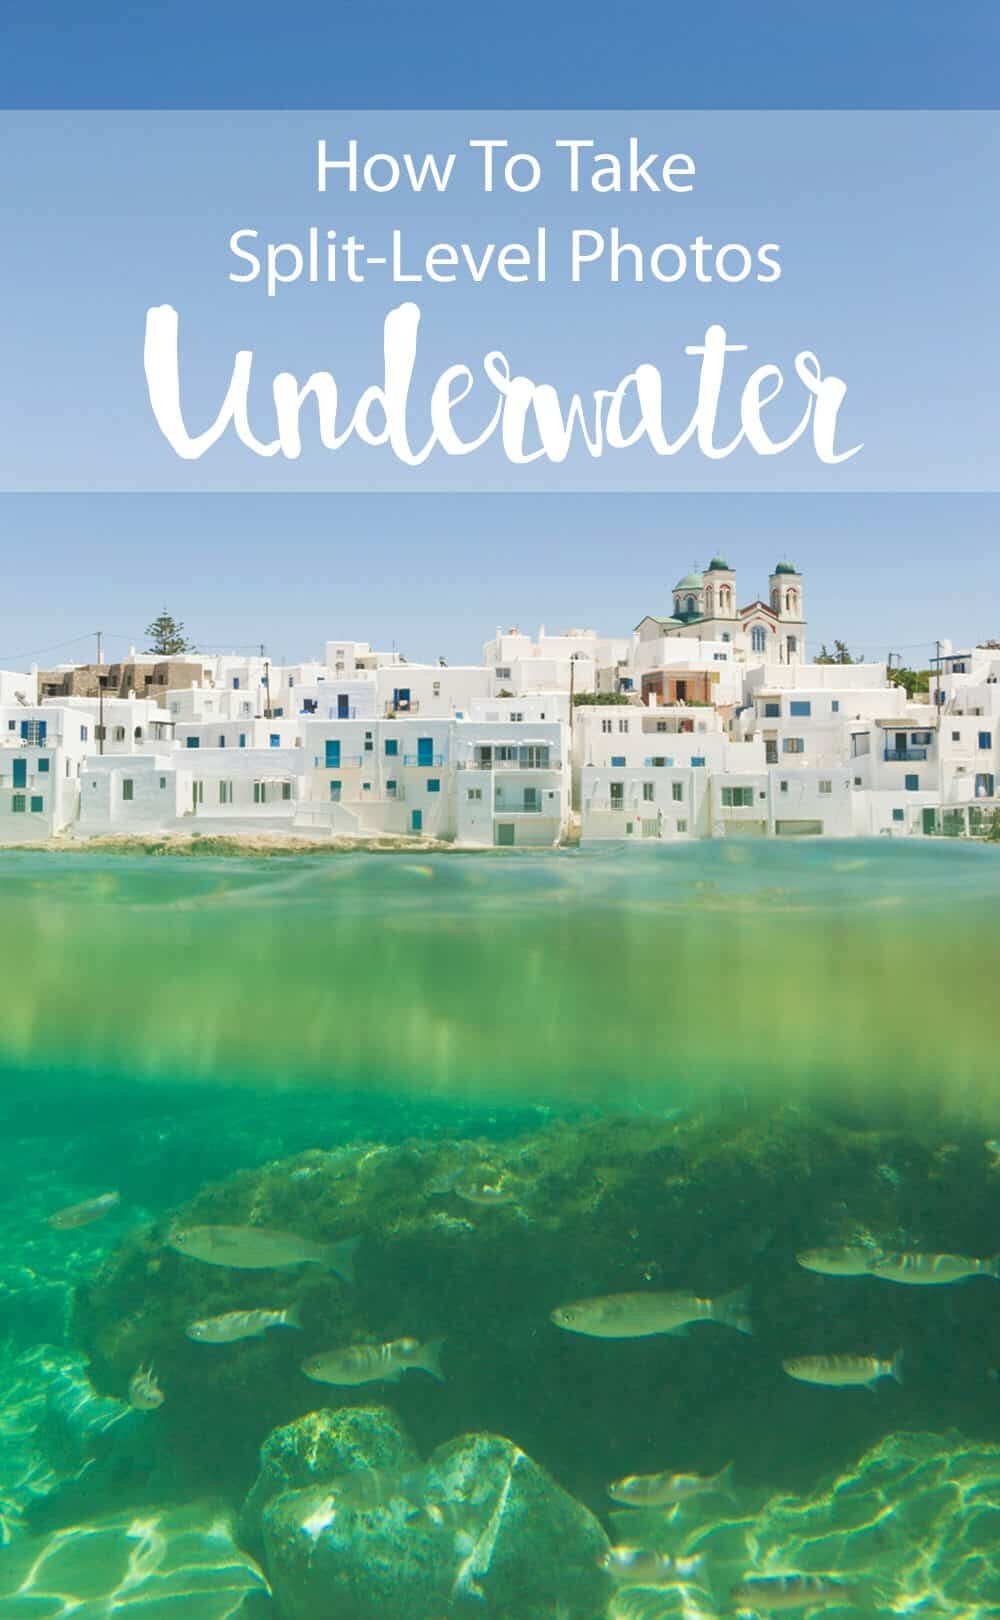
Split water photographs depict a scene half above the water and half under the water at the same time hence creating the effect you’re looking through goggles at the underwater world whilst still keeping an eye on what’s happening up top.
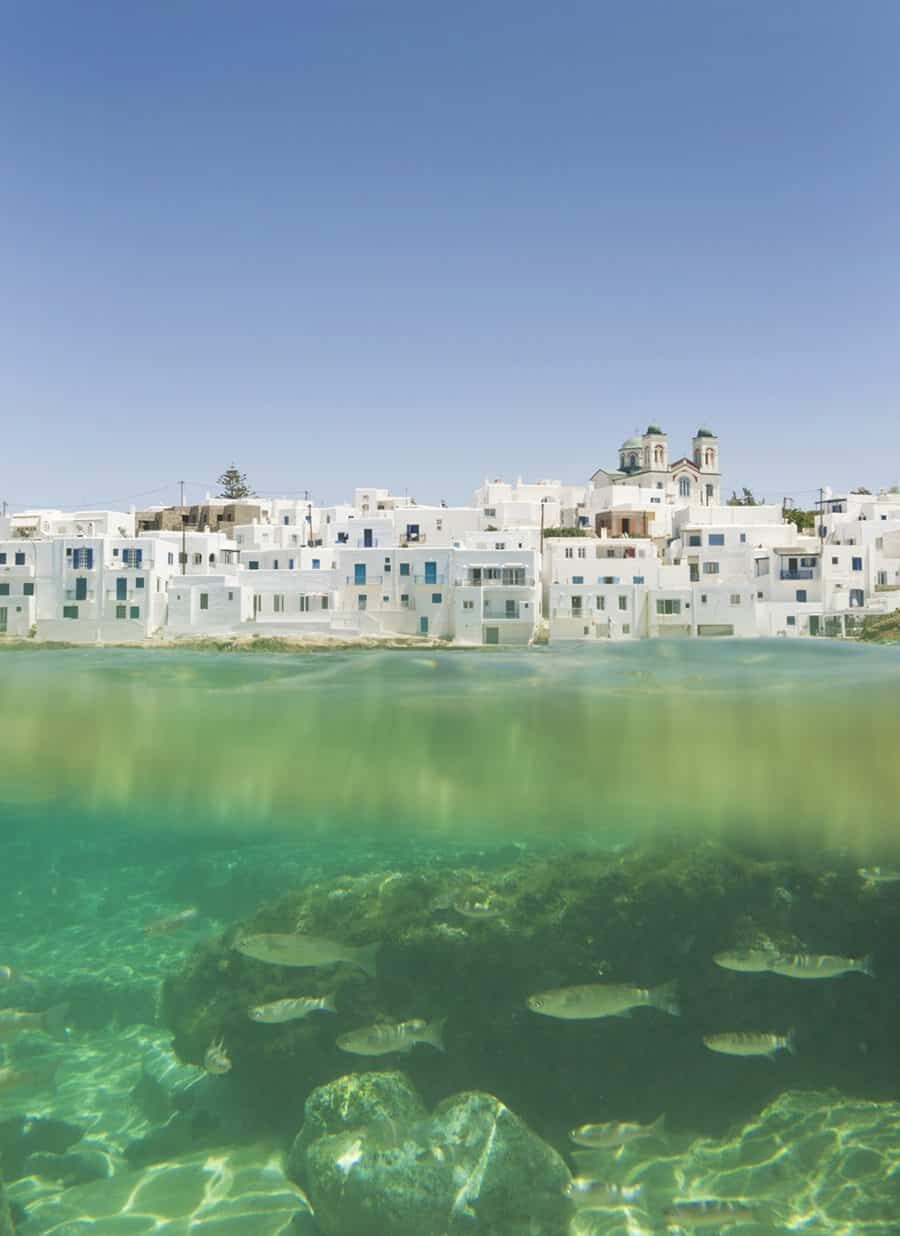
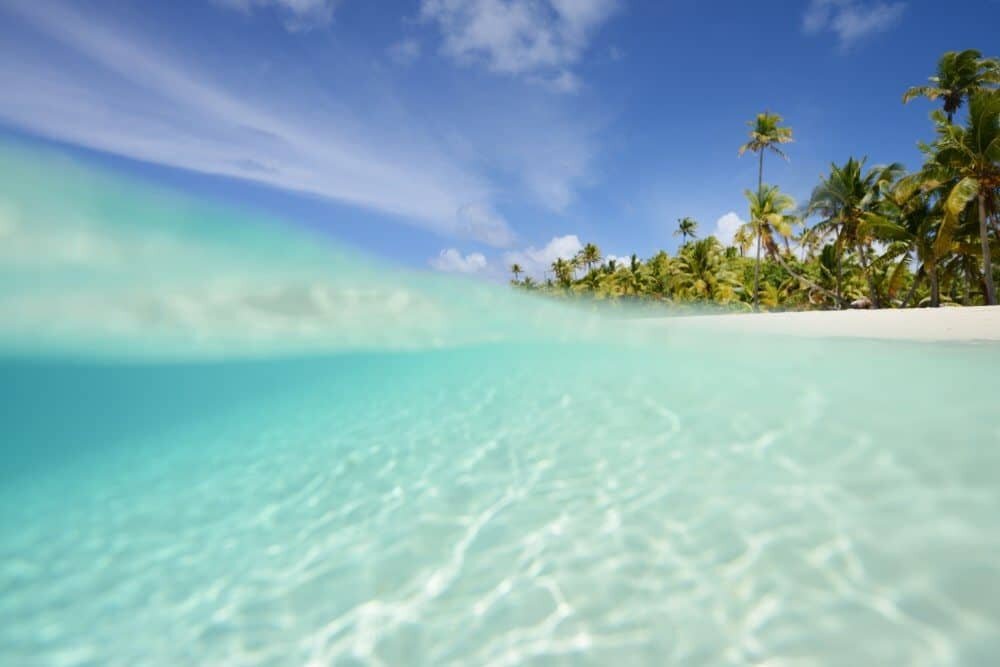
One Foot Island in Aitutaki Lagoon, Cook Islands.
In a tropical environment they can showcase amazing water clarity blended against a white palm drenched beaches, aka paradise, or in a lake or creek it can used to show the contrast of a rocky mountain landscape against peaceful shallow water. However you choose to use the effect in your photographs it’s a fun way to look at the world and will encourage you to think outside the box whilst shooting and get seriously creative…trust me, it’s addictive.
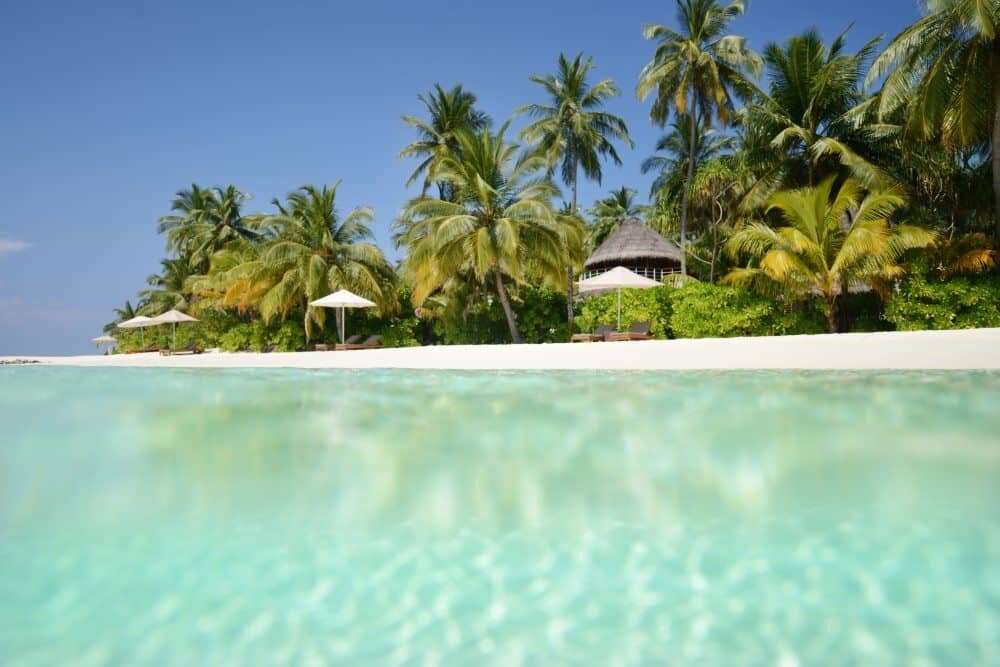
W Retreat Maldives.
Derived completely from my own experience in the water, below are some tips and techniques on how to capture split landscape photographs.
Equipment for Underwater Photography
You don’t want to put your precious camera in a plastic bag housing and find it immediately fills with water. As with most things, the cheaper the equipment the less use you’ll get out of it and the less reliable it’s going to be.
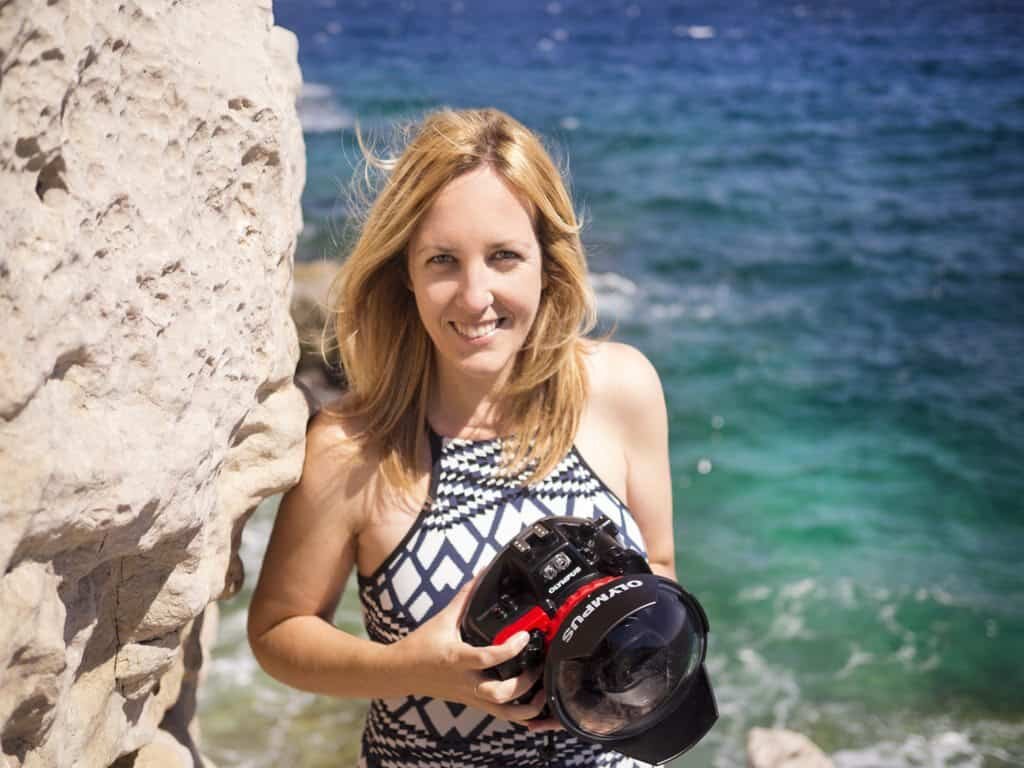
I shoot with an Olympus OM-D E-M1 Mark II and chose to protect it with an Olympus Underwater Housing (the PT-EP14) which is a solid, watertight little beast that’s never failed me and gets looked after like it’s my pet. I bath it, towel dry it and put away in a blanket…too much?
You’ll find companies like Aquatech, Nauticam or Ikelite will have an underwater housing to fit your specific camera model and this is one of the reasons they work so well is that everything is aligned and fitted just for your camera, not just a generic bunch of buttons that will sometimes work.
What’s currently in my bag for an underwater shoot?
Olympus OM-D E-M1 Mark II
M.Zuiko 7-14mm 2.8 PRO lens
Olympus Underwater Housing + Lens Port
A soft wash cloth (to get the salt water off after use)
Goggles (sometimes for the split shots I prefer not to use them but they’re handy to have)
Flippers
Preparation
Checking settings are correct before putting your camera in the housing. There is nothing more frustrating than paddling out into the ocean to find you’ve either forgotten to turn the camera on or you’re low on battery or have no memory left.
Prepare everything before leaving the house and then you won’t get distracted when you’re standing amongst an amazing landscape. Each underwater housing will have it’s own unique way to put it together but for the first few times take it slowly and double check everything is locked and lubricated so it won’t leak.
Before entering the water hold your housing in the water for a minute or so to check for any bubbles inside. You’ll notice almost immediately it things don’t look quite right, check for bubbles or water sitting inside the lens hood too which is easy to spot.
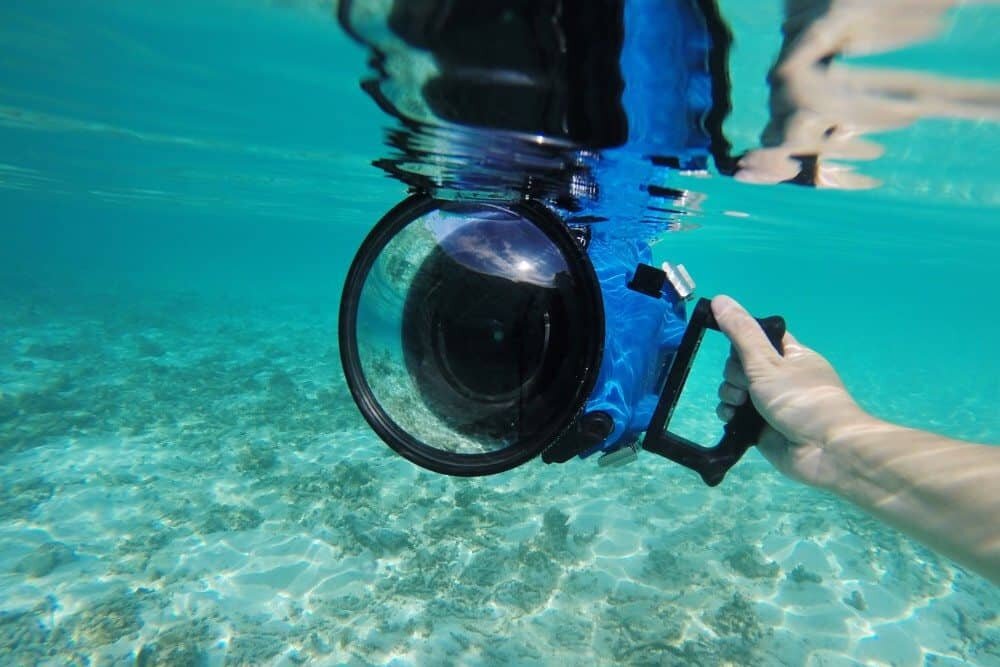
Always check for bubbles and leaks first!
The Best Camera Settings for Underwater Photography
Favourite settings will differ between photographers but for the majority of my photographs in this article because it was sunny and flat with clear skies I used the following…
Aperture Priority Mode
ISO 100
Exposure +0.3
f/2.8 (for a blurred effect underwater)
I like to use AP mode to give the slightly blurred effect either above or below the surface whilst the area in focus is completely sharp and clear. The little bit of added exposure is simply to illuminate the section under the water in the image, sometimes I’ll bump this up depending on how dark or deep the water is. I suggest never really going above +1.0 for your exposure though as you’ll start to overexpose the half above the water and take away any colour detail.
To ensure you have clarity both above and below the water level you’ll need to adjust your settings.
On a sunny day I’ve found the best settings are as follows…
Aperture Priority Mode
ISO 800
Exposure +0.3
f/16 (this is essential to keeping it sharp for both perspectives)
If you’re photographing waves or something moving then perhaps increase your ISO to ensure the image doesn’t blur. Again it’s a hit and miss based on the weather, sunlight and depth of the water but most settings you can change while you’re underwater using the buttons on the back of the housing.
The light will also have a huge impact on your choice of settings, sometimes facing away from the light to perfect your settings works well but then once you turn back to shoot toward the light, you’ll find it’s either blown out and overexposed or way too dark. Don’t panic if you don’t get the correct settings immediately…it took me a while and working out your own go-to settings over time is worth it.
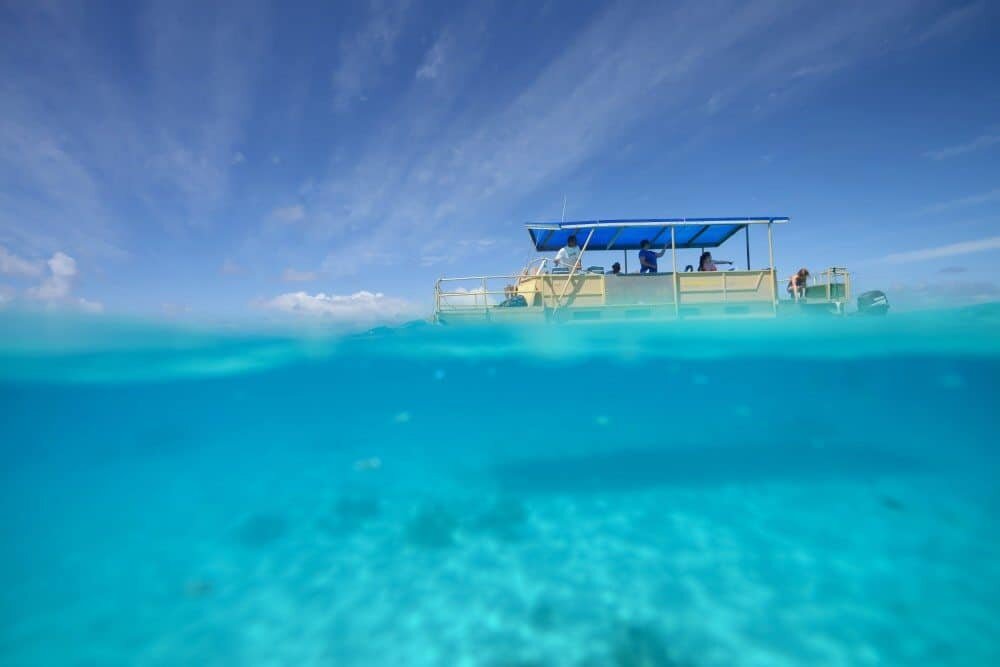
Aitutaki Lagoon, Cook Islands. Split shots can focus and highlight any type of subject!
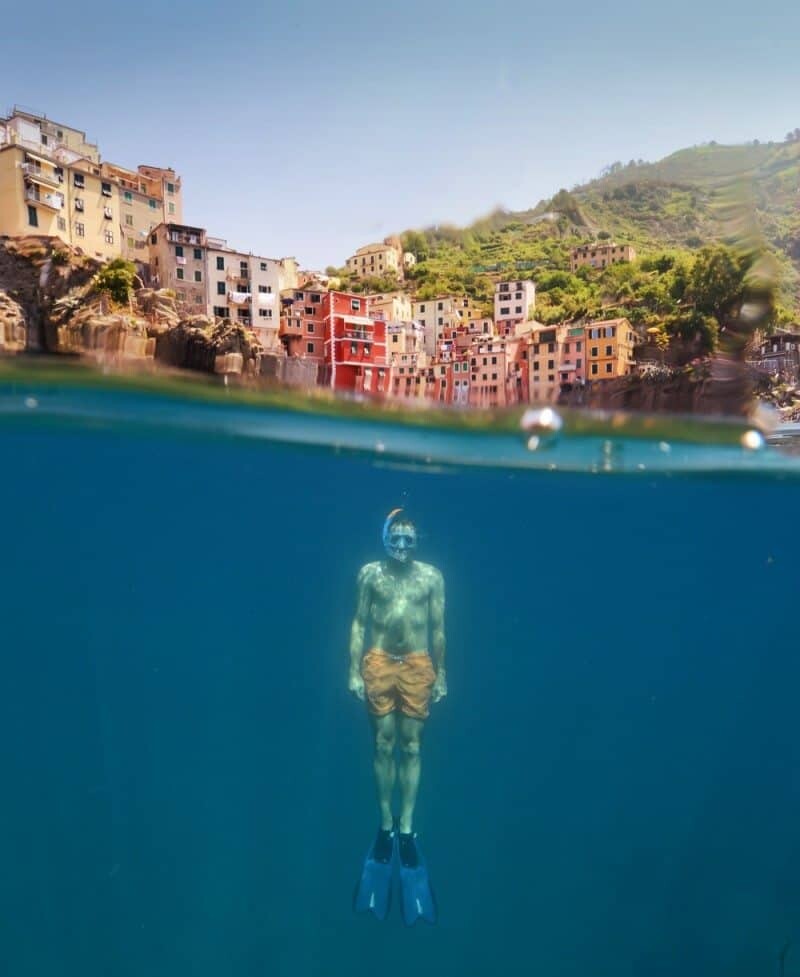
Split-level Technique
Split photographs require patience. If you’re in flat water then it shouldn’t take too long to do but if you’ve got waves around you have to play their game and time your shots perfectly for your desired effect.
Sit the housing on the top of the water then gradually dip it under until you see the lens is sitting half in and half out of the water, if your head is in the first few shots to ensure you’re sitting the camera at the right level then don’t worry! If the water is clear and you wish to showcase the details above the water then simply focus the camera before putting it under the water. Otherwise if there is reef, fish or something interesting underwater dip the camera under and focus before bringing it back to the surface. Remember to hold the focus once you’ve set it to ensure it doesn’t reset and focus somewhere unwanted.
It’s all a matter of positioning the lens so it’s sitting 50/50 and your result will be a straight clean split photograph. To mix things up a little bit wait for a wave or some movement in the water to get either sparkles in the water against the sunlight or water droplets and creating a split that’s a little more creative.
A little tip, if you’re looking through the viewer your eye will most of the time be just above water level so it gives you a good indication of where the front of the camera will be sitting in the water. After a few attempts you’ll find knowing where the split is formed on your camera becomes second nature and you’ll be able to click away faster.

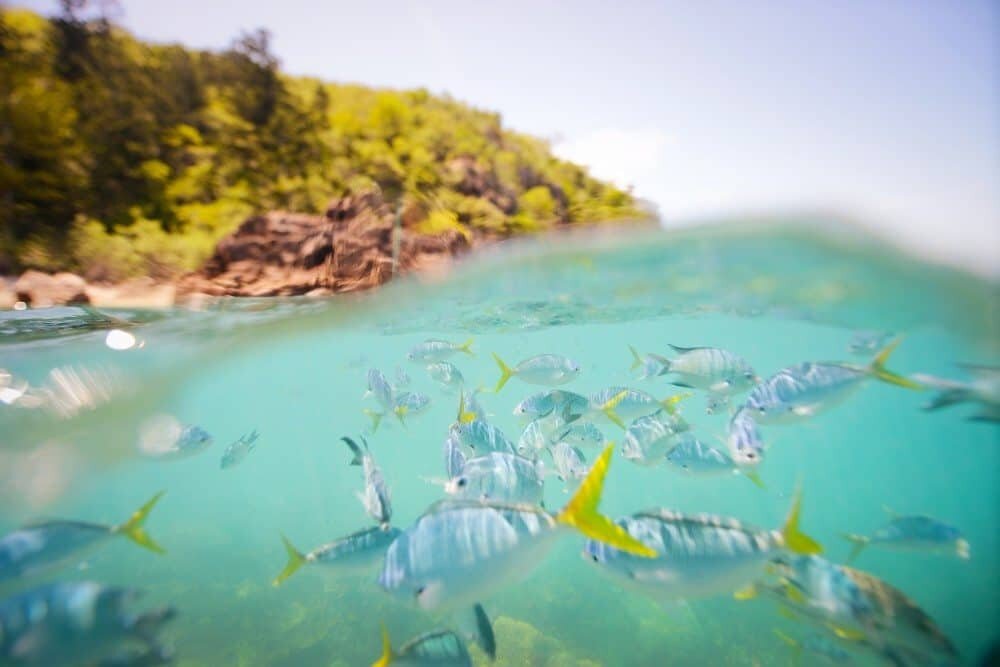
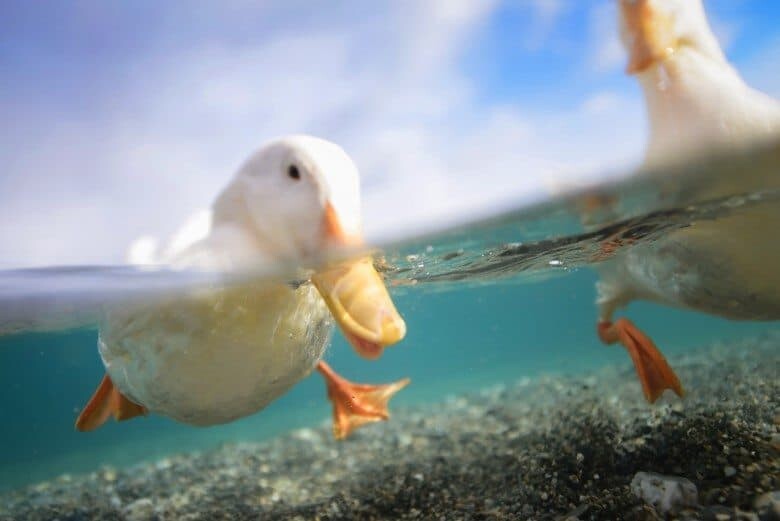
Fish frenzy at Blue Pearl Bay, Hayman Island, Queensland, Australia. Because of the clarity and brightness of the water the movement of the fish didn’t blur despite the ISO remaining at 100.
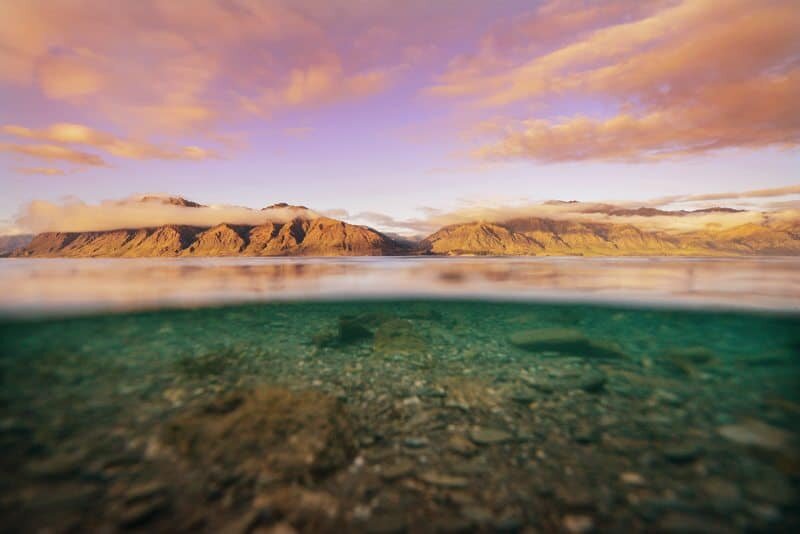
A split-level shot of Lake Hawea in New Zealand. Sometimes even shallow water can work great for this style!
Patience
There are no secret formulas for getting a great shot every time. It’s a matter of researching the location, the waves and spending enough time to work out your timing and purpose for each shot. When fish or moving subjects are involved patience is even more important. More often than not something unexpected will occur whether it’s a big wave, school of fish or a friendly turtle floats past. Once you’ve got the hang of shooting underwater shots it’ll be fun to chase down these subjects and creatively capture them but to begin with don’t stress if you are on the wrong setting or can’t focus quick enough, it’s all about learning and adjusting the next time around.
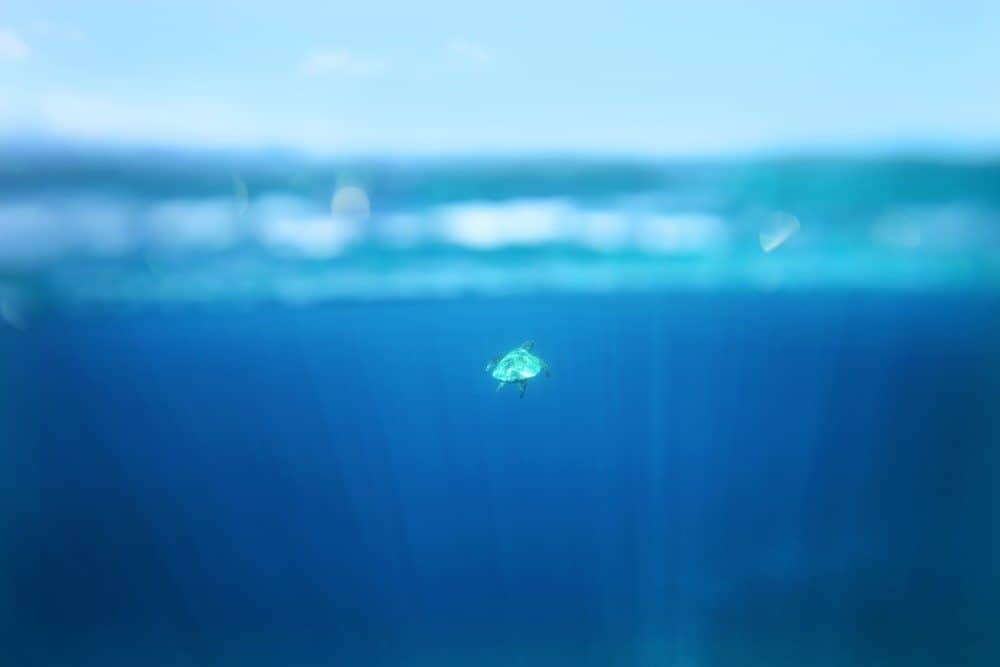
A split shot to showcase the depth of the water and the little turtle gliding by in the South Male Atoll, Maldives.
Bending Water
This is something I first did by accident and now I’m a little hooked on ‘bending water’. It first happened when a wave passed by me just as I was taking a split underwater image, the wave came from right to left and created a horizontal cut across the photo with the water with a neat little bend in the middle. To get this effect it’s simply about moving the camera around.
My tip is to turn around really quickly in a circle whilst swimming and click away until you’re dizzy, the results won’t be super accurate but they will surprise you!
If you want to line up the shot with a landscape then just face the shoreline and swing from left to right which will create a little wave with your camera and the ‘bend’ of the wave should curve gently over your lens. Sounds fun right? Otherwise you can wait patiently for a wave and try your luck with it too.
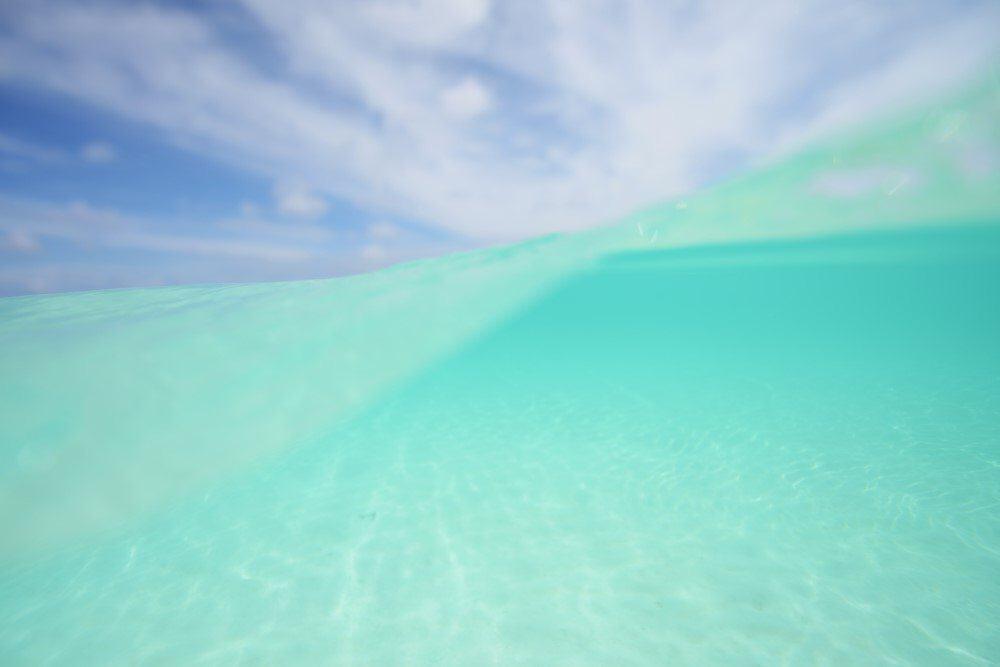
Bending the dreamy waters of Aitutaki, Cook Islands.
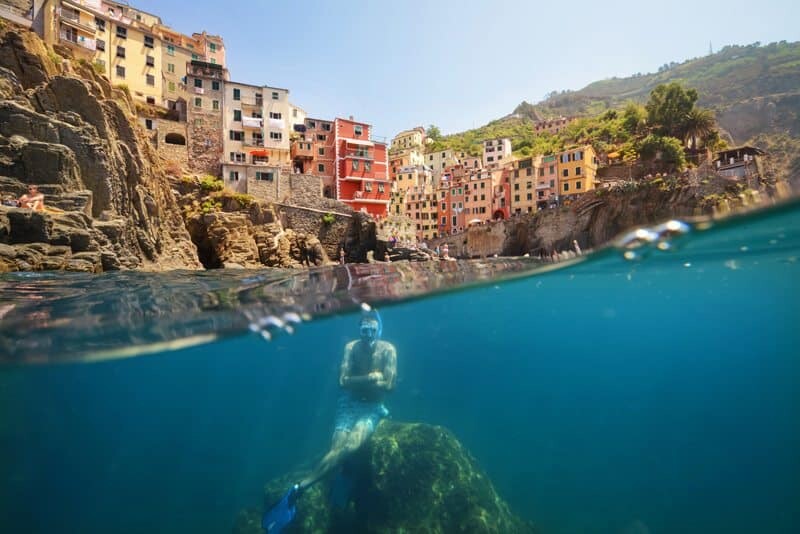
Landscape photography is all about capturing a scene and depicting it in your own way with a vision that’s unique to your eye. I’ve had some of the best moments of my career taking split underwater photographs because you’re amongst the elements, outdoors and the scene changes so rapidly that it provides an adrenalin rush you don’t get in a studio or city.
It’s no secret an underwater housing for your camera is a substantial investment so perhaps to get the hang of the technique and see if it’s for you grab yourself a GoPro or similar camera that’s not as expensive like the Olympus TG-4 or FujiFilm XP90. Then once you think you’ve got it down, are addicted to underwater photography and love it as much as I do look to purchase a housing specific to your model of camera so you can start producing some high quality images.
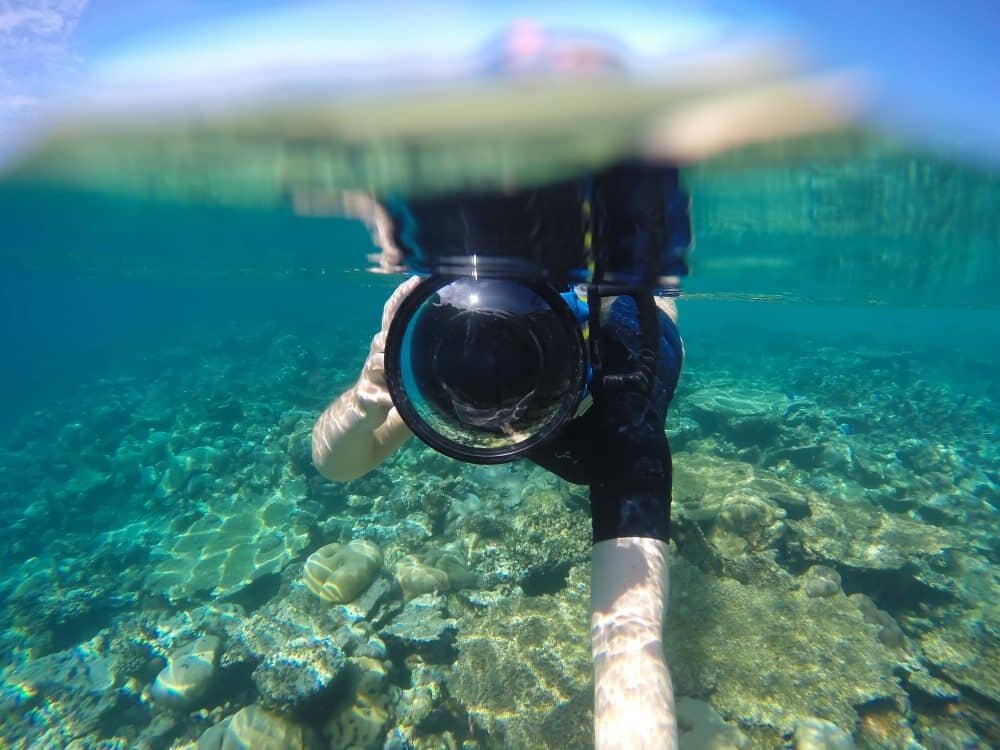
A split selfie taken with a GoPro in the Maldives with my previous Aquatech housing…this was my first attempt at using both cameras underwater at once haha!
When I’ve visited tropical locations like the Cook Islands, Maldives or Whitsundays I always take my housing with me because these destinations revolve around the water so I believe it’s essential to capture this angle. On a recent trip to New Zealand in winter I also packed it to play around with the mountains, creeks and frozen water…also because I just wanted to splash around in gum boots and see how numb my hands would get.

Next up I would love to use it in a city environment like a harbour or river with giant skyscrapers behind…my dream underwater shoot? Venice, Italy. Shooting the facades floating over this incredible city of water would be amazing!
If you’ve got any questions about underwater photography or split photographs then feel free to leave a comment below or send me an email at hello@thewanderinglens.com
Otherwise if you’re already in the water and creating split landscape photographs I’d love to see them and if you’re on Instagram use the hashtag #thewanderinglens so I can have a peek!
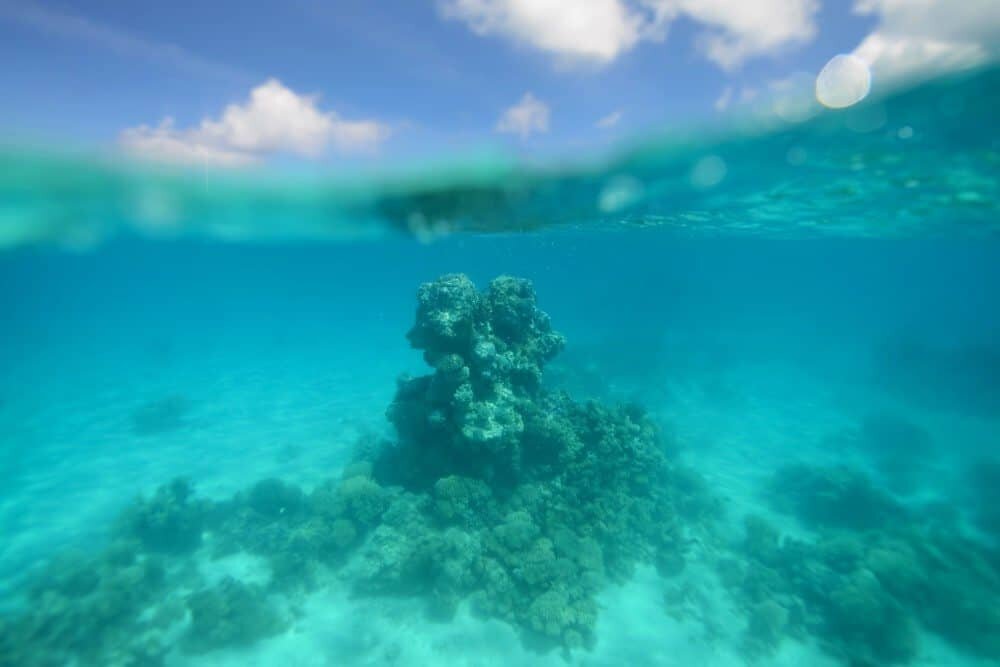

Hello! I’m the founder and photographer behind The Wandering Lens.
With 19+yrs experience as a professional travel and landscape photographer, all advice found on this site is from my personal experience, or that of contributors, on the road. I hope it’s useful for your own travels and would love to hear in the comments about your trips and experiences around the world.

Blog Comments
Angelina
July 29, 2015 at 5:43 am
I love your split underwater shots. They give different perspective of landscape photography.
Thanks for sharing.
Angelina
thewanderinglens
July 29, 2015 at 7:29 am
Thanks Angelina, I love seeing the world in a new way!
Jessie
September 7, 2015 at 8:14 pm
I’m in love! With this technique and your photography. I didn’t realise that it was a normal DSLR in a casing – I thought it was a super fancy camera! Is the casing heavy? I would be so nervous about putting it underwater. Whereabouts do u buy the casing? You have me intrigued now 🙂
Thanks for the great posts!
thewanderinglens
September 7, 2015 at 8:18 pm
Hi Jessie,
A lot of people think it’s a super fancy camera!! It’s just my Nikon inside an Aquatech housing to keep it nice and safe in the water. I was terrified the first time I put it underwater haha…no leaks though and I’ve been using it for 5 years now…except that one time I forgot to tighten it and had a mini flood 🙂
You can purchase a housing for most camera models, Aquatech has great ones for adventure/underwater shots or there are plenty more if you google your camera model+ underwater housing.
Have fun if you decide to get one!!
thewanderinglens
September 7, 2015 at 8:19 pm
Oh and yes the casing is heavy but only out of the water…underwater it’s really light and actually floats 🙂
Chris Van Atta
January 4, 2016 at 5:57 am
I am truly inspired. So happy to have found this website.. Seems like i have discovered my new family.. Thanks for sharing.
thewanderinglens
September 5, 2016 at 3:20 pm
Hi Chris, sorry I’m only just seeing your comment now! Great to hear you found The Wandering Lens 🙂
Where are you based?
Chris Van Atta
June 30, 2020 at 11:48 am
I was late seeing your comment also… I am out of Wilmington NC. But spend my winters in Florida.
Shandos
February 10, 2016 at 8:21 pm
Thanks for the tips, especially the one about focusing above or below the water! I’ve only tried to do split photos once, and this never occurred to me!
thewanderinglens
September 5, 2016 at 3:19 pm
Hi Shandos, great to hear this post was useful for you! Have you tried again underwater?
Sasha
May 6, 2016 at 7:24 pm
Thanks so much for sharing these tips, it’s so helpful!
thewanderinglens
September 5, 2016 at 3:18 pm
Thanks Sasha! How has your underwater photography been coming along?
Thierry Andreoli
September 26, 2016 at 6:07 pm
hi Lisa, I like this Kind of Picture 🙂 do you think it possible with a Leica X-U too or do I Need a housing for my D4S ? I would like to do more Pictures like that while exploring Canyons in Switzerland but to carry a heavy Equipment is not so easy.
I would be happy if you have a look at my web – Santorini, Scotland, Dublin, Norway and so on 🙂
Kind regards
Thierry
Annie
April 10, 2017 at 2:12 pm
Thank you so much for this amazing post! You have the most beautiful photos
thewanderinglens
April 11, 2017 at 7:23 pm
Lovely to hear from you Annie! So happy the article was helpful, if you’ve got any underwater shots feel free to use #thewanderinglens or email me some, I always love to see what people create after reading my guide 🙂
Emily Wilson
December 3, 2018 at 8:46 am
Hi there, fantastic shots! I have been experimenting with over under shots with a 12mm manual focus lens and a 8inch dome I am having trouble getting everything in focus, do you have any advice for what I should set the focus to? Many thanks in advance, Emily
Lisa Michele Burns
December 3, 2018 at 4:53 pm
Hi Emily, great to hear you’re experimenting with split level shots! Have you tried setting your lens to infinity focus? Otherwise always ensure you have a small aperture like f14 – f22 to ensure it’s sharp above and below the water level. If you’re after a more arty blur then you can work with a wide aperture. I hope that helps a little! What camera are you using by the way?
Helen
January 23, 2024 at 7:08 pm
Hi, I enjoyed your article thank you! When I have tried split level photos I find the underwater bit too dark or the out of water bit too bright. Do you have any tips for this please?
Also, do you suggest shooting into the sun or away from the sun for clarity?
Thank you!
Lisa Michele Burns
January 24, 2024 at 11:37 pm
Hi Helen, I’m glad you liked the article. When shooting split-levels, I like to slightly over expose (only a little so blues etc are still visible) for the above ground section, that way it’ll be a touch brighter, but still manageable to edit, whereas the area underwater should be bright enough also. Shooting away from the sun should mean that the area you’re photographing is illuminated by sunlight, which would make it naturally brighter too. You can of course photograph in either direction, I’d suggest experimenting with your exposure settings, and to ensure you’re using an ISO around 200-400 if you’re shooting in daylight. Have fun with it!