
Getting Started with Underwater Photography
Taking your photography below the surface opens up so many creative opportunities.
Water is my favourite element to work with and once you’ve got the gear and some technical skills, it’s a canvas that’s hard to ignore.
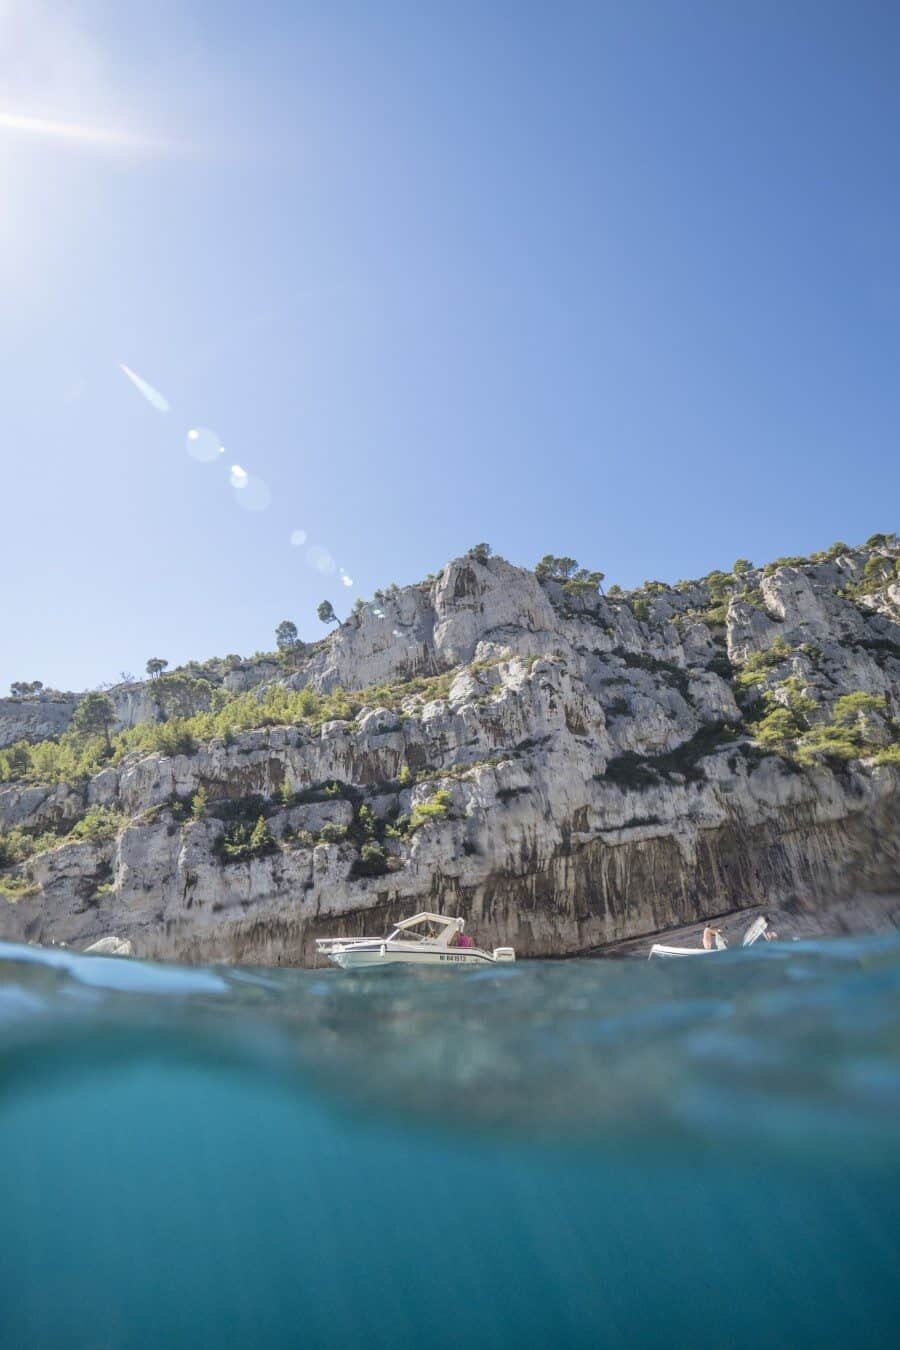
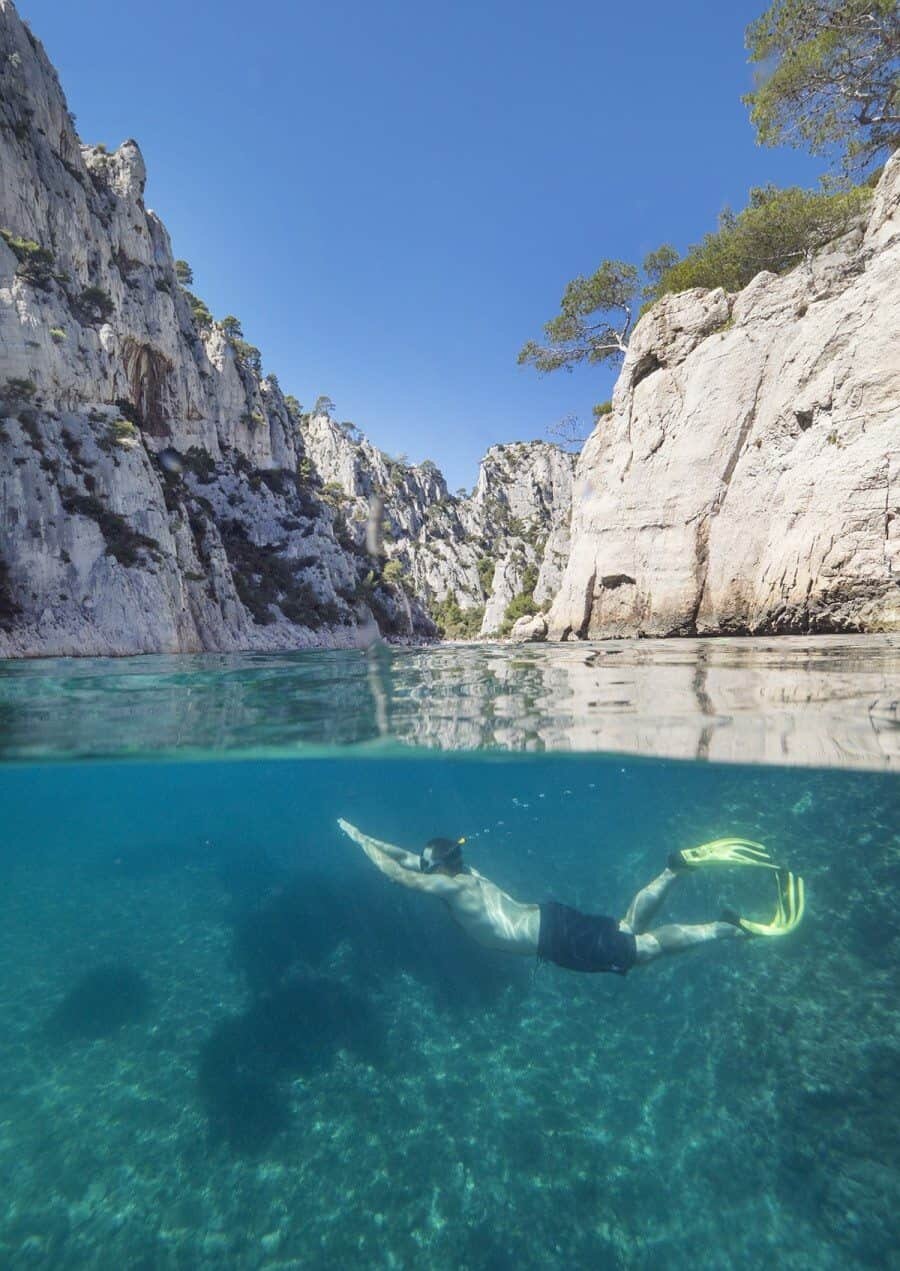
Whether you’re in the ocean, a lake or pool, underwater photography is such a fun way to capture your surroundings both above and below the surface. You can shoot underwater portraits, split-level landscape shots or capture the beauty of the underwater world and marine life.
For this month’s Setting the Scene I’m sharing a few quick tips on underwater photography; how to plan, prepare your gear and some settings to get started.

Underwater Photography: Planning the time + location
Depending on what you’re hoping to photograph, planning is a big part of capturing beautiful underwater images.
Not only is location important but the tides, currents, weather conditions and your own ability to swim for an extended period of time need to be taken into account.
If you’re shooting underwater, water clarity is one of the main issues you’ll face and researching when the best time for clarity is can help in your images being clearer and more colourful. Typically high tide produces better clarity, especially on an incoming tide. Once the tide turns and becomes an outgoing tide, if you’re near a river or stream you’ll find it can get a little churned up and sediments appear in the water.
For weather conditions, take a peek at my ‘Weather Forecasting for Landscape Photographers’ article which shares some of the sites I use for weather forecasts and tides.
What gear you need for Underwater Photography
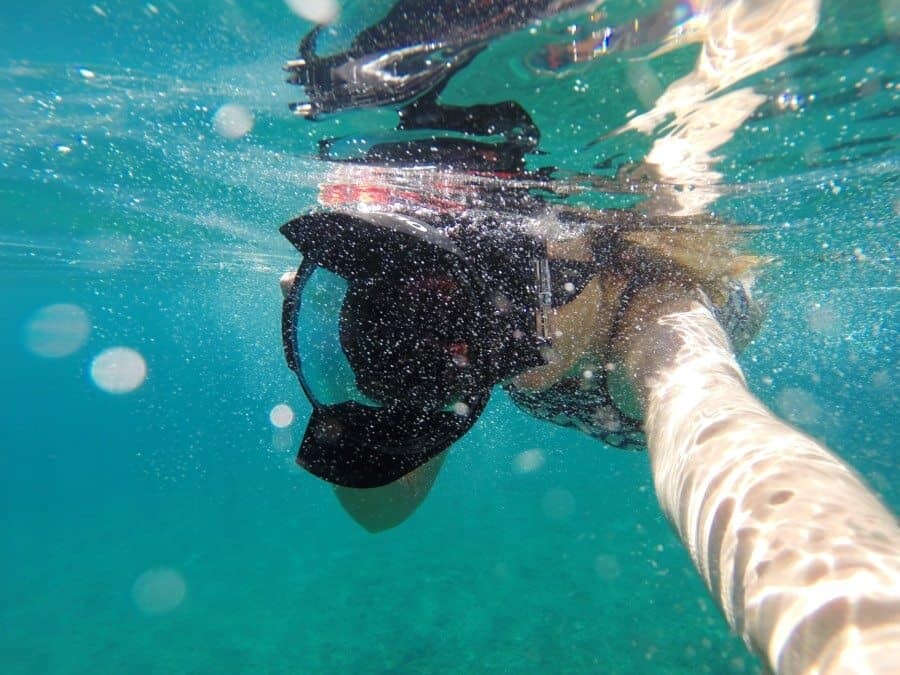
So you’re obviously going to need a waterproof camera and this can either be a small digital camera with a waterproof exterior or an underwater housing.
If you’re starting out it can be great to start with a small camera just to get a feel as to whether underwater photography is something you’re keen to pursue.
Obviously GoPro’s are one of the most popular options for underwater photography, other options include the Fujifilm XP120, Nikon Coolpix W300 or Olympus TG-4 Tough Camera with also has a RAW file option.
Once you’re ready to get a little more serious about your underwater photography you can upgrade to an underwater housing for your DSLR or high quality camera.
Most cameras will have a custom underwater housing available that fits them perfectly ensuring there’ll be no leaks once you get in the water.
For my Olympus OM-D E-M1 Mark II I use the PT-EP14 UW Housing and pair it with a dome port to fit my 7-14mm M.Zuiko PRO lens. (See kit details here)
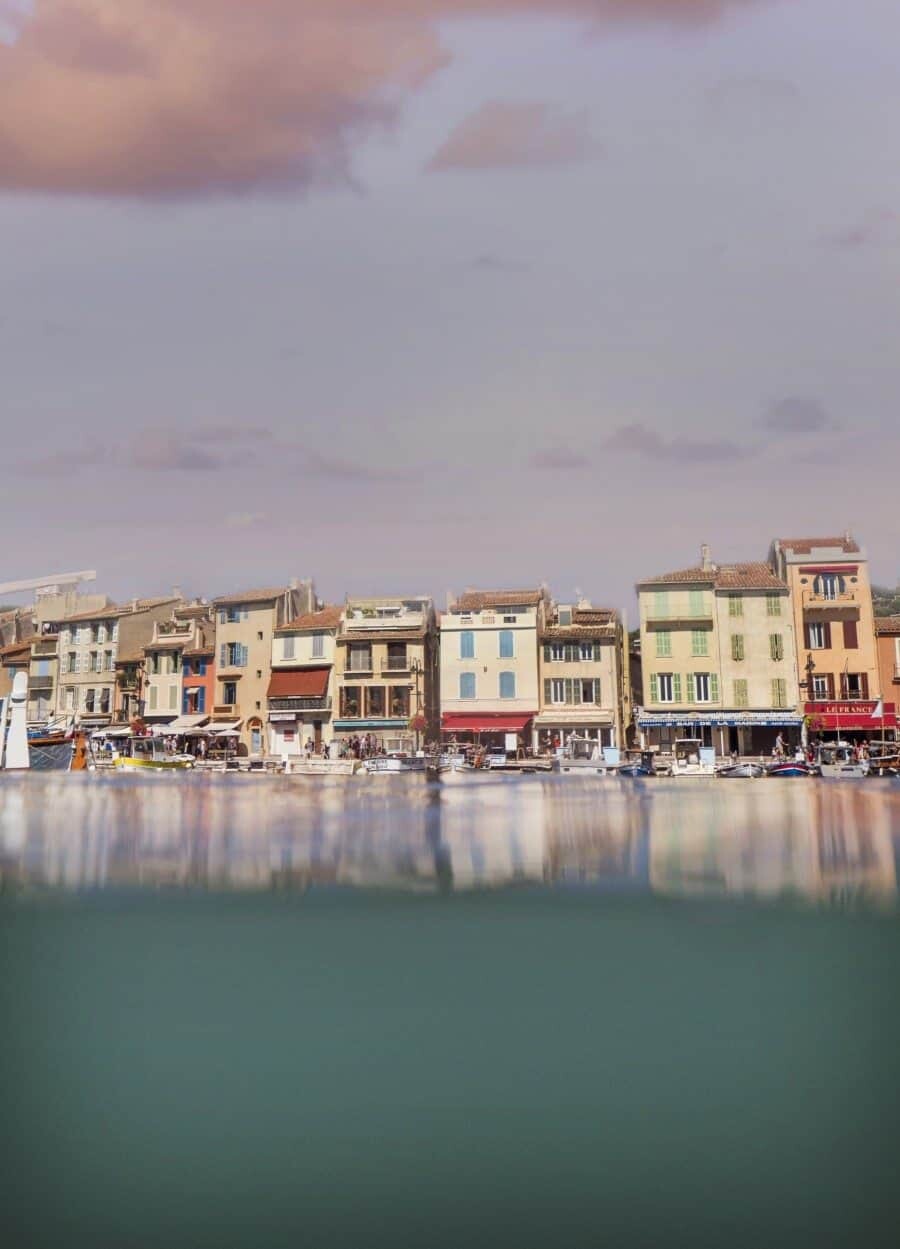
Having a dome port for your lens will allow you to capture split-level photos easily, separating above the water level with below in a single shot.
Read more: How to Capture Split-Level Underwater Photos
Preparing Your Gear
- The day before, check your batteries are fully charged as shooting in cooler water temperatures can deplete your battery faster.
- Ensure you have the necessary equipment; camera housing, lens port, lubricant, small dry towel, camera, lens + batteries. Oh and memory card…crucial!
- Check your seals to make sure there are no sand, dust or hair particles around the edges.
- If necessary, rub on some additional lubricant to form a stronger seal
- Once your camera is safely in the housing, lick the lens port before putting it in the water. Trust me, it works. And also be careful not to put your hands on the lens or accidentally get sunscreen or anything oily on the housing.
Underwater Camera Settings
Depending on the conditions, normal landscape settings will occur most of the time. If you are photographing close to the surface, adjusting your ISO and shutter speed to the available light above water is usually suitable.
Test your settings before heading into the water by focusing in all directions and adjust accordingly. If you know which direction you’ll be photographing in the water, test this direction above water.
If you’re shooting only underwater or are diving and snorkelling deeper down you will need to allow for less light. Increasing your ISO to ensure your photos are sharp and increasing the exposure to brighten up the depths.
In daylight conditions with sunshine and a depth of around 1-5m, start with the following settings:
ISO 400
Exposure +0.7
Shutter Speed 1/800sec
Aperture f/10
Adjust accordingly depending on whether you want total clarity (increase f-stop), want to freeze the scene due to fast moving waves, current or fish (increase shutter speed) or depending on the light conditions (adjust ISO + exposure).
Read more: Underwater Photography Tips for Beginners

Hello! I’m the founder and photographer behind The Wandering Lens.
With 19+yrs experience as a professional travel and landscape photographer, all advice found on this site is from my personal experience, or that of contributors, on the road. I hope it’s useful for your own travels and would love to hear in the comments about your trips and experiences around the world.

Blog Comments
Gavin H.
September 16, 2017 at 2:44 pm
This might be stupid to ask but I always get water drops on my screen when I’m in the water and they are really annoying and skew my shot. How do you handle this or is it just normal?
thewanderinglens
September 21, 2017 at 6:34 am
Not stupid at all Gavin! I mentioned it above but it happens to me all the time. It really helps if you lick your lens port before entering the water…it sounds really weird but totally works! It’s also best to avoid any kind of substance getting on the lens port, like sunscreen from your hands or grease 🙂